P7S Agdistis Raid Guide – Pandaemonium Abyssos (FFXIV)
Expansion: Endwalker
Raid Series: Pandaemonium
Raid Tier: Abyssos
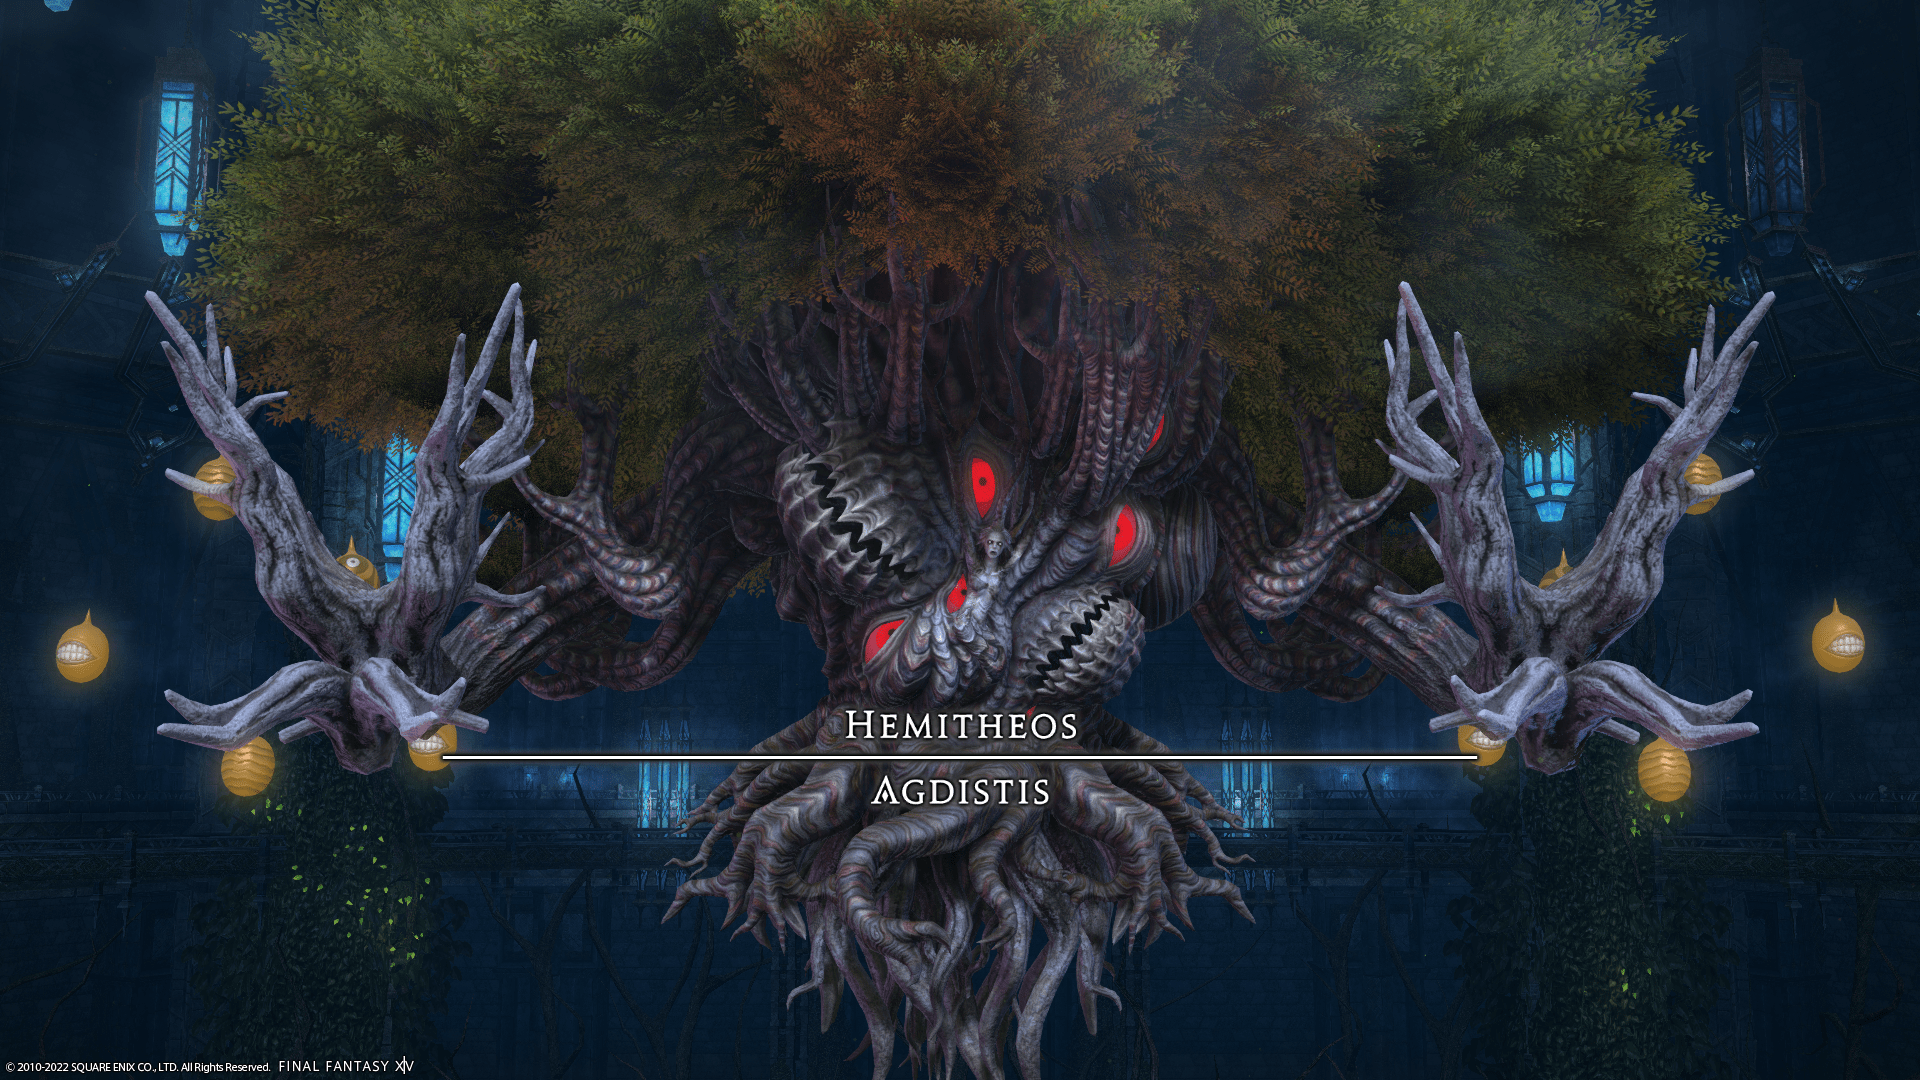
Encounter: P7S – Agdistis
Players: 8 (Tank / Tank / Healer / Healer / DPS / DPS / DPS / DPS)
Duty Finder Type: Raid (Savage)
Unlock Requirement: Complete P7N Agdistis
See the full list here → All FFXIV Raid Unlock Requirements
← Back to Pandaemonium Abyssos Raid Tier
Encounter Overview
Agdistis (Savage) is the third encounter of Pandaemonium: Abyssos (Savage).
The fight significantly expands on the Normal version by introducing complex add mechanics and multiple multi-stage positioning mechanics that require strict role coordination.
Key mechanics include:
• multiple platform transitions
• add mechanics that tether players
• sequential spread and stack mechanics
• meteor soak mechanics
• directional knockbacks and bridge destruction
Because the arena does not have a border, players knocked off the arena will fall to their death. However, they can be resurrected after a short delay.
Most avoidable damage in the encounter applies Damage Down, which will quickly cause enrage failures if multiple players are hit.
Arena Overview
The encounter begins on a single large arena.
During the fight the boss repeatedly uses Immortal’s Obol, destroying the arena and splitting it into three smaller platforms connected by bridges.
Several mechanics occur while the arena is split, forcing players to move between platforms and bridges to resolve add attacks and positioning mechanics.
Because there is no border, players who are knocked from the platforms will fall and die.
Mechanic Archive
Spark of Life
Raidwide magical damage that inflicts Bleeding.
Response
• mitigate and heal.
Dispersed Aero II
Tankbuster targeting the two highest enmity players.
Deals heavy damage in a large AoE and applies Windburn.
Response
• tanks separate from the party
• mitigate and heal.
Condensed Aero II
Shared tankbuster targeting the highest enmity player.
Deals heavy damage and applies Windburn.
Response
• both tanks stack to share the damage.
Blades of Attis
Multiple moving AoE blades travel across the arena following arrow indicators.
Response
• identify their movement direction
• move into the area they previously traveled from.
Immortal’s Obol
Creates three safe zones across the arena and places a proximity marker at the center.
When the cast resolves the arena collapses and reforms into three smaller platforms connected by bridges.
Players standing outside the safe zones will die instantly.
Response
• move into one of the marked safe zones.
Forbidden Fruit
Eggs appear around the arena and transform into untargetable adds.
Each add type performs different mechanics.
Immature Minotaur
Two possible attacks.
Bullish Swipe (no tether)
• wide conal AoEs targeting nearby players.
Bullish Slash (tether)
• tethers a player and performs a proximity cone attack.
Response
• tethered players move away from the add
• untethered players bait cone attacks away from the group.
Immature Io
Two possible attacks.
Static Moon
• circular AoE that fills an entire platform.
Static Path
• tethers four players and fires large line AoEs.
Response
• avoid the platform affected by Static Moon
• spread to avoid overlapping line attacks.
Immature Stymphalide
Two possible attacks.
Stymphalian Strike
• large line AoE in front of the add.
Bronze Bellows
• tethers a player and charges toward them, causing knockback.
Response
• move away from the line attacks
• use knockback mitigation when tethered.
Hemitheos’s Holy III
Stack marker on both healers.
Response
• split into light parties and stack.
Bough of Attis
The boss cleaves either the front or rear of the arena.
If the front is struck, one of the boss’s arms slides forward afterward, knocking players away.
Players struck receive Down for the Count.
Response
• move to the safe half of the arena
• watch the hand direction for the follow-up slide.
Inviolate Bonds
Players receive debuffs that create either:
• spread AoEs (Inviolate Winds)
• stack markers (Holy Bonds)
Each debuff has an order indicator (I or II) that determines when it resolves.
Response
• players with the first debuff resolve spreads
• remaining players stack
• swap roles for the second resolution.
Roots of Attis
The boss destroys one or more bridges connecting the platforms.
Players standing on a bridge when it breaks will die.
Response
• move onto a platform before the bridge breaks.
Multicast
The boss simultaneously casts:
Hemitheos’s Aero IV
• large knockback attack.
Hemitheos’s Holy
• AoEs under each player.
Response
• spread for the AoEs
• use knockback resistance or position near safe edges.
Burst
Meteor markers appear across the platforms.
Each meteor must have at least one player inside.
Empty meteors cause Big Burst, dealing massive raid damage.
Response
• ensure each meteor circle has at least one player.
Inviolate Purgation
A more complex version of Inviolate Bonds.
Players receive multiple spread and stack debuffs that resolve sequentially.
Each spread also drops a large tornado AoE.
Stack mechanics drop donut AoEs.
Response
• resolve spreads and stacks in the correct order
• reposition between platforms as debuffs resolve.
Hemitheos’s Glare
Large AoEs follow each player for a short time.
Response
• move away from other players while kiting the AoEs.
Light of Life
Heavy raidwide damage.
Later becomes the hard enrage ability.
Response
• mitigate and heal.
Famine’s Harvest
Multiple eggs spawn across the platforms.
Adds spawn and perform simultaneous attacks.
Response
• untethered players bait Minotaur cone attacks away from the raid
• tethered players move to opposite platforms and spread.
Death’s Harvest
Adds spawn across bridges and platforms.
Io adds tether players while others perform platform-wide attacks.
Response
• move to assigned platforms
• spread to avoid overlapping line attacks.
War’s Harvest
All adds tether players simultaneously.
Each player must resolve their tether while avoiding other attacks.
Response
• players move to their assigned platform
• spread to avoid overlapping attacks.
Encounter Flow
The fight begins with Spark of Life followed by a random tankbuster.
The boss then introduces Blades of Attis and Immortal’s Obol, splitting the arena into multiple platforms.
Once the platforms appear, the encounter begins cycling through Forbidden Fruit add mechanics while players navigate between platforms.
Mid-fight mechanics introduce Inviolate Bonds, forcing players to resolve ordered spread and stack mechanics while dodging arena cleaves.
Later phases escalate into more complex mechanics including:
Multicast knockback combinations
meteor soak mechanics
Inviolate Purgation debuff sequences
The encounter ends with three sequential Harvest mechanics:
Famine’s Harvest
Death’s Harvest
War’s Harvest
These require precise positioning and coordination to survive simultaneous add attacks.
If the boss is not defeated afterward, it casts repeated Spark of Life attacks followed by Light of Life, which serves as the hard enrage.
Related Encounters
| Order | Boss | Normal Guide | Savage Guide |
|---|---|---|---|
| 1 | Proto-Carbuncle | P5N Guide | P5S Guide |
| 2 | Hegemone | P6N Guide | P6S Guide |
| 3 | Agdistis | P7N Guide | P7S Guide |
| 4 | Hephaistos | P8N Guide | P8S Guide |
← Back to Pandaemonium Abyssos
← Back to Endwalker Raid Archive
← Back to FFXIV Raid Archive