P7N Agdistis Raid Guide – Pandaemonium Abyssos (FFXIV)
Expansion: Endwalker
Raid Series: Pandaemonium
Raid Tier: Abyssos
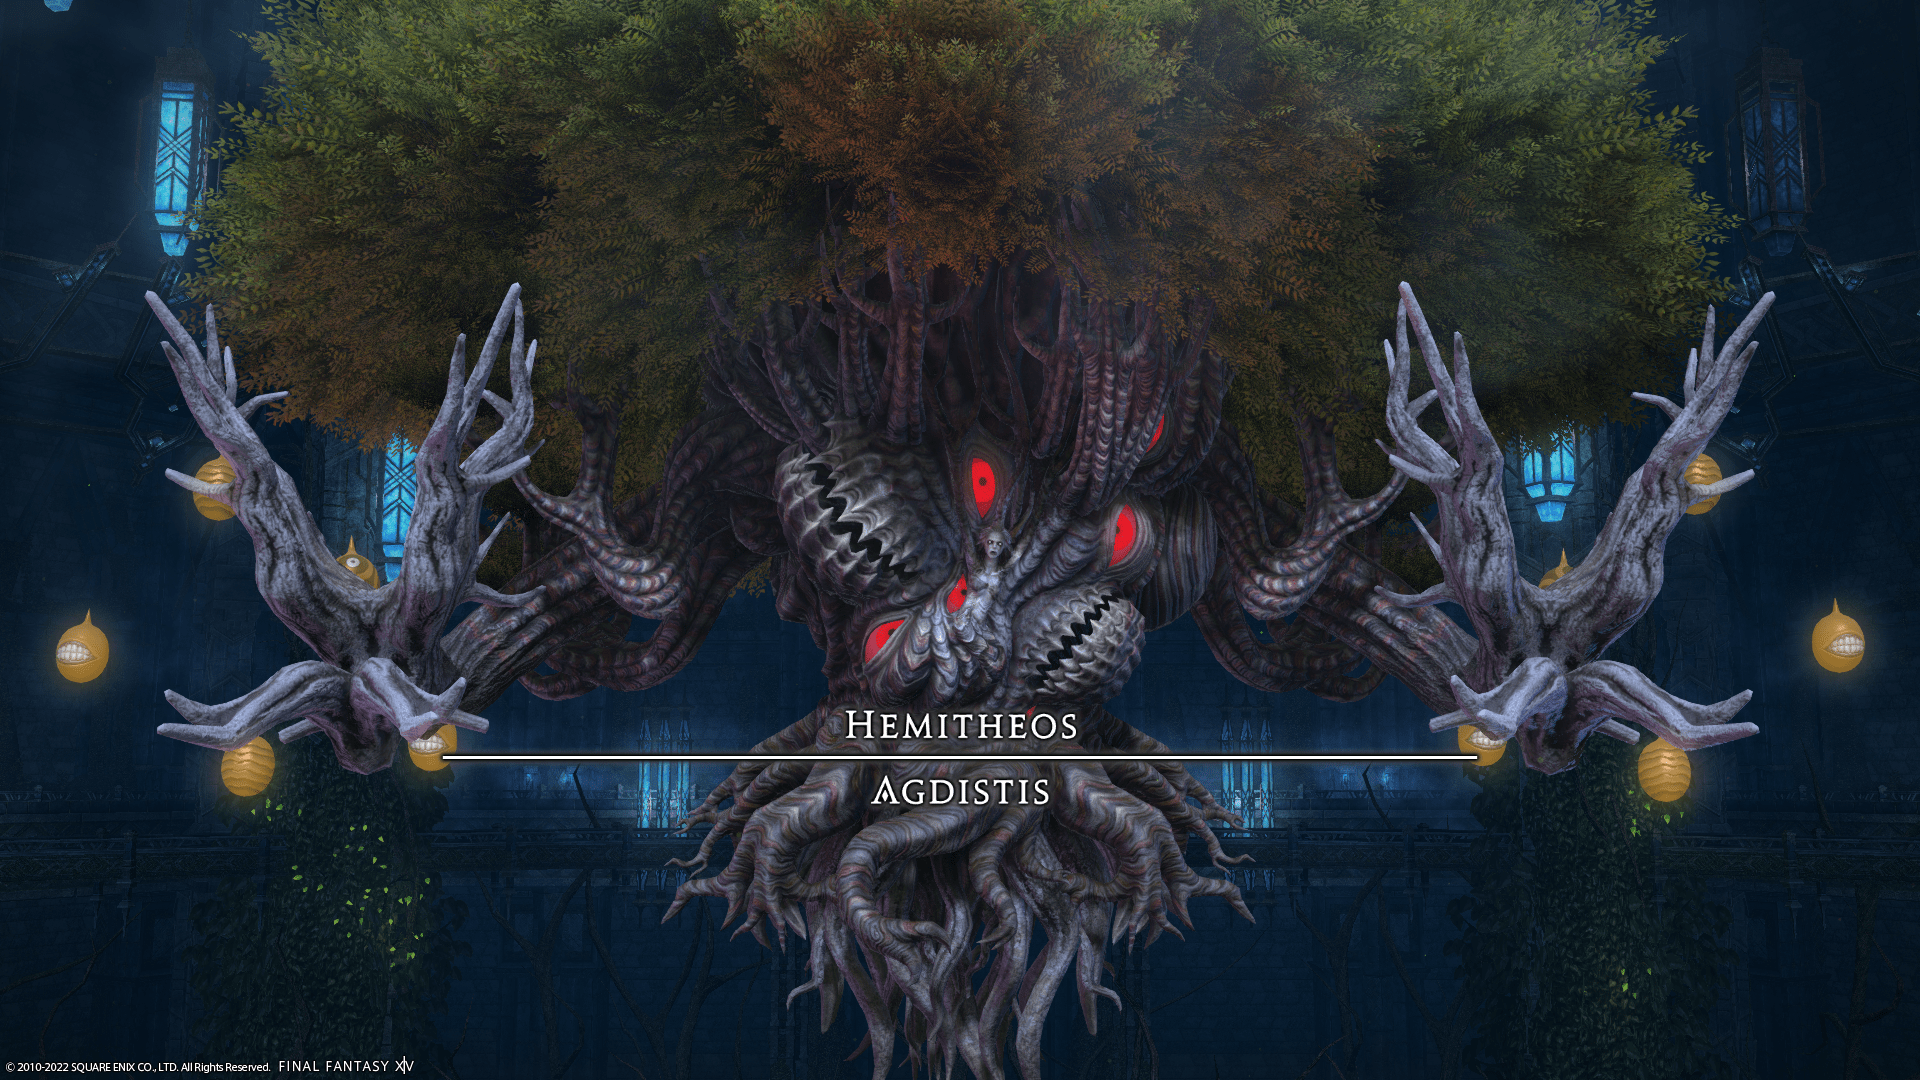
Encounter: P7N – Agdistis
Players: 8 (Tank / Tank / Healer / Healer / DPS / DPS / DPS / DPS)
Duty Finder Type: Raid (Normal)
Unlock Requirement: Complete P6N Hegemone
See the full list here → All FFXIV Raid Unlock Requirements
← Back to Pandaemonium Abyssos Raid Tier
Encounter Overview
Agdistis is the third encounter of Pandaemonium: Abyssos.
The fight revolves around large directional arena attacks and several mechanics that temporarily split the battlefield into multiple platforms connected by narrow bridges.
Key mechanics include:
• massive directional arena cleaves
• platform destruction and reconstruction
• moving AoE hazards
• add attacks that force players onto bridges
• meteor soak mechanics
• knockback positioning mechanics
Because the arena lacks a border, many attacks can knock players off the platform, instantly killing them.
Arena Overview
The encounter begins on a single large circular arena.
During the fight the boss will use Immortal’s Obol, destroying the arena and splitting it into three smaller platforms connected by bridges.
Many mechanics occur while the arena is split, forcing players to carefully move between platforms and bridges to avoid lethal AoEs.
Because there is no arena border, players knocked off the platforms will fall to their death.
Mechanic Archive
Bough of Attis
The boss performs a massive arena attack.
Two variations exist:
Front Cleave
• the boss strikes the front two-thirds of the arena
Rear Cleave
• the boss raises her hands and attacks the back third of the arena
After the front cleave version, one of the boss’s hands sweeps diagonally across the arena.
Players hit by the sweep are either:
• knocked off the arena
• inflicted with Down for the Count.
Response
• move to the safe third of the arena
• watch the arrow indicators to identify which hand will sweep.
Hemitheos’s Holy
AoE markers appear beneath every player.
Overlapping explosions deal heavy damage and apply Vulnerability Up.
Response
• spread across the arena.
Hemitheos’s Glare III
Large donut AoE covering most of the arena.
Only the center of the platform is safe.
Response
• move to the center.
Immortal’s Obol
The boss marks three safe zones across the arena.
The rest of the platform becomes a danger zone.
Shortly afterward the arena collapses and reforms into three separate platforms connected by bridges.
Players standing in the danger zone when the cast resolves die instantly.
Response
• move into one of the marked safe zones before the cast finishes.
Hemitheos’s Aero II
Tankbuster that targets both tanks with large AoEs.
Any non-tank player struck by the attack will die.
Response
• tanks move to separate platforms
• mitigate and heal.
Spark of Life
Roomwide magical damage that inflicts Bleeding on all players.
Response
• mitigate and heal.
Forbidden Fruit
The boss summons untargetable creatures onto the platforms.
Two types of adds appear.
Immature Io
• casts Static Moon, covering the entire platform in a large AoE.
Immature Stymphalide
• casts Stymphalide Strike, charging in a straight line across a bridge and platform.
Later in the fight these adds appear together.
Response
• move onto bridges to avoid Static Moon
• stand at the edges of platforms to avoid Stymphalide charges.
Blades of Attis
Large moving AoE blades appear on platforms and slowly move across the arena.
Getting hit deals heavy damage and applies Vulnerability Up.
Response
• move out of their path
• stay clear of the direction they are traveling.
Burst
Meteor markers appear across the platforms.
• one meteor on the northeast platform
• one meteor on the northwest platform
• two meteors on the southern platform
Each meteor must have at least one player standing inside.
If a meteor is empty the attack becomes Big Burst, dealing massive raid damage.
Response
• ensure at least one player occupies each meteor circle.
Hemitheos’s Aero IV
Large knockback marker appears on one platform.
Players hit by the knockback can be pushed off the arena.
Response
• stand near the center of the knockback marker
• align with bridges or use knockback immunity.
Encounter Flow
The fight begins with Bough of Attis, forcing players to move between the north and south portions of the arena while avoiding the sweeping hand attack.
The boss then introduces Hemitheos’s Holy spreads followed by Hemitheos’s Glare III, requiring players to move between spread positions and the center of the arena.
Shortly afterward the boss casts Immortal’s Obol, destroying the arena and splitting the battlefield into three smaller platforms connected by bridges.
From this point forward the encounter cycles through mechanics involving:
add summons from Forbidden Fruit
moving blade AoEs from Blades of Attis
platform-wide attacks from Immature Io
bridge charges from Immature Stymphalide
Later mechanics introduce meteor soak mechanics, requiring players to distribute themselves across the platforms.
The encounter concludes with increasingly rapid combinations of:
Bough of Attis arena cleaves
platform add attacks
meteor mechanics
roomwide damage from Spark of Life
until the boss is defeated.
Related Encounters
| Order | Boss | Normal Guide | Savage Guide |
|---|---|---|---|
| 1 | Proto-Carbuncle | P5N Guide | P5S Guide |
| 2 | Hegemone | P6N Guide | P6S Guide |
| 3 | Agdistis | P7N Guide | P7S Guide |
| 4 | Hephaistos | P8N Guide | P8S Guide |
← Back to Pandaemonium Abyssos
← Back to Endwalker Raid Archive
← Back to FFXIV Raid Archive