P6S Hegemone Raid Guide – Pandaemonium Abyssos (FFXIV)
Expansion: Endwalker
Raid Series: Pandaemonium
Raid Tier: Abyssos
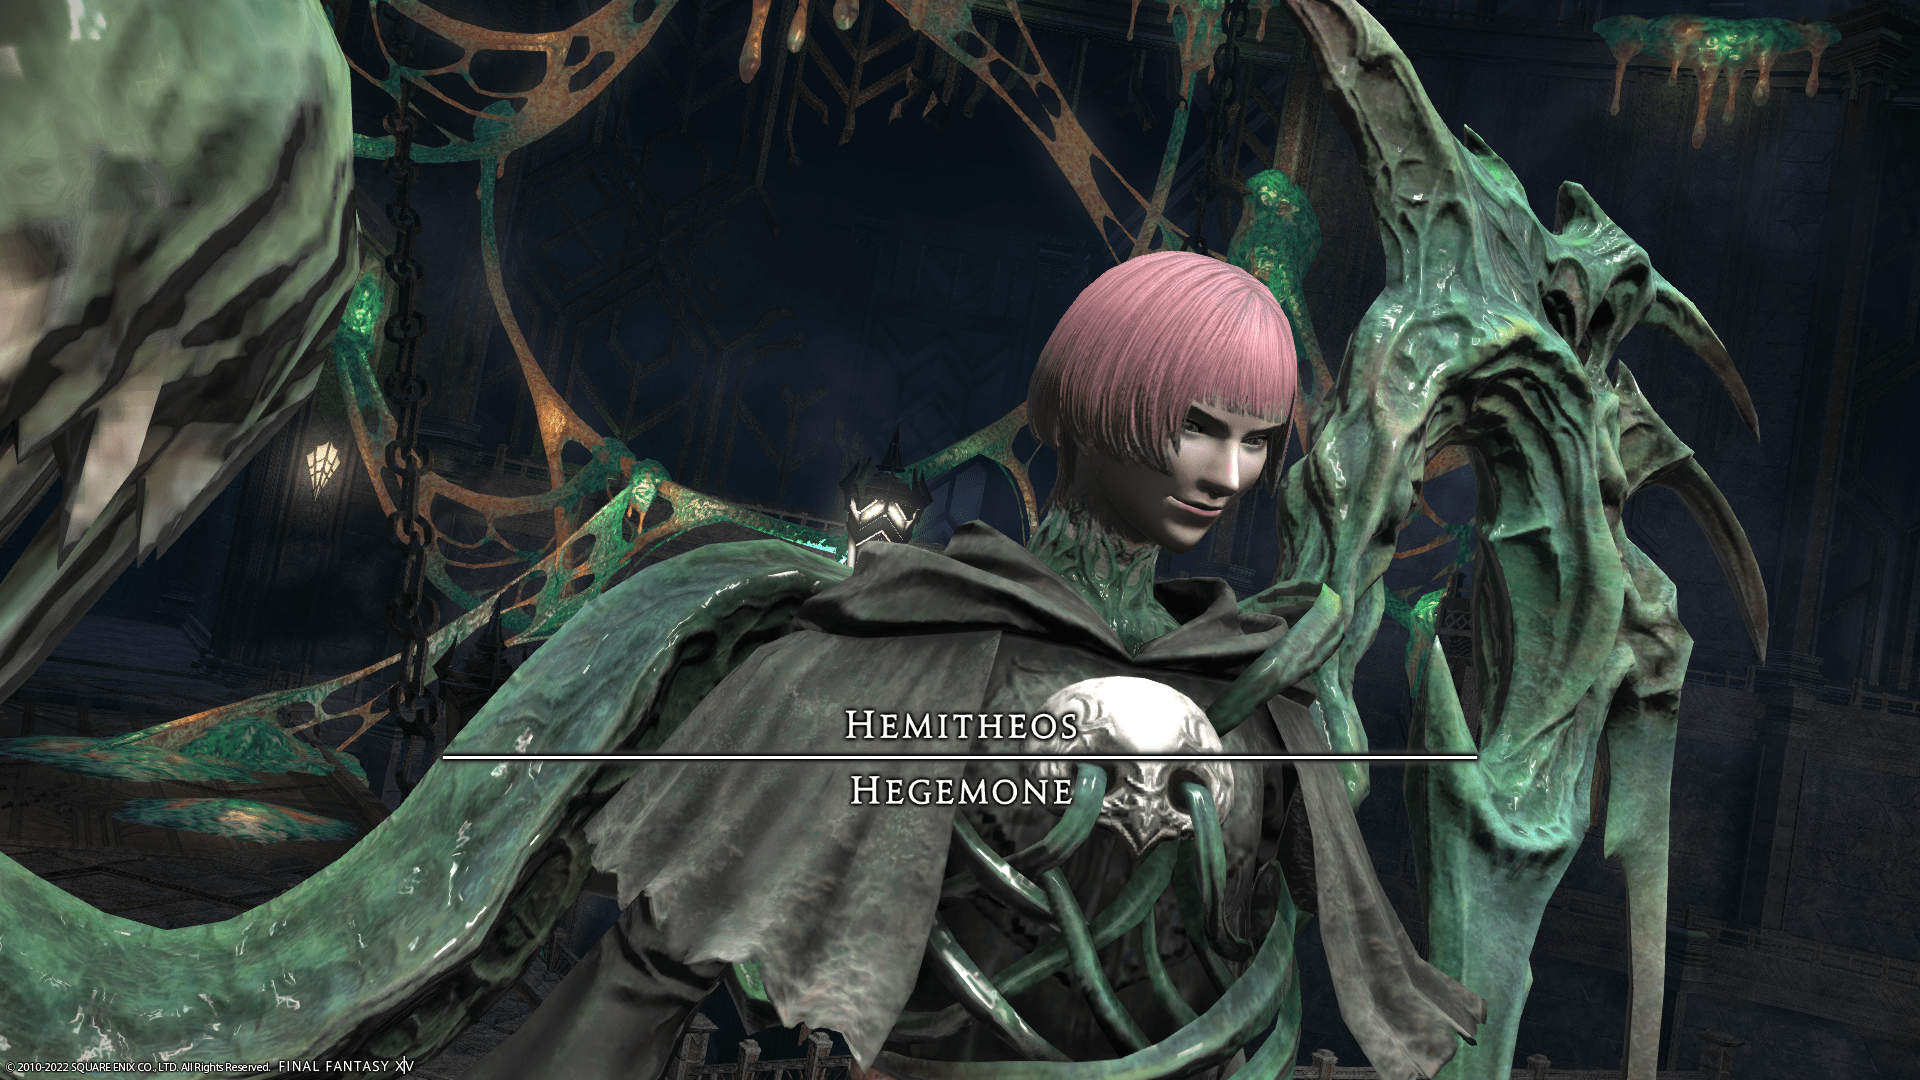
Encounter: P6S – Hegemone
Players: 8 (Tank / Tank / Healer / Healer / DPS / DPS / DPS / DPS)
Duty Finder Type: Raid (Savage)
Unlock Requirement: Complete P6N Hegemone
See the full list here → All FFXIV Raid Unlock Requirements
← Back to Pandaemonium Abyssos Raid Tier
Encounter Overview
Hegemone (Savage) is the second encounter of Pandaemonium: Abyssos (Savage).
Compared to the Normal version, the Savage fight dramatically increases the complexity of the arena tile mechanics while introducing several layered mechanics that require strict positioning and coordination.
The encounter heavily tests a group’s ability to:
• read tile-based safe zones
• manage directional attacks
• resolve complex debuff rotations
• control player positioning and facing
The fight introduces several dangerous multi-mechanic sequences where players must simultaneously handle tile puzzles, spread mechanics, and directional attacks.
The arena is surrounded by a lethal purple border.
Arena Overview
The arena consists of a grid of square tiles used by several mechanics throughout the encounter.
Many mechanics cause tiles to erupt in directional AoEs, forcing players to identify the safe zones before resolving additional mechanics.
The purple border surrounding the arena will instantly kill any player who touches it.
Failing mechanics frequently applies Damage Down, which quickly causes raid wipes in later sequences.
Mechanic Archive
Hemitheos’s Dark IV
Raid-wide magical damage.
Response
• mitigate and heal.
Chelic Synergy
Shared tankbuster that fires a large conal AoE in front of the boss.
Both tanks must share the hit.
The attack inflicts a Bleeding debuff.
Any non-tank player struck by the attack will die instantly.
Response
• both tanks stack together in front of the boss
• healers prepare for bleed damage.
Synergy
Tankbuster that targets both tanks with heavy damage.
The attack applies:
• Bleeding
• Magic Vulnerability Up
The vulnerability debuff forces a tank swap.
Response
• tanks separate away from each other
• the off-tank provokes after the attack resolves.
Aetheric Polyominoid
Multiple Polyominoid tiles appear across the arena.
Each tile shows a symbol that determines the direction of the AoE it will fire:
• plus symbol → cardinal directions
• cross symbol → diagonal directions
The AoEs extend to the edge of the arena.
Response
• determine which tiles will fire
• move to a tile that will not be struck.
Polyominoid Sigma
An upgraded version of Aetheric Polyominoid.
The tiles become tethered together and swap positions before firing.
This means the final safe zone is different from the original tile pattern.
Response
• identify where the safe tile will appear after the swap
• move there before the cast resolves.
Unholy Darkness
Stack marker targeting both healers.
Each stack must be shared by several players.
The attack inflicts Dark Resistance Down II, making overlapping stacks lethal.
Response
• split into light parties
• stack separately to soak the damage.
Exocleaver
The boss fires two consecutive conal attacks.
The first attack hits the telegraphed cones.
The second attack hits the locations that were safe during the first attack.
Response
• move into the original AoE zones after the first hit resolves.
Pathogenic Cells
Each player receives a number marker from 1 to 8.
The boss then turns toward each player in sequence and fires a massive arena cleave.
Each cleave covers roughly one quarter of the arena.
Players also gain Consumption stacks.
Receiving more than one stack causes Glossomorph, which later incapacitates the player.
Response
• players line up around the boss in number order
• rotate around the boss after their attack resolves.
Exchange of Agonies
Players receive one of three markers:
• stack marker
• donut AoE
• ground AoE marker
Some players are tethered together and will swap mechanics before the attack resolves.
All attacks apply Dark Resistance Down II, making overlaps lethal.
Response
• stack markers resolve under the boss
• donut markers stand inside the boss hitbox
• ground AoE markers move to assigned corners.
Choros Ixou
The boss raises glowing hands pointing either:
• north / south
• east / west
She then fires large conal AoEs.
Immediately afterward she rotates and fires the attack in the opposite direction.
Response
• move away from the direction her hands point
• reposition quickly for the second attack.
Transmission
Players tether to either the snake parasite or the wing parasite.
When the debuff expires players become briefly stunned and fire AoEs.
Snake tether
• fires a cone in front of the player
Wing tether
• fires a cone behind the player
Anyone struck receives Sustained Damage.
Response
• snake players face the edge of the arena
• wing players face the boss.
Dark Dome
Invisible AoEs appear beneath each player.
They detonate shortly afterward.
Response
• move away from where you were standing.
Dark Ashes
Medium AoE markers appear under each player.
The attack inflicts Dark Resistance Down II.
Response
• spread across the arena.
Dark Sphere
Large AoE markers target every player.
Overlapping explosions are lethal.
Response
• spread widely across the arena.
Cachexia
The most complex mechanic of the encounter.
Players receive two debuffs:
• Aetheronecrosis (timed explosion)
• either Chelic Resistance Down or Glossal Resistance Down
Players must resolve explosions while baiting Dual Predation, attacks that target the closest players to the boss.
Each predation attack switches the target’s resistance debuff.
After several rotations the boss casts Ptera Ixou, which covers half the arena with attacks from both parasites.
Response
• rotate players based on their debuff timers
• bait predation attacks safely
• swap sides of the arena for Ptera Ixou.
Incorrect positioning will instantly kill players with the wrong resistance debuff.
Encounter Flow
The encounter begins with Polyominoid tile puzzles, followed by healer stack mechanics and the Exocleaver cleave sequence.
Shortly afterward the boss introduces Pathogenic Cells, forcing the raid to rotate around the boss while avoiding sequential arena cleaves.
As the fight progresses, mechanics begin overlapping:
• tile puzzles
• stack mechanics
• directional cleaves
• player spreads
Later phases introduce Cachexia, a long mechanic that requires precise player rotations and correct resistance management.
Near the end of the encounter multiple mechanics occur simultaneously, combining:
Polyominoid tile swaps
Transmission player cones
stack markers
spread mechanics
If the raid survives the final sequences, the boss begins casting Hemitheos’s Dark IV repeatedly as the enrage.
Related Encounters
| Order | Boss | Normal Guide | Savage Guide |
|---|---|---|---|
| 1 | Proto-Carbuncle | P5N Guide | P5S Guide |
| 2 | Hegemone | P6N Guide | P6S Guide |
| 3 | Agdistis | P7N Guide | P7S Guide |
| 4 | Hephaistos | P8N Guide | P8S Guide |
← Back to Pandaemonium Abyssos
← Back to Endwalker Raid Archive
← Back to FFXIV Raid Archive