Hardest Relic Weapons to Farm in FFXIV
Ranked by Overall Grind Difficulty
Relic weapons are one of the most enduring long-term progression systems in Final Fantasy XIV. Every expansion introduces a new chain, and no two are built the same way. Some systems are designed around predictable tomestone loops. Others demand exploration zones, notorious monster farming, battlefield progression, or multi-stage upgrade chains that touch almost every corner of the game.
This guide ranks every relic weapon system by overall grind difficulty — not just time investment, but the kind of pressure each system applies and how punishing it feels to work through in practice. If you are deciding where to start, or trying to understand what you are getting into before you commit, this is the comparison you need.
Quick Relic Navigation
Browse relic systems by expansion:
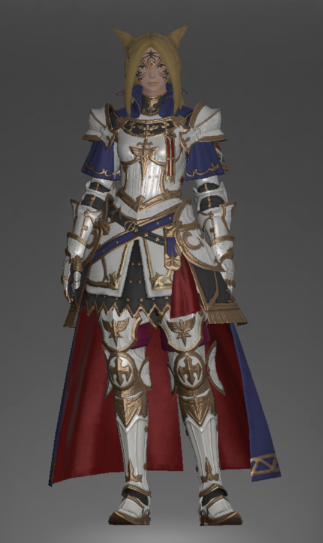
Relic Armor

What Makes a Relic Grind Hard?
Raw completion time is part of the picture, but it is not the whole one. The most punishing relic systems usually combine several pressure points at once.
Long upgrade chains with many required stages keep the finish line far away even when individual steps feel manageable. Exploration or battlefield content that cannot be skipped forces players into specific zones and progression systems on those zones’ terms, not their own. RNG-heavy stages remove the ability to predict completion and turn the grind into an open-ended commitment. Large material requirements across multiple systems mean that forward progress in one area is constantly balanced against gathering in another. And limited shortcuts — systems that have not been meaningfully reduced since their release, or that resist power-leveling and skipping — mean that newer players face the same wall that veterans did on day one.
The rankings below weigh all of these factors together.
Relic Weapons Ranked by Difficulty
| Rank | Relic System | Expansion | Difficulty |
|---|---|---|---|
| 1 | Zodiac Weapons | A Realm Reborn | Extremely Hard |
| 2 | Eureka Weapons | Stormblood | Very Hard |
| 3 | Resistance Weapons | Shadowbringers | Hard |
| 4 | Anima Weapons | Heavensward | Moderate |
| 5 | Phantom Weapons | Dawntrail | Moderate |
| 6 | Manderville Weapons | Endwalker | Easy |
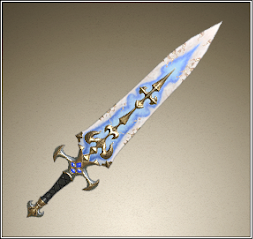
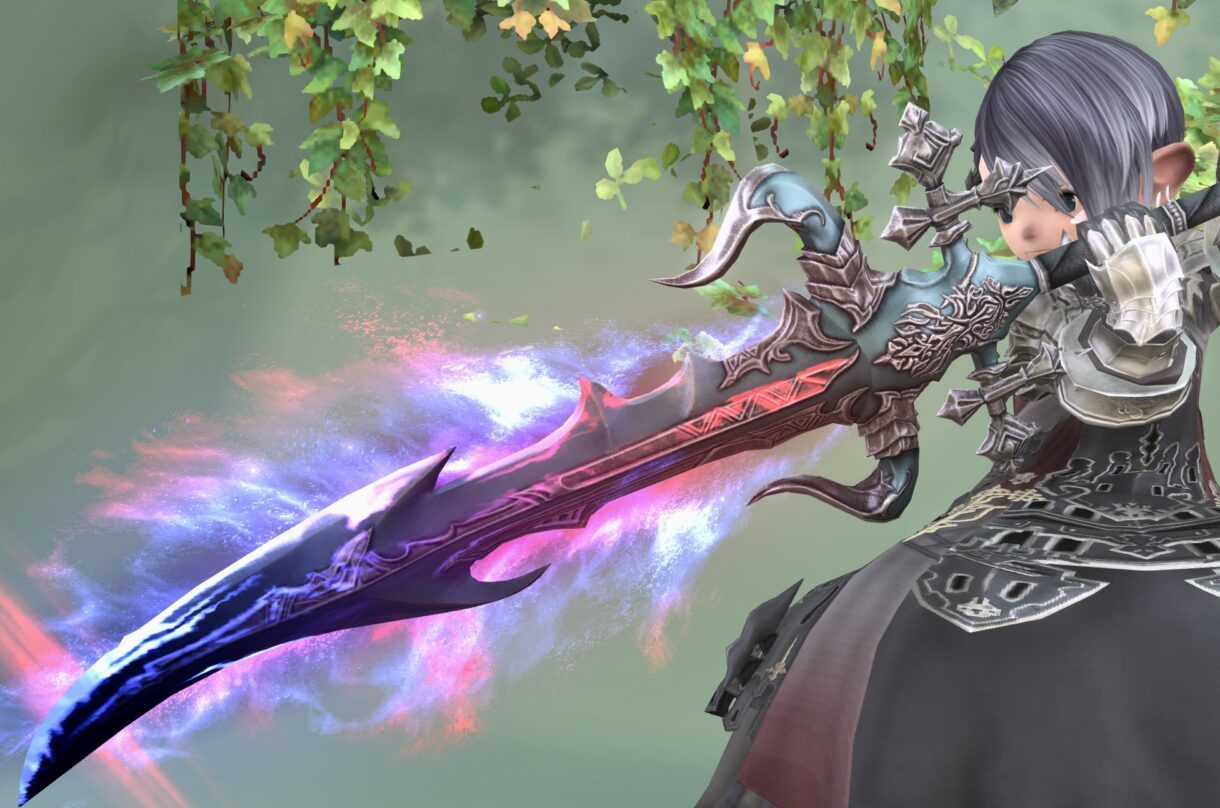
1 — Zodiac Weapons (A Realm Reborn)
Extremely Hard — The Hardest Relic Weapon Grind in FFXIV
The Zodiac weapon chain is the standard against which every other relic grind gets measured, and it earns that position. No other system touches as many different types of content, imposes as many distinct stage requirements, or demands as much total investment to complete. It is not hard in any single dramatic way — it is hard because it is long, wide, and relentless, and because almost none of it can be shortcut.
The chain begins simply enough with a trial and some dungeon clears, but it escalates quickly into FATE farming across multiple open zones, crafted material turn-ins that require either gil or gathering time, random drop stages where completion is entirely outside the player’s control, and dungeon clear requirements that stack against each other across multiple stages. The Atma and Animus stages in particular are points where many players stall — Atma drops are random from FATEs with no pity mechanic, and the Animus step requires completing a specific set of books that dictate exactly where and how you grind.
Even with the reductions applied in modern patches, a Zodiac Zeta weapon is still one of the largest single-weapon time investments in the game. Players who complete it do so because they want the prestige of having done it, not because it was the efficient path. That distinction is the whole point.
Key pressure points:
- Multiple stages of open-world FATE grinding with RNG drop requirements
- Dungeon clear requirements at several stages
- Crafted and purchased material turn-ins
- Book-gated grinding stages that restrict content variety
- Among the largest total time investments for a single weapon in the game
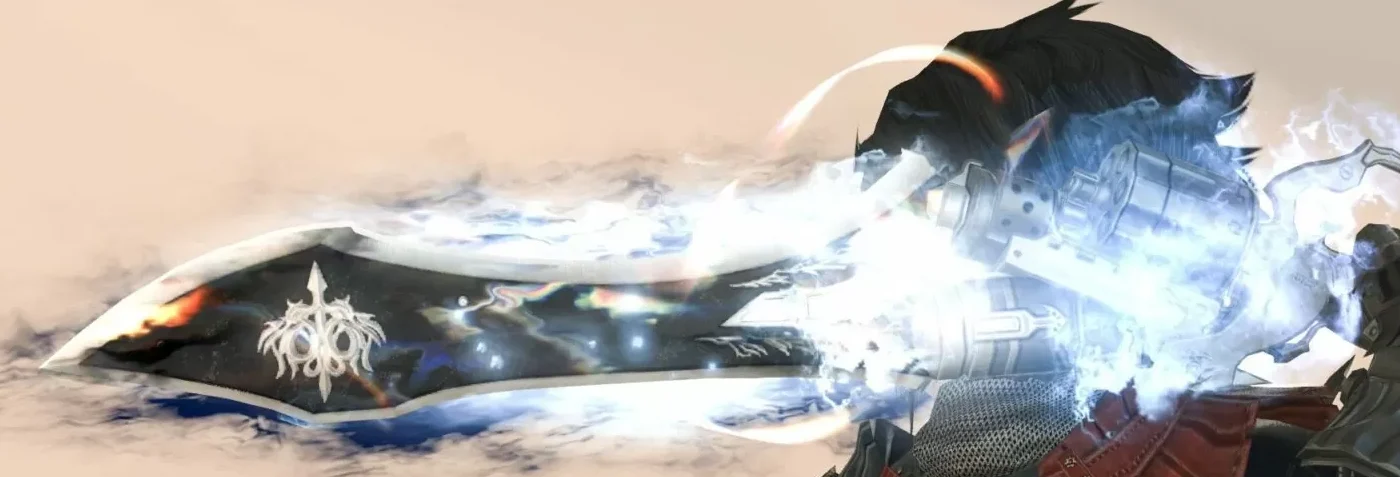
2 — Eureka Weapons (Stormblood)
Very Hard — Exploration Zone Relic Progression
Eureka weapons are the most self-contained relic system in the game, and that self-containment is both their defining feature and their defining challenge. Progression happens almost entirely inside the four Eureka zones — Anemos, Pagos, Pyros, and Hydatos — each of which operates on its own terms, with its own Elemental Rank system that must be leveled independently before deeper progression unlocks.
What makes Eureka hard is not any single step but the sheer sustained commitment the zones demand. You cannot dip in and out efficiently. Elemental Rank progression requires extended time in each zone farming Notorious Monsters, and the zones are designed around large-scale participation — which means your progress is partially dependent on how active the zone population is when you are playing. The Pagos zone in particular has a reputation for difficulty that extends well beyond mechanical complexity into the social challenge of finding enough players to progress.
The final weapon — the Eureka Physeos — requires completing the full four-zone chain, crafting the base Eureka weapon through Pyros, and finishing the Anemos and Hydatos content. It is a long road with very little flexibility in how you walk it.
For players who enjoy the Eureka zones on their own terms — the scale, the monster hunting, the community dimension — the grind is its own reward. For players who want efficient forward progress toward a cosmetic goal, it will test their patience more than almost anything else in the game.
Key pressure points:
- Separate Elemental Rank progression required in each zone
- Notorious Monster farming tied to zone population and spawn timers
- Four full exploration zones required from Anemos through Hydatos
- Significant total time investment with limited skipping
- Progress partially dependent on zone population activity
Final Stage: Eureka Physeos Weapon
3 — Resistance Weapons (Shadowbringers)
Hard — Bozja Battlefield Progression
Resistance weapons sit at Hard rather than Very Hard because their progression, while substantial, is more directed and more varied than Eureka or Zodiac. The Bozjan Southern Front and Zadnor give players multiple avenues for forward progress — critical engagements, skirmishes, clusters, Delubrum Reginae — and the content itself is engaging enough that many players find the grind tolerable in ways that Eureka’s long zone sessions are not.
That said, the system is still a genuine commitment. The memory farming stages require running specific FATEs and duties repeatedly. The Augmented Law’s Order and Blade’s Weapon upgrades require Delubrum Reginae participation — both normal and savage for the final stage — which means the final stretch of the chain is gated behind large-scale raid content that requires coordination beyond standard Duty Finder groups.
The Resistance chain also has one of the longest narrative throughlines of any relic system, tied closely to the Save the Queen storyline. For players engaged with that story, the grind has context and momentum. For players who skipped it, the investment in the Bozjan zones can feel disconnected from everything else.
The system rewards investment with genuine variety. Players who complete the Blade’s Weapon have worked through content that spans FATEs, critical engagements, skirmishes, cluster farming, and raid progression. Whether that breadth feels satisfying or exhausting depends entirely on how much you enjoy the Bozjan zones.
Key pressure points:
- Bozjan Southern Front and Zadnor progression required throughout
- Memory farming stages tied to specific FATEs and duties
- Delubrum Reginae (normal and savage) required for final upgrades
- Large-scale content coordination required for the final stage
- Multiple distinct progression currencies across stages
Final Stage: Blade’s Weapon
→ Full Resistance Weapons Guide
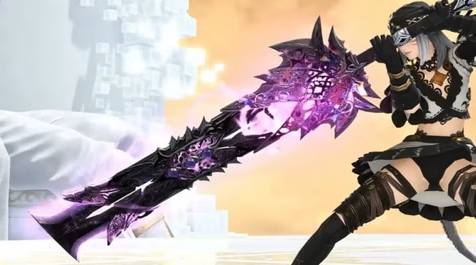
4 — Anima Weapons (Heavensward)
Moderate — A Balanced Legacy Grind
Anima weapons occupy a comfortable middle ground in the relic difficulty landscape. They are not a quick project — the chain has many stages and requires sustained engagement with dungeon farming, tomestone collection, aetheric density gathering, and crafted turn-ins — but they avoid the RNG pressure of Zodiac and the zone-dependency of Eureka. Every stage has a predictable path to completion. You know what you need, you know where to get it, and you make steady forward progress as long as you put in the time.
The aetheric density stages are the most time-consuming part of the chain and the closest thing Anima has to a friction point. Running duties to fill the density gauge across multiple items is repetitive in a way that the other stages are not. But even here, the system is predictable — the grind is long, not unpredictable.
Anima weapons are often recommended to newer players who want to experience a legacy relic system without committing to the full Zodiac or Eureka weight. They are substantial enough to feel like an achievement when complete, straightforward enough to plan around, and the Heavensward content they are tied to is among the best in the game.
Key pressure points:
- Extended aetheric density farming across multiple duties
- Dungeon and trial clears at several stages
- Crafted material and tomestone turn-ins
- Long chain with many steps but predictable forward progress throughout
Final Stage: Anima Lux Weapon
5 — Phantom Weapons (Dawntrail)
Moderate — Modern Relic Progression
Phantom weapons represent the current generation of relic design — a system built around multiple content sources, repeatable loops, and a progression structure that gives players some choice in how they advance. The grind is real and requires genuine time investment, but it is built to accommodate the modern player rather than test their endurance.
The Occult Crescent FATE farming is the system’s main time sink, and it has the sprawling, communal quality of Eureka without the zone-leveling prerequisite that makes Eureka so front-heavy. Duty roulettes, crafted materials, and relic currency exchanges give players additional avenues for progress that fit into standard daily play routines rather than demanding dedicated extended sessions.
As a current-expansion relic, Phantom weapons are also still evolving. The final stages are available but the system may see further additions or adjustments before the expansion concludes. Players starting now are building toward a grind that may not yet be fully mapped.
For players who want a relic grind that fits into regular play rather than demanding marathon sessions, Phantom weapons are the most accessible meaningful system currently in the game.
Key pressure points:
- FATE farming in the Occult Crescent regions
- Duty roulettes and crafted material turn-ins
- Relic currency exchanges across multiple stages
- Current-expansion system that may see further updates
Final Stage: Phantom Weapon Obscurum
6 — Manderville Weapons (Endwalker)
Easy — The Most Accessible Relic System
Manderville weapons are the clearest expression of what relic design looks like when the priority is accessibility over endurance. The system strips away almost everything that made earlier relics feel punishing — no RNG drops, no exploration zone prerequisites, no battlefield progression requirements — and replaces it with a straightforward tomestone collection loop that most players can complete through normal play.
That simplicity is a deliberate design choice, not an oversight. Endwalker’s relic system was built to be completable alongside other content rather than being a project that consumes the expansion’s entire mid-patch cycle. The result is a weapon that carries prestige by virtue of being a relic, but not by virtue of the grind required to obtain it.
For players who want a relic weapon without clearing their schedule, Manderville is the answer. For players who derive satisfaction from a grind that resists them, it will feel like it ends before it begins.
Key pressure points:
- Tomestone farming across multiple stages
- Minimal RNG exposure
- No exploration zone or battlefield progression requirements
- Straightforward forward progress with no significant friction points
→ Full Manderville Weapons Guide
Which Relic Weapon Should You Farm?
The right relic system depends entirely on what kind of grind you want — and what you want to have at the end of it.
If prestige and the satisfaction of finishing the hardest thing in the category are what you are after, the Zodiac Weapons are the only honest answer. No other system demands as much or rewards the completion with the same sense of having genuinely earned something. The grind will take longer than you expect and test your patience in ways the other systems do not. That is the point.
If you want an immersive, zone-focused grind with a strong community dimension, Eureka Weapons offer something the other systems cannot replicate — the feeling of a world that operates on its own rules and asks you to meet it on its terms. Players who fall in love with the Eureka zones find the grind inseparable from the experience. Players who do not will find it punishing.
If you want variety and a narrative throughline that gives the grind context, Resistance Weapons are the strongest mid-tier option. The Bozjan content is engaging, the progression is directed without being rigid, and the Blade’s Weapon feels like something earned through a complete system rather than a single repeated loop.
If you want a legacy grind that is substantial without being punishing — a project you can plan around and steadily complete without committing to marathon sessions — Anima Weapons are the answer. They represent the best balance of length and predictability in the roster.
If you want something that fits into regular play rather than demanding dedicated grind time, Phantom Weapons are the current best option. The system is designed for sustained engagement over weeks rather than intensive sessions, and it remains the most accessible meaningful relic grind in the game right now.
And if you simply want the relic weapon in your glamour dresser with the least friction between here and there, Manderville Weapons will get you there faster than anything else on the list.
Guildmaster Notes
Relic weapons are not gear. They stopped being gear around the time the next tier of content rendered them obsolete — which, depending on the expansion, was sometimes before the grind was even finished. What they are is something harder to name and easier to understand: a record of time spent, a marker of patience, a thing you chose to do when you could have done something easier.
The Zodiac Zeta is the clearest example of that. Nobody farms it because they need the stats. They farm it because it is there, and because finishing it means something about them that a faster grind would not. The weapon is proof of a decision — the decision to start something that resisted them and to stay with it until it was done.
Every relic system in this list represents a different version of that decision. Eureka asks whether you can commit to a world that does not care about your schedule. Resistance asks whether you can sustain engagement across a full progression system rather than a single repeatable loop. Anima asks whether you have the patience for steady, unspectacular forward progress. Phantom asks whether you will show up consistently over weeks. Manderville does not ask very much at all, which is its own honest answer about what kind of player it was built for.
None of these is the wrong choice. The wrong choice is starting a relic grind with the wrong expectations — underestimating Zodiac, burning out in Eureka, or expecting Manderville to feel like an achievement on the scale of a Physeos. Know what the system is before you start it. Then decide whether that is what you want.
The relics will be there when you are ready. They are not going anywhere.
Related Relic Guides
Relic Weapons
Relic Armor