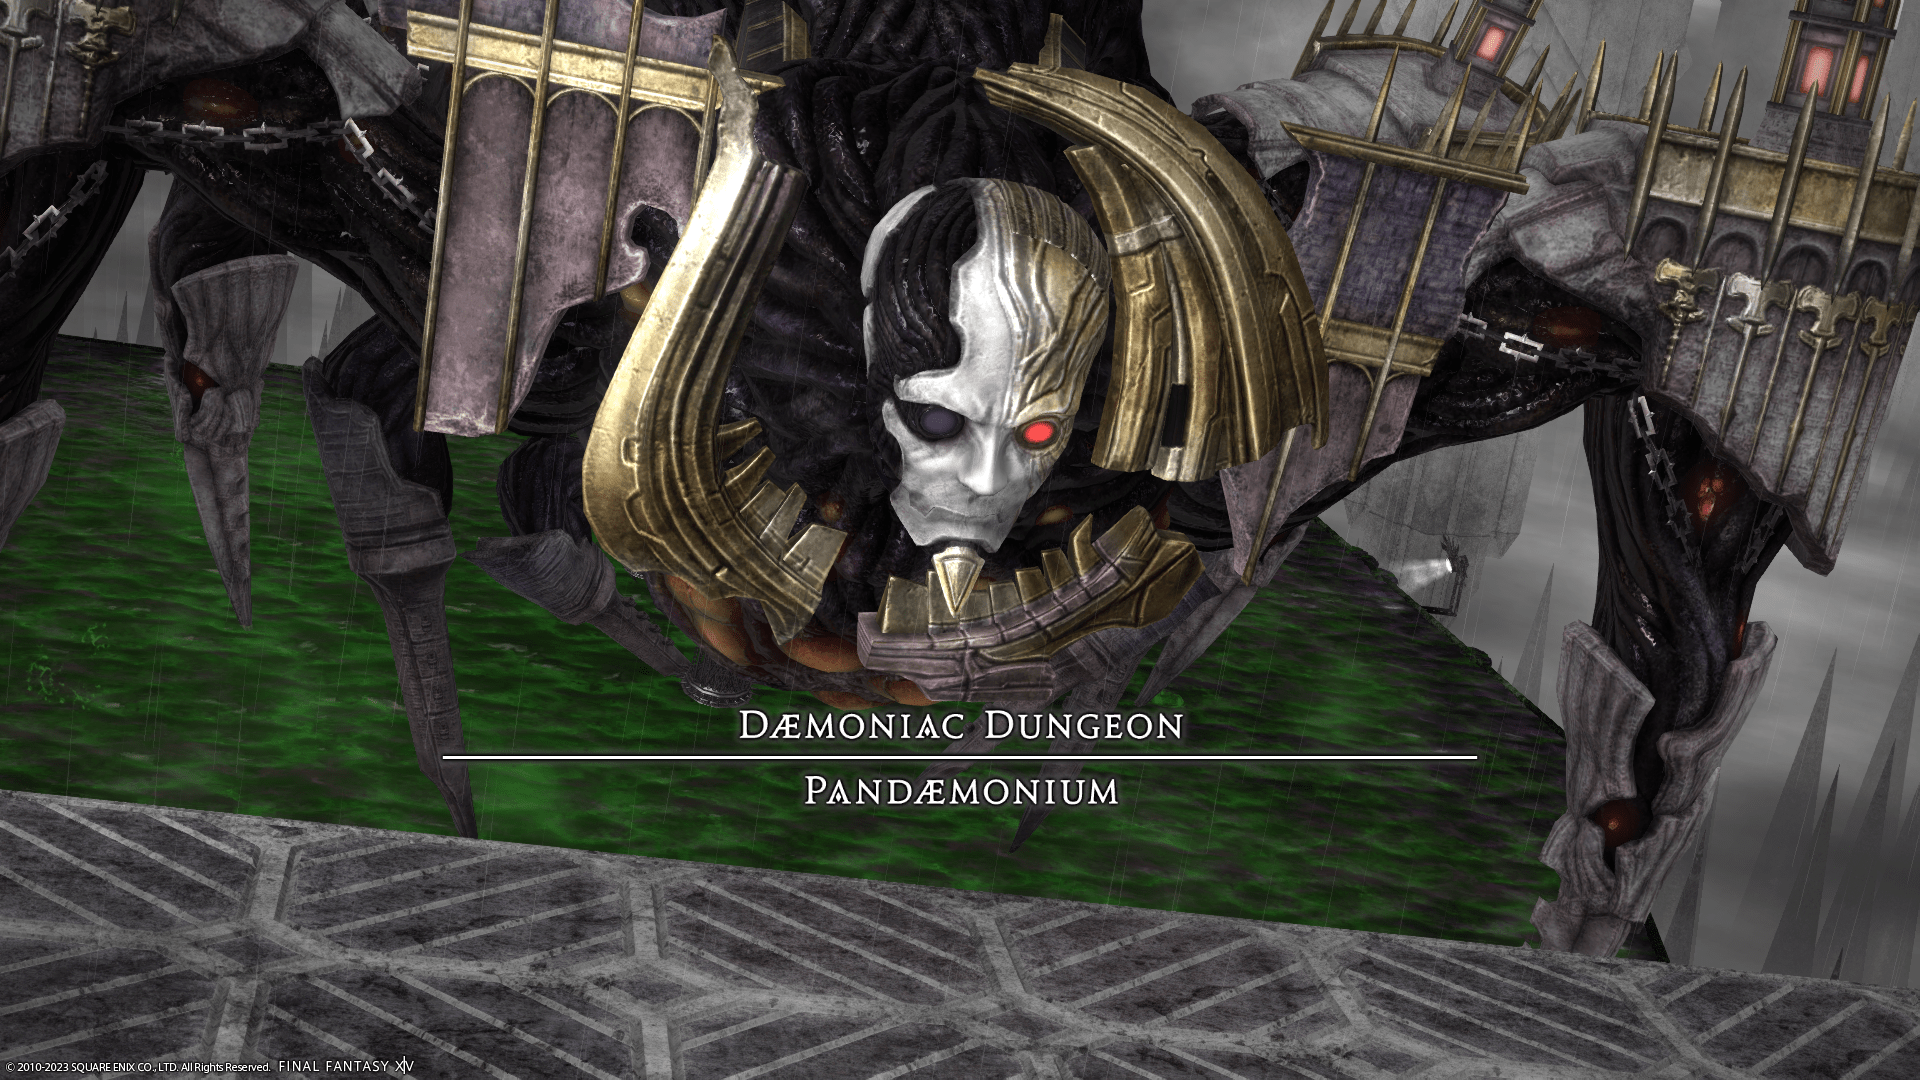
P10S Pandaemonium Raid Guide – Pandaemonium Anabaseios (Savage)
Expansion: Endwalker
Raid Series: Pandaemonium
Raid Tier: Anabaseios
Encounter: P10S – Pandaemonium
Players: 8 (Tank / Tank / Healer / Healer / DPS / DPS / DPS / DPS)
Duty Finder Type: Savage Raid
Unlock Requirement: Complete P10N Pandaemonium
← Back to Pandaemonium Anabaseios Raid Tier
Encounter Overview
Pandaemonium Savage expands heavily on the Normal mode encounter, introducing complex positioning mechanics, coordinated tower soaking, web interactions, and layered debuff resolutions.
The encounter revolves around controlling web mechanics, tower assignments, and debuff resolutions while navigating between multiple platforms connected by temporary web bridges.
Several mechanics require strict role assignments including:
• partner pairings (1 DPS + 1 support)
• light party stacks
• tower assignments
• Silkspit spread positions
Players must also carefully avoid environmental hazards such as poison pools and arena edges.
Most mechanic failures result in Damage Down, making later phases significantly harder to recover.
Arena Overview
The fight takes place across three primary platforms:
• a center platform
• two side platforms
Important hazards include:
Poison Pools
• located between platforms
• inflict Concentrated Poison
• extremely difficult to survive due to healing reduction and heavy damage-over-time
Arena Edges
• players may fall off the arena
• they can be resurrected after a delay but this often causes mechanic failures
Web Bridges
• created through Entangling Web mechanics
• allow safe traversal between platforms.
Correct bridge placement is essential for several mechanics later in the fight.
Mechanic Archive
Ultima
Heavy raidwide damage that inflicts Bleeding.
Response
• mitigate and heal.
Soul Grasp
Multi-hit shared tankbuster.
Targets the highest enmity player.
Response
• tanks stack and mitigate
• can be soloed with invulnerability cooldowns.
Dividing Wings Phase
Dividing Wings
Two winged rods spawn on the center platform.
One tethers a random DPS
One tethers a random support
Each tethered player will fire a wide conal AoE.
Response
• aim cones away from the party
• avoid overlapping the raid.
Steel Web
Two players receive stack markers and web AoEs.
Each stack must include:
• the marked player
• exactly two additional players
Players in the stack become webbed and immobilized.
Response
• tethered players must break webs by running through them
• web breakers gain Heavy Soul Snare, limiting how many webs they should break.
Improper stacks create unbreakable pink webs, resulting in deaths.
Circles of Pandæmonium
Donut AoE.
Safe zone is inside the boss hitbox.
Pandæmon’s Holy
Point-blank AoE.
Safe zone is outside the boss hitbox.
Wicked Step
Two tankbuster towers appear on each side platform.
Each must be soaked by one tank.
After soaking, the tanks are knocked away from the tower.
Response
• tanks position to land safely on side platforms.
Entangling Web
Four players receive AoEs.
These must be dropped at the arena posts to create web bridges.
Response
• two players drop webs on left posts
• two players drop webs on right posts
• AoEs must overlap to create bridges.
Pandæmoniac Pillars
Eight towers spawn on the center platform.
Each requires one player.
Tower assignments typically follow role structure:
• tanks → northwest/northeast
• healers → center towers
• melee DPS → east/west
• ranged DPS → southeast/southwest
Failing towers causes raidwide damage and vulnerability stacks.
Tower Add Mechanics
Towers spawn one of two adds:
Imprisonment
• point-blank AoE
Cannonspawn
• donut AoE
Players hit gain Doom and Damage Down.
Silkspit
Each player receives a large web AoE.
Players must spread fully to avoid tethering each other or nearby posts.
Common strategy:
• tanks/melee → side platforms
• healers/ranged → cardinal positions on center platform.
Pandæmoniac Bonds Mechanics
Players receive debuffs that determine how they must stack.
Dæmoniac Bonds
Spread AoE.
Entire party receives this.
Duodæmoniac Bonds
Two-player stack.
Requires exactly two players.
Typically resolved with partner pairs.
Tetradæmoniac Bonds
Four-player stack.
Usually resolved as role stacks.
Pandæmoniac Meltdown
One player receives a line stack marker.
Two players receive orange markers that fire line AoEs.
Response
• unmarked players stack for the line stack
• marked players stay separate.
Touchdown
Large expanding AoE covering the center platform.
Response
• move to side platforms.
Pandæmoniac Turrets Phase
Eight towers spawn in north and south rows.
Each spawns an add that fires Peal of Condemnation line attacks.
Adds are numbered 1–4 indicating firing order.
Players must soak the beams in sequence.
Typical strategy:
1 → melee DPS in front
2 → ranged DPS in front
3 → healer in front
4 → tank solo
Front players receive Dark Resistance Down II, preventing repeated front positioning.
Pandæmonic Ray
Half-room cleave based on boss facing direction.
Players hit receive Hysteria, causing uncontrolled movement.
Jade Passage
Arcane Sphere adds fire line AoEs through the arena.
Safe zones exist between the spheres.
Dividing Wings Phase 2
Similar to the first Dividing Wings mechanic but occurs on the side platforms.
Players split by role:
• supports → one platform
• DPS → opposite platform
Tethered players aim cones away from the group while stacks resolve.
Pandæmonic Web
Complex web setup used to build a reinforced web barrier.
Players must:
• stack correctly
• drop overlapping web AoEs at southern posts.
Correct placement creates an impassable web wall.
Harrowing Hell
Massive multi-hit raidwide damage sequence.
Damage ramps up throughout the cast.
Tanks must stand at the front due to increased damage.
The mechanic ends with a powerful knockback.
If the reinforced web wall exists:
• the wall blocks the knockback.
If not:
• players are knocked off the arena and wipe.
Final Phase
The boss repeats earlier mechanics with higher pressure:
• Ultima
• Soul Grasp
• Wicked Step
• Entangling Web
• Silkspit
• Pandæmoniac Pillars
• Pandæmoniac Meltdown
Enrage
Harrowing Hell (Final)
The boss repeats Harrowing Hell.
If the party survives the damage sequence, a final knockback launches all players off the arena, ending the fight.
The boss must be defeated before this point.
Related Encounters
| Order | Boss | Normal Guide | Savage Guide |
|---|---|---|---|
| 1 | Kokytos | P9N Guide | P9S Guide |
| 2 | Pandaemonium | P10N Guide | P10S Guide |
| 3 | Themis | P11N Guide | P11S Guide |
| 4 | Athena | P12N Guide | P12S Guide |
← Back to Pandaemonium Anabaseios
← Back to Endwalker Raid Archive
← Back to FFXIV Raid Archive