Ark Angels Raid Guide – FFXIV Jeuno: The First Walk
Expansion: Dawntrail
Raid Series: Echoes of Vana’diel
Raid: Jeuno: The First Walk
Boss: Ark Angels
Players: 24 (Alliance Raid)
Duty Finder Type: Alliance Raid
Unlock Quest: Echoes of Vana’diel
← Back to Dawntrail Raid Archive
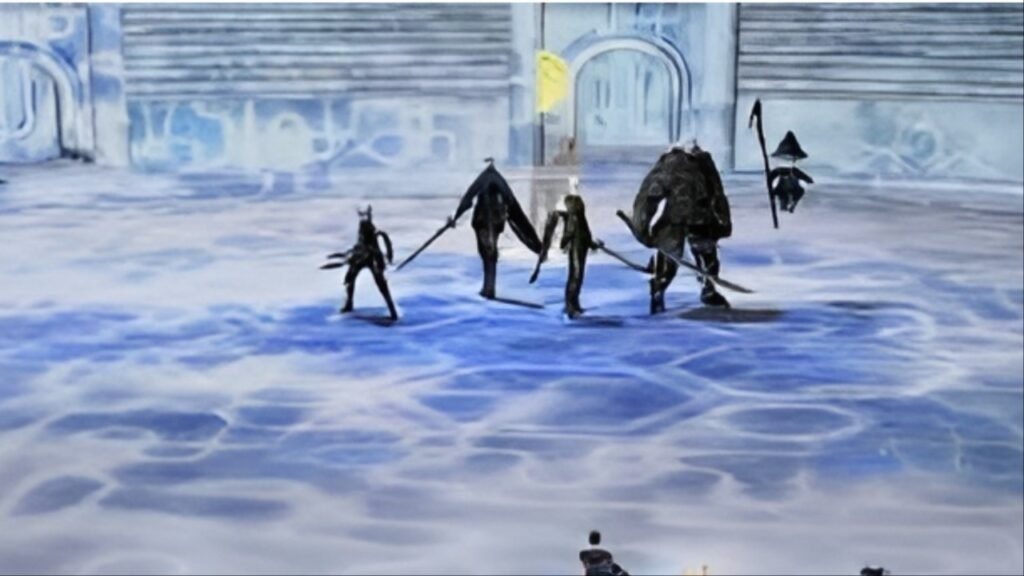
Encounter Overview
The Ark Angels encounter features five bosses fought across multiple phases:
• Ark Angel MR
• Ark Angel EV
• Ark Angel HM
• Ark Angel GK
• Ark Angel TT
Initially only MR, GK, and TT are targetable. Later phases introduce HM and EV, and eventually all five bosses become active simultaneously.
Unlike most multi-boss encounters, the Ark Angels do not need to be separated. Keeping them centered is usually safest.
The bosses also share health balancing mechanics — if one becomes significantly lower in health than the others, the remaining bosses will transfer health to maintain parity.
Arena Overview
The battle takes place on a circular platform.
Arena hazards include:
• damaging edge AoE zones after pull
• overlapping boss mechanics
• gaze attacks
• rotating AoEs
Movement awareness and positioning discipline are required throughout the encounter.
Mechanic Archive
The Decisive Battle
Each of the three initial bosses tethers an entire alliance.
Players receive one of the following buffs:
• Epic Hero
• Fated Hero
• Vaunted Hero
Each alliance receives the same buff.
Each boss receives a matching Villain debuff.
Players must attack the boss that matches their buff color. Attacking the wrong boss deals no damage.
Response
• identify your alliance buff
• attack the corresponding boss
Cloudsplitter
Ark Angel MR targets all three tanks with magical tankbuster AoEs.
Response
• tanks mitigate
• healers prepare tank healing
Meikyo Shisui
Ark Angel GK executes several overlapping attacks.
Tachi: Yukikaze
Crisscrossing ice line AoEs.
Tachi: Kasha
A flower-shaped AoE that expands outward.
Tachi: Gekko
A floating orb with a gaze attack.
Players looking at the orb become Petrified.
Afterward:
• the orb creates growing cone AoEs (Concerted Dissolution)
• the flower becomes a donut AoE (Light’s Chain)
Response
• avoid line AoEs
• look away from gaze orb
• reposition for donut/cone explosions
Meteor
Ark Angel TT begins casting Meteor.
This cast must be interrupted.
If allowed to complete, it deals massive raidwide damage.
Response
• interrupt the cast immediately
Havoc Spiral
MR creates three rotating cone AoEs.
The cones rotate in the direction of arrows.
This is followed by Spiral Finish, a radial knockback.
Response
• avoid rotating cones
• use knockback immunity or position carefully
Dragonfall
GK tethers one healer from each alliance.
Each healer receives a stack marker.
GK leaps to each target dealing split damage.
This attack applies Piercing Resistance Down, so stacks must not overlap.
Response
• each alliance resolves their stack separately
Guillotine
Ark Angel TT spawns an expanding AoE with the rear of the boss safe.
The AoE persists for four hits.
Response
• move behind TT
Phase Transition
MR, GK, and TT disappear.
Ark Angel HM and EV become targetable.
Alliance buffs disappear and players can attack any boss.
Dominion Slash
Ark Angel EV casts magical raidwide damage.
This also spawns light orbs that sink into the ground, leaving pulsating AoEs.
Players touching them take heavy damage and are launched upward.
Response
• mitigate raidwide
• avoid pulsating zones
Utsusemi
Ark Angel HM summons four clones.
Each clone tethers a random player and places a running marker on them.
HM then casts Mighty Strikes, causing clones to deal critical damage.
If tethered players collide with their clone they take lethal damage.
Response
• kite away from your clone
Cross Reaver
HM spawns two perpendicular line indicators.
These later explode as large line AoEs.
Response
• move outside line indicators
Holy
Ark Angel EV casts magical raidwide damage.
Response
• mitigate and heal
Mijin Gakure
HM prepares a powerful attack.
EV becomes untargetable and protects HM with Ark Shield.
Players must destroy the Ark Shield quickly to interrupt HM.
Failure results in a raid wipe.
Response
• destroy Ark Shield immediately
Boss Return Phase
MR, TT, and GK return and become targetable again.
Multiple mechanics overlap:
• Rampage (MR) — sequential line charges ending in a circle AoE
• Guillotine (TT)
• Meikyo Shisui (GK) combined with
• Cross Reaver (HM)
• Meteor (TT)
Players must resolve all overlapping mechanics simultaneously.
Final Phase
All five Ark Angels are now active.
Players can attack all bosses and should prioritize AoE damage.
Bosses continue using earlier mechanics.
Critical Reaver
When HM reaches low HP:
-
HM jumps to the center
-
casts Mighty Strikes
-
performs Critical Reaver, a four-hit physical attack
HM then begins casting an interruptible version of Critical Reaver that wipes the raid if not stopped.
Response
• interrupt immediately
Arrogance Incarnate
EV targets a random player with a five-hit stack marker.
This attack is usually followed by Cloudsplitter, forcing tanks to move away after stacking.
Response
• stack for damage
• tanks reposition afterward
Role Pressure Analysis
Tanks
Tanks handle Cloudsplitter tankbusters and boss positioning, while also managing add control when necessary.
Healers
Healers must sustain multiple raidwide attacks while handling Dragonfall stack mechanics.
DPS
DPS players must maintain damage uptime while reacting quickly to gaze mechanics, clone tethers, and interrupts.
Failure Points
Common wipes occur from:
• attacking the wrong boss during The Decisive Battle
• failing to interrupt Meteor
• looking at Tachi: Gekko gaze
• failing to destroy Ark Shield during Mijin Gakure
• clone collisions during Utsusemi
Difficulty Profile
| Category | Rating |
|---|---|
| Mechanical Complexity | High |
| Movement Requirement | High |
| Coordination Requirement | Moderate |
| Punishment Severity | High |
Ark Angels emphasizes multi-boss awareness and rapid reaction to overlapping mechanics.
Related Encounters
| Order | Boss | Guide |
|---|---|---|
| 1 | Prishe | Prishe Guide |
| 2 | Fafnir | Fafnir Guide |
| 3 | Ark Angels | Current Guide |
| 4 | Shadow Lord | Shadow Lord Guide |
← Back to Jeuno: The First Walk
← Back to Dawntrail Raid Archive
← Back to FFXIV Raid Archive