Shadow Lord Raid Guide – FFXIV Jeuno: The First Walk
Expansion: Dawntrail
Raid Series: Echoes of Vana’diel
Raid: Jeuno: The First Walk
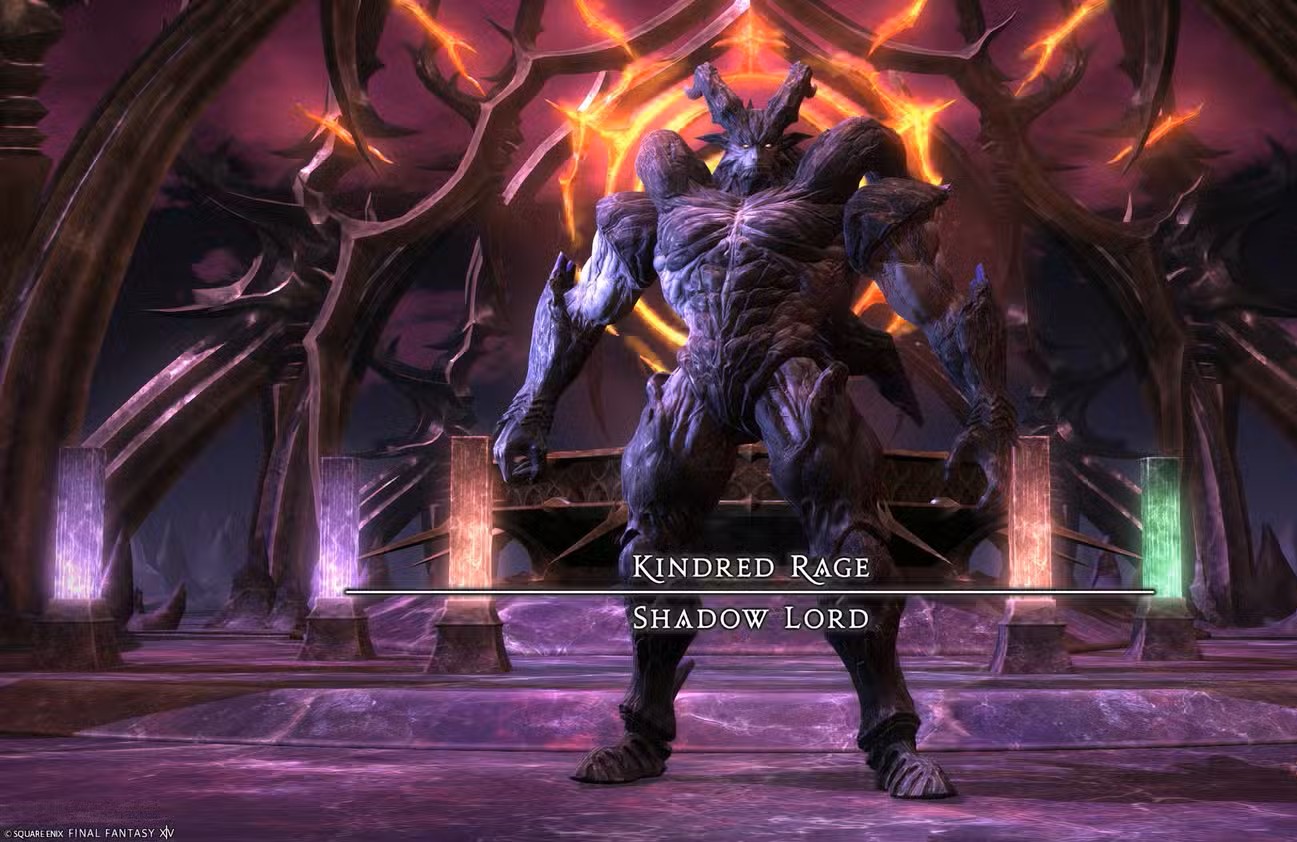
Boss: Shadow Lord
Players: 24 (Alliance Raid)
Duty Finder Type: Alliance Raid
Unlock Quest: Echoes of Vana’diel
← Back to Dawntrail Raid Archive
Encounter Overview
Shadow Lord is the final encounter in Jeuno: The First Walk, the Dawntrail alliance raid crossover with Final Fantasy XI.
The encounter is divided into two phases, beginning with large sweeping cleave mechanics before transitioning into a more complex battle involving knockbacks, clone attacks, and rotating platform mechanics.
Players must carefully read telegraphs and maintain positioning across multiple connected platforms while avoiding lethal arena hazards.
The arena is surrounded by a dangerous AoE throughout the fight.
Arena Overview
The encounter begins on a single circular platform before transitioning into a four-platform arena connected by narrow pathways.
Arena hazards include:
• lethal edge AoEs
• spike formations that reshape safe zones
• knockback mechanics
• multi-platform navigation
Movement awareness becomes increasingly important during Phase 2.
Mechanic Archive
Giga Slash
Shadow Lord prepares a massive sword attack.
Two sweeping sword indicators appear sequentially.
• First cleave: ~225° to either the left or right side
• Second cleave: 270°, leaving the opposite side safe
Response
• move to the safe side of the first cleave
• reposition immediately for the second sweep
Umbra Smash
Four cardinal line AoE indicators appear in sequence.
These later cascade outward as large line explosions.
Response
• move between the lines as they expand
Flames of Hatred
Magical raidwide damage.
Response
• mitigate and heal
Implosion
Shadow Lord channels energy through two orbs.
Two semicircular AoEs appear.
One orb grows larger, indicating that its side will expand into a half-arena AoE.
Response
• identify the larger orb
• move to the opposite side
Cthonic Fury
Heavy magical raidwide damage.
The arena transforms into four circular platforms connected by narrow pathways.
Everything outside the platforms becomes a lethal AoE.
Dark Sigil Spikes
Orange spike formations appear either around each platform or in a square formation.
The spike direction determines the safe zones.
Circular Formation
If spikes point inward
→ circle AoEs occur, leaving walkways safe
If spikes point outward
→ donut AoEs occur, leaving platform centers safe
Square Formation
If spikes point inward
→ outside of the square is safe
If spikes point outward
→ inside of the square is safe
The attack is shown twice in the same shape to demonstrate both patterns.
Dark Nebula
A horizontal or vertical line appears on the arena edge.
This indicates a bi-directional knockback.
Response
• position so knockback sends you onto a safe platform
• or use knockback immunity
Echoes of Agony
A multi-hit stack marker appears on a random player.
Deals five hits of magical damage.
Response
• stack with the alliance
• heal through damage
Arena Reset
Another Cthonic Fury occurs, restoring the arena to its original layout.
Phase 2 – Nightfall
Shadow Lord jumps to the north edge of the arena and casts Nightfall, equipping armor and gaining the Lord Unshadowed buff.
Tera Slash
Shadow Lord charges his ultimate attack.
A timer appears indicating Tera Slash in X seconds.
The attack deals extremely heavy physical damage.
Response
• mitigate heavily
• use raid mitigation and shields
Low item level players may die without mitigation.
Giga Slash: Nightfall
An upgraded version of Giga Slash.
Three cleaves occur:
• first two: east / west
• third: north or south
Response
• reposition after each cleave
Shadow Spawn
Two Lordly Shadow clones appear.
These clones replicate certain boss attacks.
Combined Cleave Sequence
Shadow Lord uses Giga Slash: Nightfall again while one clone performs Giga Slash, creating a sequence of five cleaves total.
Response
• read both boss and clone telegraphs
Dual Implosion
Shadow Lord casts Implosion, immediately followed by another Implosion from a clone.
Players must resolve both half-arena AoEs.
Unbridled Rage
Line AoE tankbuster targeting all three tanks.
Immediately followed by Nova, spread markers on random players.
Nova applies Magic Vulnerability Up.
Response
• tanks mitigate separately
• players spread for Nova
Echoes of Agony (Enhanced)
Now deals seven hits instead of five.
Response
• stack and heal through damage
Binding Sigil
Three sets of circular AoE indicators appear and disappear, showing the order of explosions.
Players hit receive Bonds of Loathing, causing a short bind before being launched upward.
Safe areas exist in the center of the first resolving circles.
Response
• move into the center of the earliest AoE indicator
Damning Strikes
Three towers spawn with stack markers.
Each alliance must handle one.
One player per alliance becomes trapped in a bubble and is launched into a tower.
Response
• each alliance handles one tower
• stack for damage
Platform Phase Return
Another Cthonic Fury transforms the arena again.
Dark Nebula (Sequential)
Four knockback indicators appear sequentially.
Players must allow themselves to be knocked between platforms in either a clockwise or counterclockwise rotation.
Shadow Lord then performs Giga Slash: Nightfall from the final platform.
Spread Markers
Multiple players receive spread markers during the spike mechanic sequence.
Response
• spread across platforms
Umbra Smash + Shadow Spawn
Shadow Lord performs Umbra Smash while both clones add additional line AoEs.
These combine into a rotated plus-shaped explosion.
Response
• move into the center once the telegraph disappears
Doom Arc
A long cast dealing heavy raidwide magical damage and applying Bleeding for 15 seconds.
The boss gains Damage Up afterward.
Response
• heavy mitigation
• heal through bleed damage
Final Phase Loop
Shadow Lord repeats Phase 2 mechanics until defeated.
Role Pressure Analysis
Tanks
Tanks handle Unbridled Rage tankbusters and must maintain positioning during multi-platform mechanics.
Healers
Healers must sustain heavy raidwide damage from Flames of Hatred, Echoes of Agony, Doom Arc, and Tera Slash.
DPS
DPS must maintain uptime while navigating platform transitions, knockbacks, and clone mechanics.
Failure Points
Common wipes occur from:
• incorrect positioning during Giga Slash chains
• being knocked into lethal zones by Dark Nebula
• failing tower stacks during Damning Strikes
• poor mitigation for Tera Slash
• being trapped by spike patterns during platform phases
Difficulty Profile
| Category | Rating |
|---|---|
| Mechanical Complexity | High |
| Movement Requirement | Very High |
| Coordination Requirement | Moderate |
| Punishment Severity | High |
Shadow Lord combines platform movement mechanics with overlapping boss and clone attacks, making positioning critical.
Related Encounters
| Order | Boss | Guide |
|---|---|---|
| 1 | Prishe | Prishe Guide |
| 2 | Fafnir | Fafnir Guide |
| 3 | Ark Angels | Ark Angels Guide |
| 4 | Shadow Lord | Current Guide |
← Back to Jeuno: The First Walk
← Back to Dawntrail Raid Archive
← Back to FFXIV Raid Archive