The Fractal Continuum Dungeon Guide (FFXIV Heavensward) – Boss Mechanics & Strategy
Duty Information
Expansion: Heavensward
Encounter: The Fractal Continuum
Players: 4 Players (1 Tank, 1 Healer, 2 DPS)
Duty Finder Type: Dungeon
Level: 60
Unlock Requirement: Do It for Gilly
Common Failure Points
- Getting clipped by Double Sever’s second rotation after dodging the first cone correctly.
- Taking 111-tonze Swing without mitigation and being caught off guard by its extreme damage and knockback.
- Failing to click a Biomass Incubator tube in time during 1111-tonze Swipe, allowing the room-wide AoE to land uninterrupted.
- Letting Clockwork Alarum adds spread their tile debuff across the Curator’s arena before killing them.
- Failing to cleanse Aetherochemical Explosive promptly, leaving the afflicted player taking heavy damage over time.


Dungeon Overview
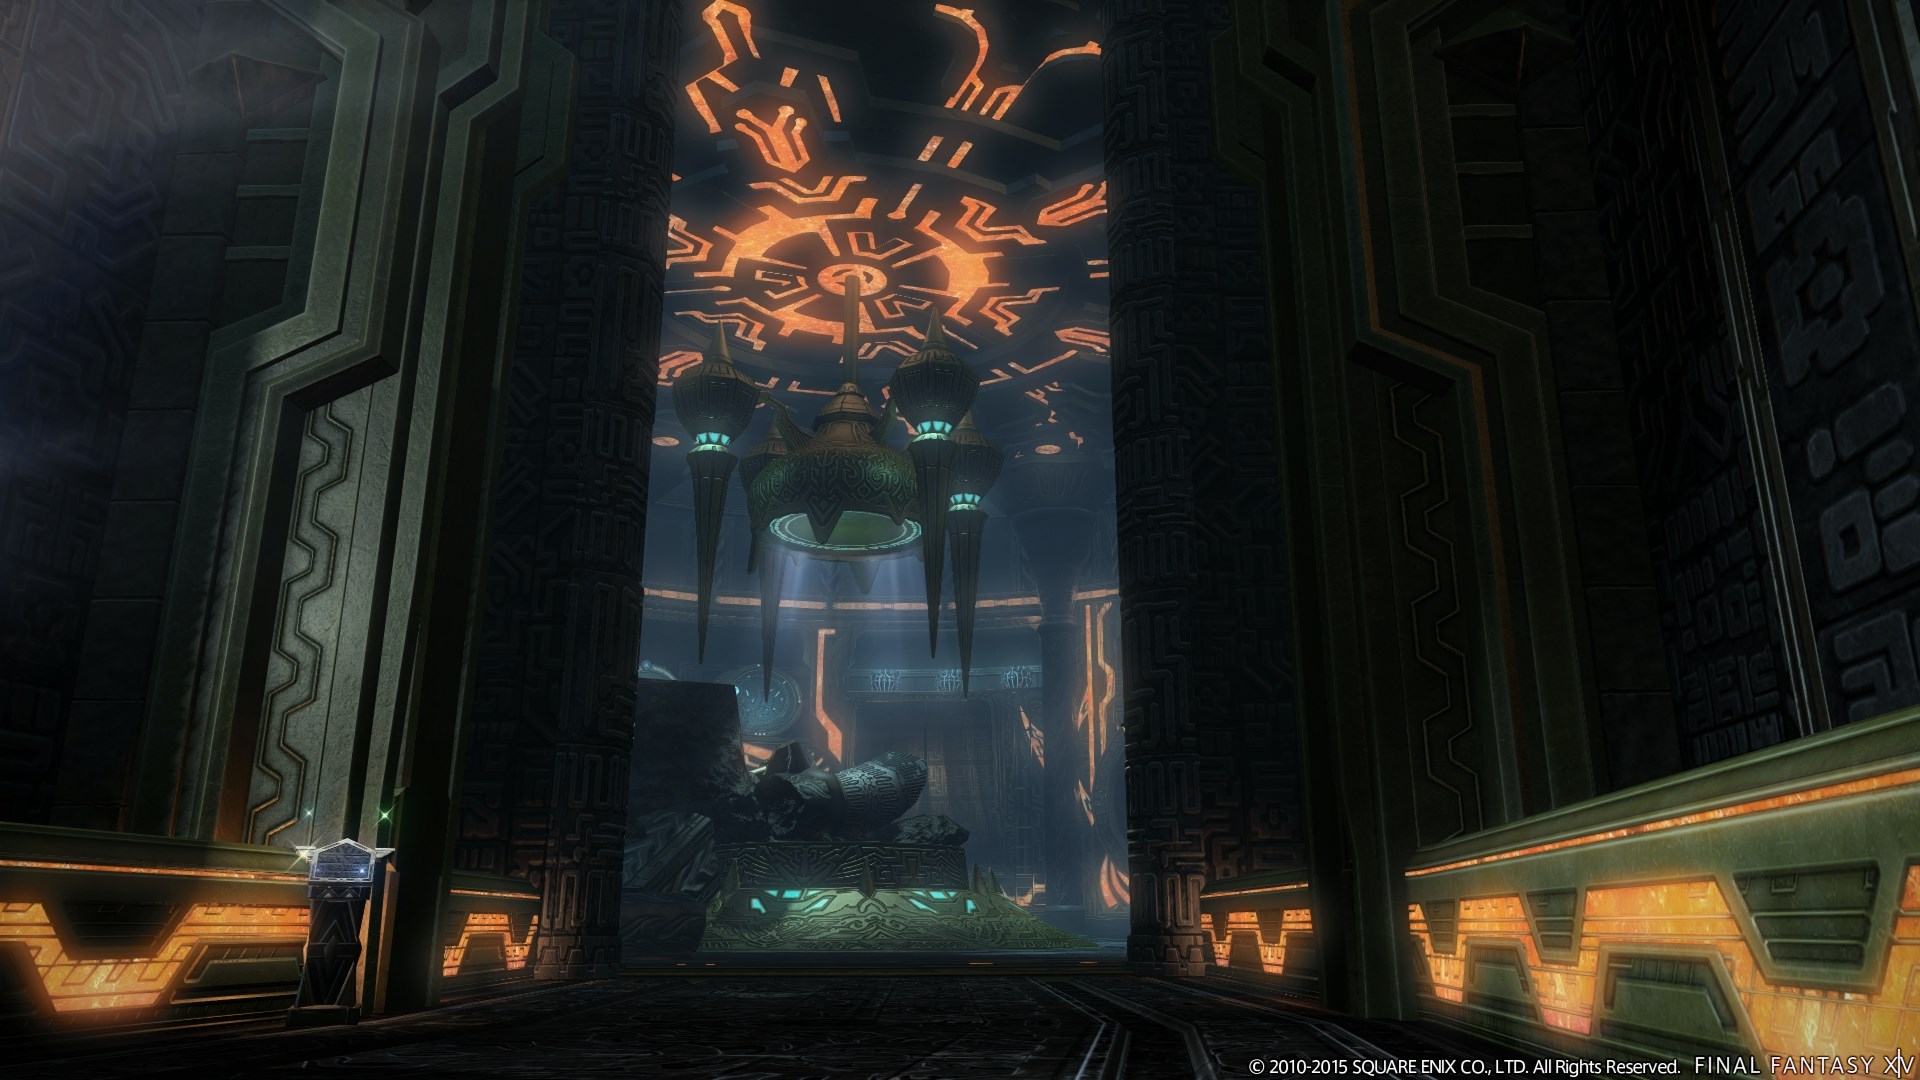
The Fractal Continuum is a level 60 dungeon introduced in patch 3.0 with Heavensward, set within a reconstructed Allagan museum housing preserved specimens and automated security systems. It is the second of the two post-MSQ level 60 optional dungeons available at the start of Heavensward, and its mechanical complexity reflects that positioning.
Each boss fight escalates in layered density. Phantom Ray introduces simultaneous multi-directional AoE patterns that punish players who only half-read the telegraph. The Minotaur strips away ground indicators entirely, demanding players internalize attack patterns rather than reacting to visual cues. The Curator is a full arena management fight combining add control, tile hazards, mines, and a must-cleanse debuff — all running simultaneously.
This is a dungeon that rewards attentiveness and punishes passivity. Every mechanic has a clean solution, but the solutions require paying attention to things other than the boss itself.
Need the unlock path? See All FFXIV Dungeon Unlock Requirements.
Dungeon Objectives
- Clear the History Gallery
- Defeat the Phantom Ray
- Clear the Soldiery Gallery
- Defeat the Minotaur
- Clear a route to the Security Deck
- Activate the violet control unit
- Activate the crimson control unit
- Activate the emerald control unit
- Defeat the Curator
Boss Encounters
Phantom Ray
Key Mechanics
- Double Sever — A two-stage conal AoE. The first hit fans out directly in front of and behind the boss; the second immediately follows on either side. As the fight progresses, Double Sever is accompanied by a large number of simultaneous circle AoEs across the arena.
- Rapid Sever — Tankbuster. Use cooldowns to mitigate the damage.
Strategy Notes
Phantom Ray is primarily a positioning fight built around reading Double Sever correctly. The two-stage nature of the attack means that dodging the first cone is not sufficient — the safe zone for the front-and-back hit becomes dangerous immediately when the sides fire, and vice versa. Players need to identify the full two-stage pattern and position in a spot that is safe for both hits simultaneously, or time a smooth movement between the two windows.
As the fight progresses and circle AoEs are added alongside Double Sever, the safe zone becomes more constrained. The same read applies — identify the conal pattern first, then find a position within the safe zone that is also clear of ground circles. Committing to a position early is safer than attempting to read both hazards simultaneously at the last second.
Rapid Sever is a straightforward tankbuster. Tanks should maintain cooldown readiness and pop mitigation when it appears on the cast bar. There is nothing else to manage here beyond standard tank discipline.
Failure Points
Most deaths come from reacting only to the first stage of Double Sever and stepping into the second stage’s cone. The attack is a sequence, not a single hit — read both stages before committing to a position. In the later phase when circle AoEs are added, the combined hazard becomes visually busy, so establish the conal safe zone first and then refine position within it.
Minotaur
Key Mechanics
Note: Neither 11-tonze Swipe nor 111-tonze Swing have ground AoE indicators. Both must be anticipated from the cast bar rather than a visible telegraph.
- 11-tonze Swipe — Forward-facing melee cleave with no ground indicator. Stay out of the boss’s facing direction.
- 111-tonze Swing — 360-degree melee cleave with knockback and no ground indicator. Deals extremely heavy damage. Mitigate appropriately and be ready for the knockback.
- Disorienting Groan — Mild AoE damage and knockback, followed by the boss rushing between players dealing moderate damage with each impact. Ends with 10-tonze Slash, a forward-facing line AoE.
- 1111-tonze Swipe — Room-wide AoE with a wind-up cast. Before it completes, one player — typically the healer or a ranged DPS — must click one of the Biomass Incubator tubes encircling the arena. This spawns a Flawed Shabti add that distracts the Minotaur and interrupts the attack. Kill the add immediately after it spawns.
Strategy Notes
The Minotaur is a boss designed to train players out of ground-indicator dependency. Two of its primary attacks — 11-tonze Swipe and 111-tonze Swing — have no visual AoE telegraph whatsoever. Players must track the cast bar and move based on the ability name rather than waiting for a floor marker to appear.
Learn to distinguish the two by cast name immediately. Swipe is a frontal cleave — step to the side or behind the boss. Swing is 360 degrees — there is no safe melee position when it fires, so accept the hit with mitigation ready and recover from the knockback quickly. Tanks should have a cooldown available for every Swing cast.
Disorienting Groan is a multi-stage sequence. The knockback repositions players, then the boss rushes through the party dealing impact damage, and it ends with a line AoE. Stay aware of your position after the initial knockback and be ready to dodge the closing slash.
1111-tonze Swipe is the fight’s most important coordination moment. As soon as the cast begins, the designated player — ideally a healer or ranged DPS who can act without interrupting tank or melee uptime — must find and click a Biomass Incubator tube on the arena edge. The tubes are visible around the perimeter; clicking one spawns a Flawed Shabti that immediately draws the Minotaur’s attention and cancels the room-wide attack. Kill the Shabti as soon as it appears. If no one clicks a tube in time and the cast completes, the full room-wide AoE lands — plan the responsibility in advance rather than hoping someone reacts in the moment.
Failure Points
Not reading the cast bar on 111-tonze Swing and failing to mitigate or position accordingly is the most common source of unexpected large tank hits. Missing the Biomass Incubator interaction on 1111-tonze Swipe and taking the uninterrupted room-wide AoE is the fight’s clearest wipe condition. Assign the tube responsibility before the pull and execute it the moment the cast bar appears.
The Curator
Key Mechanics
- Clockwork Alarum — Adds that periodically spawn along the arena edge. Each occupies a single floor tile and infects it with a damage debuff on contact. As they walk forward, they spread the debuff to additional tiles. Kill them immediately before they can advance.
- Aetherochemical Explosive — Heavy damage-over-time debuff applied to a random player. The healer must cleanse this with Esuna immediately.
- The Educator — Lights up a pattern of floor tiles. After a short delay, the lit tiles explode and deal heavy damage to any player standing on them. Move off highlighted tiles as soon as the pattern appears.
- Mines — Spawn on random floor tiles. Avoid them until they detonate on their own. Do not step on them.
- Heavy Magic Damage — The Curator deals consistent heavy magic damage to the tank. Maintain mitigation readiness throughout.
Strategy Notes
The Curator is a full arena management fight where four simultaneous hazard types must be tracked at all times. Each individual mechanic is manageable — the challenge is that none of them pause to let you handle the others, and each one compounds the difficulty of navigating the arena safely.
The tank should position the Curator in a corner, facing away from the party. This keeps the melee DPS’s attack angle predictable and reduces the area of the arena that the party needs to occupy. If a mine spawns in or near the tank’s corner, relocate early — do not wait until a Clockwork Alarum or Educator pattern forces an awkward reposition at the worst possible moment.
Clockwork Alarums are the highest kill priority. They spread their tile debuff as they move, and a few ignored Alarums can quickly corrupt enough of the arena that Educator tile patterns and mine positions leave players with dangerously few safe squares. Switch to them immediately every time they spawn and kill them before they take more than one or two steps.
The Educator’s tile pattern appears with a workable reaction window — move off the highlighted tiles as soon as they appear. When tiles are lit up at the same time mines are present and Alarums are walking, read the Educator pattern first, then navigate around mines to reach a safe uncorrupted tile.
Healers carry a dual responsibility on this boss: cleansing Aetherochemical Explosive the moment it lands on a player, and keeping the tank healthy through consistent heavy magic damage. Do not delay the cleanse — the DoT compounds quickly and a delayed cleanse during a busy mechanic window can become a kill.
In summary, the fight resolves cleanly if four habits are maintained: kill Clockwork Alarums first, stay off lit tiles, dodge mines, and cleanse Aetherochemical Explosive immediately.
Failure Points
Ignoring Clockwork Alarums and allowing them to corrupt large sections of the arena is the root cause of most Curator wipes — once enough tiles are infected, there is no longer enough safe floor to comfortably navigate the Educator patterns and mines simultaneously. Delayed Aetherochemical Explosive cleanses are the second most common source of deaths. Both are solved by consistent priority awareness throughout the fight.
Difficulty Assessment
The Fractal Continuum is a tightly designed post-MSQ dungeon that deliberately tests habits players can rely on too heavily in the main story dungeons — ground indicator dependency, passive add management, and single-mechanic focus. Each boss strips away a different crutch and forces a more complete kind of attentiveness.
The dungeon emphasizes:
- Multi-stage AoE pattern reading without relying on single-hit safe zones
- Cast bar awareness in the absence of ground telegraphs
- Proactive interrupt timing through environmental interaction
- Simultaneous multi-hazard arena management under sustained pressure
Groups who adapt to each boss’s specific demands will find The Fractal Continuum a satisfying and well-paced run. Those who play on autopilot will find the Minotaur’s missing indicators and the Curator’s layered hazards to be abrupt and punishing corrections.
Previous Dungeon: Neverreap | Next Dungeon: Saint Mocianne’s Arboretum
Guildmaster Notes
The Fractal Continuum is a museum. That is perhaps the most unsettling thing about it — not the preserved specimens, not the automated defenses, not even the Curator itself. It is the curation. Someone built this place to remember. To preserve. And what has been preserved is dangerous, indifferent, and entirely unconcerned with the distinction between exhibit and threat.
There is a particular kind of cold in a place built for permanence. The Allagan Empire is long gone, but The Fractal Continuum does not know that. It is still performing its function. Still protecting its collection. Still running. That persistence, more than anything else in the dungeon, is what lingers after the final boss falls.