The Sirensong Sea Dungeon Guide (FFXIV Stormblood) – Boss Mechanics & Strategy
Duty Information
Expansion: Stormblood
Encounter: The Sirensong Sea
Players: 4 Players (1 Tank, 1 Healer, 2 DPS)
Duty Finder Type: Dungeon
Level: 61
Unlock Requirement: Not without Incident
Common Failure Points
- Drifting away from Lugat during Amorphous Applause and losing all room to dodge the directional AoE.
- Failing to stack quickly after Overflow knocks the party to the arena edge, leaving someone isolated during the follow-up Hydroball.
- Allowing Shadowflow vulnerability stacks to accumulate by clipping shadow zones during The Governor encounter.
- Breaking the Enter Night tether too late, taking the full draw-in damage before escaping range.
- Misreading Morbid Advance and Morbid Retreat relative to personal facing direction rather than boss position, walking directly into a Virgin Tears zone.


Dungeon Overview
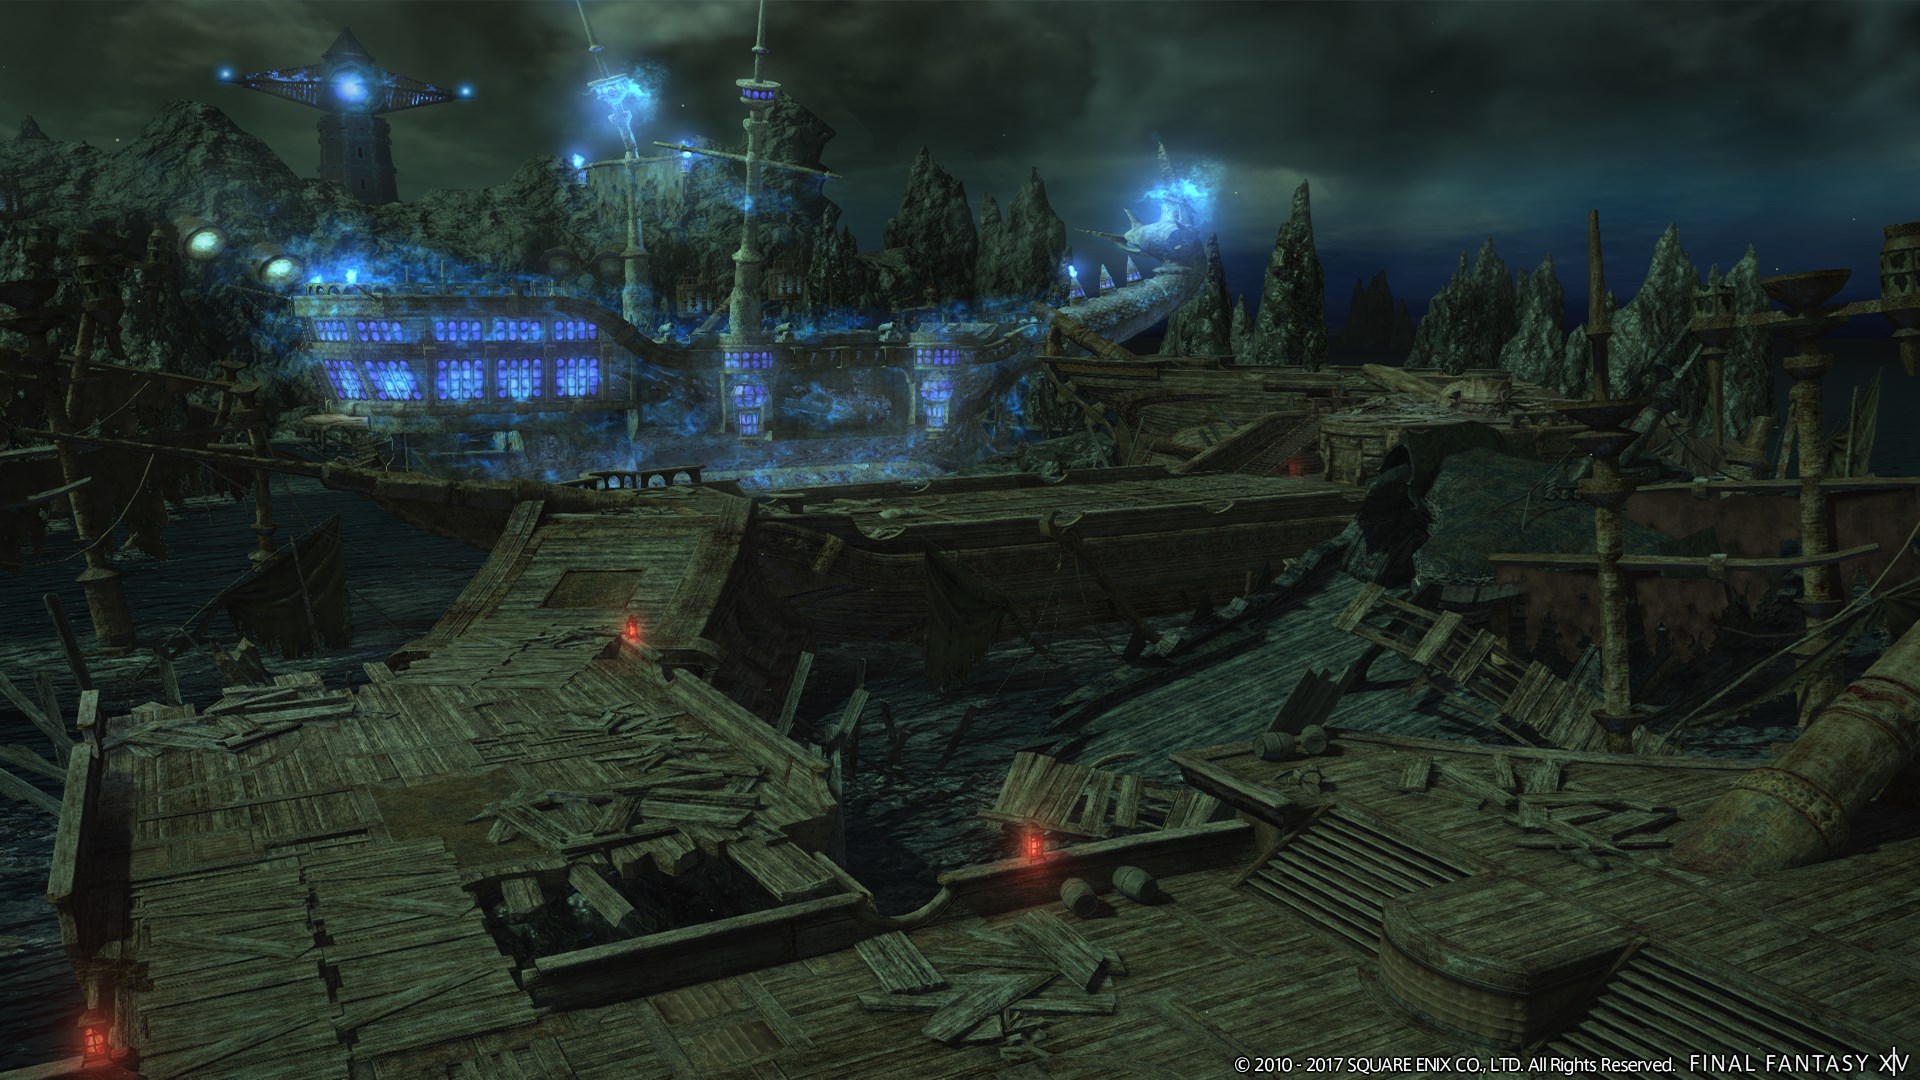
The Sirensong Sea is a level 61 dungeon introduced in Patch 4.0 with Stormblood. It serves as the first dungeon of the expansion, easing players into Stormblood’s tone while establishing that the new content will not simply coast on familiarity. The dungeon takes place aboard and around a ghostly, fog-shrouded fleet, blending nautical horror with the melancholic atmosphere that defines the expansion’s early chapters.
Mechanically, The Sirensong Sea is an entry-level dungeon that nonetheless demands attentiveness. Each of its three bosses introduces a distinct movement challenge — proximity management, arena contamination, and forced directional displacement — building a vocabulary of positioning awareness that Stormblood dungeons will continue to develop. None of these encounters are punishing by endgame standards, but they reward players who read the arena carefully rather than tunnel on the boss.
Lugat opens the dungeon with close-range AoE management and a knockback-into-stack sequence that catches passive players off guard. The Governor introduces persistent arena hazards that compound rapidly if ignored. Lorelei closes the run with the dungeon’s most distinctive mechanic: forced movement that players must pre-empt by planning their position before the cast resolves. All three encounters emphasise spatial awareness over reaction speed, making the dungeon a clean and well-constructed introduction to Stormblood’s design philosophy.
The Sirensong Sea is an approachable dungeon for most players, but first-time groups will find the Lorelei encounter in particular benefits from a brief explanation before the pull. Need the unlock path? See All FFXIV Dungeon Unlock Requirements.
Duty Support
- Carvallain — Marauder — Tank
- Alphinaud — Academician — Healer
- Lyse — Pugilist — DPS
- Alisaie — Red Mage — DPS
Dungeon Objectives
- Arrive at Spae Rock
- Defeat Lugat
- Arrive at the Warden’s Delight
- Defeat the Governor
- Arrive at Glowering Krautz
- Defeat Lorelei
Boss Encounters
Lugat
Key Mechanics
- Amorphous Applause — Large directional AoE. Staying close to the boss maximises the available dodge space.
- Hydroball — Targets one party member with a stackable AoE. The full party must stack to share the damage.
- Sea Swallows All — Pulls all players toward the boss, followed by Concussive Oscillation, a spread of AoEs across the arena. Find a safe gap, then return to melee range for the Amorphous Applause that follows immediately after.
- Overflow — Knocks the entire party to the arena edge. Run back to the centre immediately — Hydroball follows and requires a full stack.
Strategy Notes
The guiding principle of this fight is proximity. Amorphous Applause is a wide directional AoE that becomes nearly undodgeable if players are already at distance — staying tight to Lugat’s hitbox preserves the lateral space needed to step out of the telegraph cleanly. The tank should hold position close to the centre of the arena, and the rest of the party should resist the instinct to spread out during the fight.
Sea Swallows All into Concussive Oscillation is the sequence that trips up less attentive players. The pull brings everyone into close range, the AoEs then scatter across the arena floor, and players must navigate to a gap quickly. The critical detail is what comes next: once the oscillation resolves, move back in immediately. An Amorphous Applause follows, and anyone caught at range will have no room to dodge it.
Overflow resets the arena positioning entirely by launching the party to the edges. Do not pause to reorient — run straight back toward the boss. Hydroball is already in motion, and a scattered party means someone will eat the full, unstacked hit. Getting everyone central before the marker resolves is the only priority after a knockback.
Failure Points
Most damage taken in this fight traces back to range. Players who drift to the edge during Amorphous Applause have nowhere to go, and the AoE covers them entirely. Staying at distance feels intuitive when a boss has large AoEs, but here it is exactly the wrong instinct — the fight specifically rewards players who commit to staying close.
The Overflow into Hydroball sequence catches groups that are slow to recover from the knockback. If even one player fails to reach the stack marker in time, the unshared damage is severe. Treat the knockback as a starting pistol and move without hesitation.
The Governor
Key Mechanics
- Bloodburst — Party-wide raidwide damage.
- Shadowflow — Spawns persistent shadow zones across the arena floor. Contact applies stacking magic damage vulnerability.
- Enter Night — Marks a player and creates a tether. The targeted player must run away from the boss to break the tether before the draw-in resolves.
- Shadowsplit — Summons miniature copies of The Governor. Each copy places additional shadow zones during the subsequent Shadowflow cast, dramatically increasing arena contamination.
Strategy Notes
This fight is an arena management exercise. Shadowflow places dark zones across the floor that do not disappear between casts, and each new wave adds to whatever remains from the last. Players who clip these zones repeatedly will accumulate vulnerability stacks that healers cannot efficiently correct, and the fight will trend toward a wipe through attrition rather than any single punishing hit.
The key to managing the arena is anticipation. Before each Shadowflow cast, identify the largest open area and move there preemptively rather than shuffling around after the zones appear. The zones themselves are readable — the shadow telegraph is visible before it activates — so there is no excuse for standing in one when it resolves. Treat clean feet as the primary job of every player in this encounter.
Shadowsplit escalates the contamination significantly. The clones each contribute their own Shadowflow zones, which means the available floor space after a Shadowsplit cast is substantially smaller than before it. Groups should expect to compress their positioning and be even more deliberate about where they stand heading into the next shadow wave.
For Enter Night, the marked player needs to run away from the boss with purpose. The tether has a break threshold — exceed it and the effect ends cleanly. Hesitating or running at an angle rather than directly away risks the draw-in catching the player before the tether snaps, which deals significant damage and drags them back into any nearby shadow zones.
Failure Points
Vulnerability stack accumulation is the slow death of most groups on this boss. No individual shadow zone contact is lethal, but the stacks compound quickly, and healers will find themselves overwhelmed trying to keep up with avoidable damage. Groups that treat each zone contact as inconsequential will often find themselves losing players in the later stages of the fight when the arena is heavily contaminated and the stacks have mounted.
The post-Shadowsplit phase is where stack-damaged groups tend to collapse entirely. With more zones on the floor and less room to manoeuvre, any vulnerability accumulation from earlier in the fight becomes unmanageable. The Governor rewards groups that kept themselves clean from the first cast — groups that did not will find the final phase very unforgiving.
Lorelei
Key Mechanics
- Somber Melody — Party-wide raidwide damage.
- Void Water III — Targeted AoE on a specific party member.
- Virgin Tears — Places persistent damage-over-time zones across the arena, eventually forming a ring around the outer edge. Zones fade after either Morbid Advance or Morbid Retreat resolves.
- Morbid Advance — Forces all players to move forward relative to the direction they are currently facing.
- Morbid Retreat — Forces all players to move backward relative to the direction they are currently facing.
Strategy Notes
Lorelei’s defining mechanic is forced displacement. Morbid Advance and Morbid Retreat push or pull players in the direction they are personally facing — not toward or away from the boss. This distinction is critical and is the source of almost every death in this encounter. A player facing away from the boss will be pushed further away by Morbid Advance; a player facing toward the boss will be pushed directly into her. The forced movement does not care about boss position — it cares about your facing direction at the moment of resolution.
The interaction with Virgin Tears is what makes this dangerous. Lorelei places DoT zones across the arena before casting either Morbid ability, and those zones persist until the cast resolves. Players must identify where the forced movement will carry them and ensure that destination is clear of active zones. This means positioning yourself not where you want to stand now, but where the movement will land you. Face toward an open area for Morbid Advance; face toward an open area behind you for Morbid Retreat. The zones fade after the cast, but that is no help if you have already stepped through one.
As the fight progresses, Virgin Tears fills the outer ring of the arena entirely, shrinking the usable space. Staying central reduces the risk of being pushed into a wall of zones, and it gives more flexibility in facing direction. When the ring is fully formed, prioritise staying away from the edges and plan each Morbid cast with the reduced arena in mind.
Void Water III is a straightforward targeted AoE — the marked player should move away from the group briefly to avoid splashing anyone. Somber Melody is unavoidable raidwide damage that healers should anticipate. Neither mechanic competes with the spatial demands of Morbid Advance and Morbid Retreat for attention, but both add healing pressure during the forced-movement sequences if ignored.
Failure Points
The overwhelming majority of deaths on Lorelei come from misunderstanding the facing direction rule. Players who treat Morbid Advance as a push away from the boss and Morbid Retreat as a pull toward her will position incorrectly on nearly every cast. The mechanic is player-relative, and internalising that distinction before the pull is the single most important preparation a group can make for this encounter.
The late-phase arena, with the outer ring of Virgin Tears fully established, removes the option of repositioning freely. Groups that have not developed a clean habit of pre-positioning for Morbid casts will find themselves with nowhere safe to face. This is not a mechanical escalation so much as a consequence of earlier imprecision — the fight does not get harder, it simply stops forgiving the habit of reacting rather than anticipating.
Difficulty Assessment
The Sirensong Sea sits at the easier end of Stormblood’s dungeon roster. Its mechanics are well-telegraphed, the damage is forgiving by later-expansion standards, and none of the three bosses have sequences that require precise coordination between party members beyond stacking for Hydroball. That said, each encounter introduces at least one mechanic that is genuinely novel at level 61, and groups that ignore the explanations will find themselves taking avoidable damage throughout.
- Close-range positioning discipline during Lugat’s Amorphous Applause
- Persistent arena contamination management against The Governor
- Player-relative forced displacement during Lorelei’s Morbid casts
- Stack timing and knockback recovery throughout the run
Groups that read mechanics and communicate briefly before each boss will clear The Sirensong Sea without significant difficulty. The pacing is generous, the visual telegraphs are readable, and none of the encounters demand anything beyond attentive play. Players who are comfortable with Heavensward dungeon conventions will find the mechanical step-up manageable and satisfying.
Groups that freeroll every encounter without reading telegraphs will accumulate steady, unnecessary damage — particularly on The Governor, where vulnerability stacks from shadow zones can quietly destabilise a run. Lorelei will also punish parties that attempt to intuit Morbid Advance and Morbid Retreat on the fly rather than understanding the facing-direction rule before the pull. The dungeon is not punishing, but it does require enough engagement to reward it.
Next Dungeon: Shisui of the Violet Tides
Guildmaster Notes
There is something particular about a ghost ship that no living crew can fully explain. The Sirensong Sea does not roar or threaten — it drifts. The fog sits too heavy, the rigging moves without wind, and the faces of the dead look up from the water with something that reads almost like patience. Whatever waits here has waited a long time, and it has learned that the sea eventually delivers everything to its door.
Lorelei is not simply the final boss of a dungeon. She is the reason the mist gathers. The sea’s pull is hers — that gentle, persistent draw that makes the water feel less like a hazard and more like an invitation. Walking away from this place is its own small victory. The Sirensong Sea is always there, just at the edge of the fog, and it remembers the ones who left.