Hells’ Kier (Extreme) Guide – Suzaku EX Mechanics
Duty Information
Expansion: Stormblood
Encounter: Hells' Kier (Extreme)
Players: 8 (Tank / Tank / Healer / Healer / DPS / DPS / DPS / DPS)
Duty Finder Type: Trial
Level: 70
Item Level: 370
Unlock Requirement: Songs in the Key of Kugane


Encounter Overview
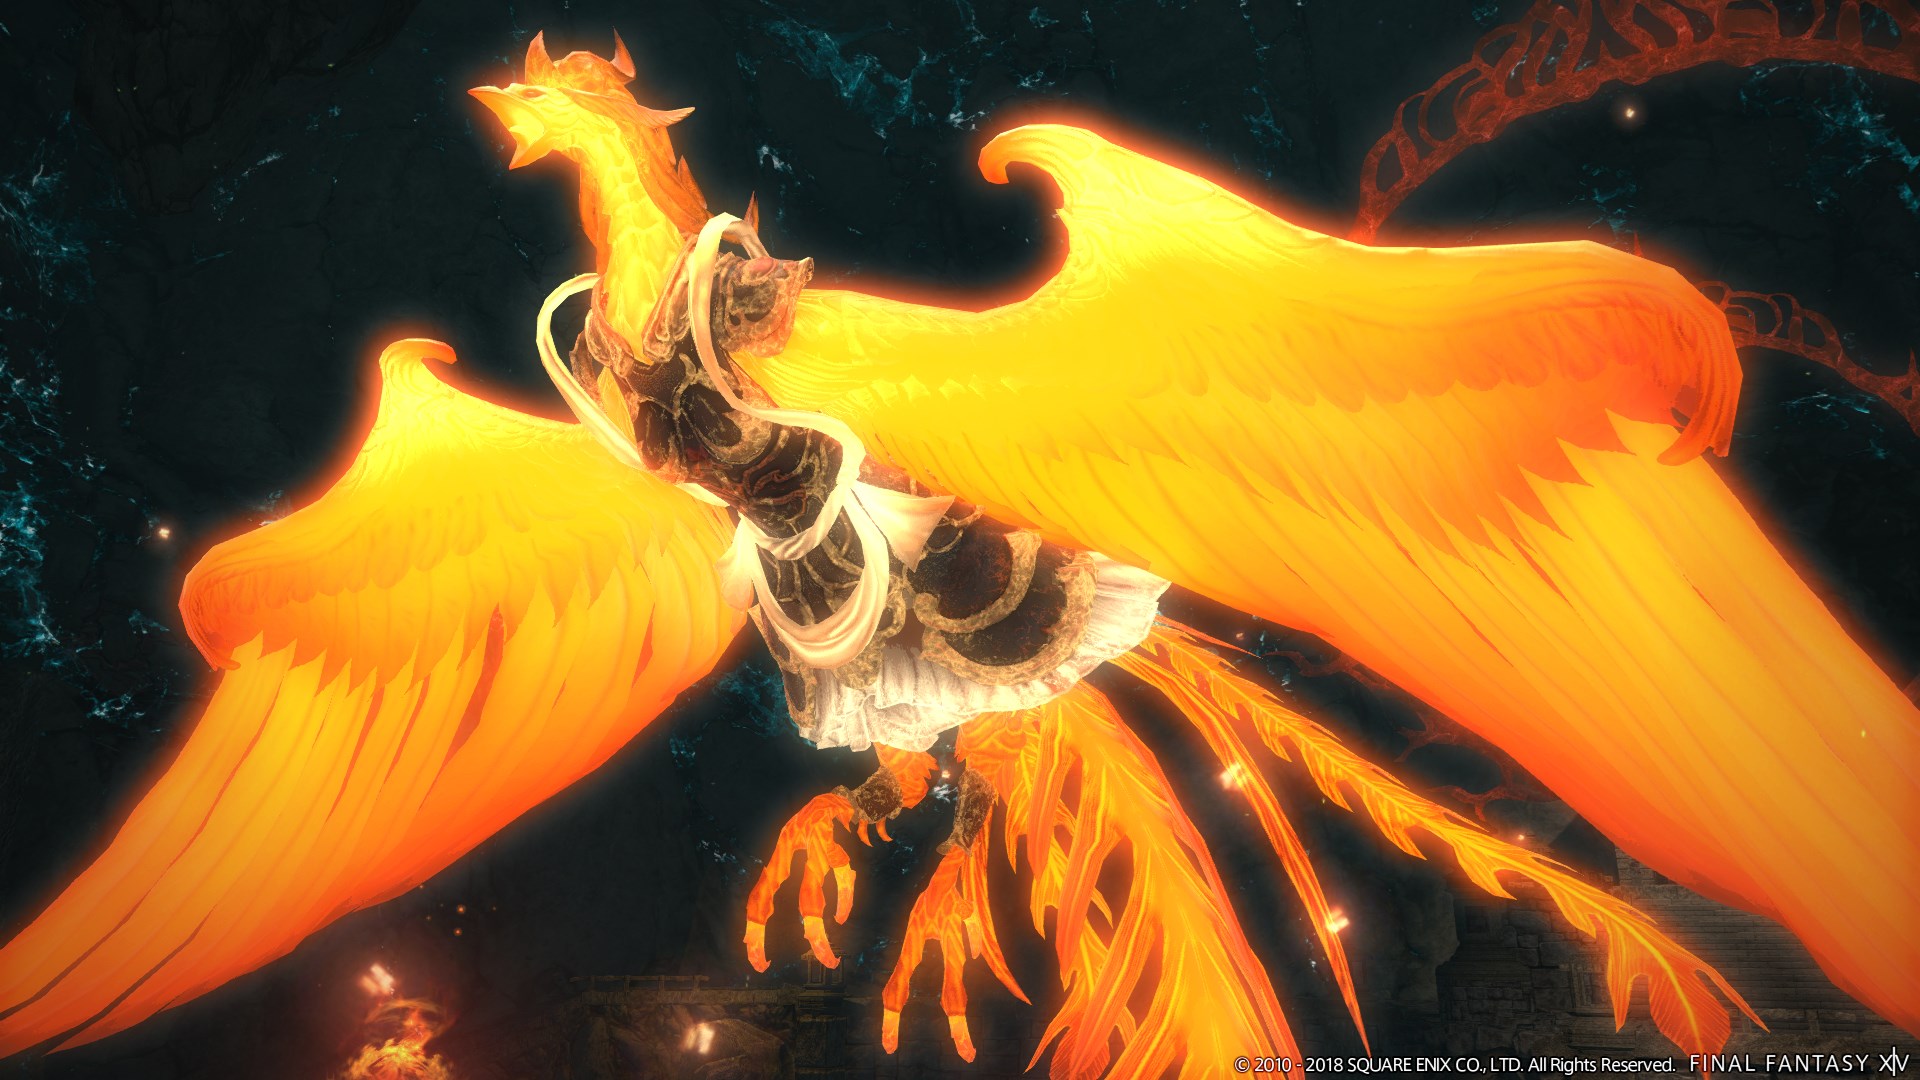
Hells’ Kier (Extreme) is the high-end version of the Suzaku encounter from Stormblood. The fight is split into two major phases and centers on add control, arena transformation, quadrant pattern recognition, knockback and pull management, and repeated overlapping mechanics that punish poor positioning.
The encounter begins with Suzaku in phoenix form and transitions into a far more dangerous humanoid phase after the orb sequence. From that point onward, the arena itself becomes one of the main threats, as players can fall through the central hole or be knocked from the edges if movement is not handled carefully.
Arena Overview
At the start of the encounter, the arena is a normal circular platform with safe outer edges. However, after the transition into Phase 2, the arena changes significantly. A hole opens in the center and the outer edges become lethal, meaning players can now die by being pulled inward or knocked outward.
The transformed arena is also visually divided into four distinct quadrants. These quadrant markings are important for the Phoenix Pattern mechanic later in the fight.
Mechanic Archive
Screams of the Damned
A raidwide AoE used throughout the encounter. Healers should be ready for repeated unavoidable damage.
Rout
Suzaku flies to the edge of the arena and charges through the middle while all players receive spread markers. The group must avoid Suzaku’s path and spread far enough apart to avoid clipping each other. Because the spread markers deal fire damage, players must also avoid hitting the Scarlet Lady corpses.
Fleeting Summer
A large frontal cone aimed at a random player. The targeted player must move out of the way to avoid clipping the raid.
Cremate
A strong magic tankbuster on the main tank. This recurs throughout the encounter and should be mitigated.
Phoenix Down
Suzaku summons several small plumes and a large central plume. If the central plume is left alive, it resurrects the Scarlet Lady corpses with greatly increased health. The party must destroy selected plumes to create safe space and use Rekindle correctly to revive manageable adds away from the center.
Rekindle
AoE markers placed on all damage dealers during Phoenix Down. These fire-based explosions can revive Scarlet Ladies if dropped on their corpses. This is used intentionally to pull specific adds away from the dangerous central plume and kill them safely.
Scarlet Ladies
Phoenix adds that can be revived during Phase 1. If left alive too long, they cast Ashes to Ashes, dealing heavy raid damage and applying stackable Suppuration.
Ashes to Ashes
A dangerous AoE cast from Scarlet Ladies. The adds should be burned down quickly before this resolves multiple times.
Eternal Flame
Begins the Phase 2 transition. The arena reforms into an orb-catching layout where each player must stand in a designated circle and face the correct direction to absorb incoming orbs.
Scarlet Fever
A raidwide blast whose damage depends on how many orbs were not absorbed correctly during Eternal Flame.
Southron Star
A human-form raidwide AoE, effectively Suzaku’s Phase 2 version of Screams of the Damned.
Mesmerizing Melody
A pull toward Suzaku that can drag players into the central hole. Players should move outward or use knockback-immunity style tools to avoid being pulled to their deaths.
Well of Flame
A combination mechanic where Suzaku fires a frontal AoE at one player while four other players receive Rekindle spread markers. The raid must both dodge the frontal hit and avoid overlapping the marked players.
Scathing Net
A stack marker placed on a healer. The party must regroup to share the damage.
Phantom Flurry
A multihit tankbuster that applies physical vulnerability and is followed by an untelegraphed frontal knockback cone. The off-tank should provoke during the cast, and the rest of the raid must move behind Suzaku before the follow-up knockback resolves.
Phoenix Pattern
The arena quadrants light up with distinct rune and color combinations. Outside the arena, a rotating phoenix shows the order in which those quadrants will explode. Players must read the sequence and move through safe quadrants as each explosion resolves.
Ruthless Refrain
A knockback from the center of the arena. In Phase 2, this often overlaps with Phoenix Pattern or meteor mechanics, forcing players to use the knockback intentionally.
Close-Quarter Crescendo
Each player is tethered to a fiery orb and force-marched in the direction indicated by their arrow. Players must pre-aim themselves so they do not walk off the arena or through the central hole.
Incandescent Interlude
Four meteor circles appear at the cardinal points and must be soaked. This overlaps with Ruthless Refrain, so players generally position near Suzaku and use the knockback to land in the correct meteor circle rather than trying to stand in them early.
Encounter Flow
Phase 1 – Phoenix Form
The encounter opens with raidwide damage and spread mechanics through Screams of the Damned and Rout, followed by Fleeting Summer and Cremate. The key mechanic of the phase is Phoenix Down, where the party must destroy select plumes to create safe space and use Rekindle to deliberately revive Scarlet Ladies away from the center.
Those revived Scarlet Ladies must then be burned down quickly before Ashes to Ashes overwhelms the raid. After another Cremate and Screams of the Damned, Suzaku transitions the fight into Phase 2.
Phase 2 – Orb Dance and Human Form
Suzaku begins with Eternal Flame, causing the arena to reconfigure. Each player must stand in one of the eight outer circles and face the correct direction to absorb incoming orbs. Successfully doing so reduces the damage from the follow-up Scarlet Fever.
After Scarlet Fever, the arena remains in its transformed state with a central hole and exposed edges. Suzaku now fights in humanoid form and begins combining Southron Star, Mesmerizing Melody, Well of Flame, Scathing Net, and Phantom Flurry.
The first major movement challenge is Phoenix Pattern, where the raid must read the sequence of exploding quadrants while also reacting to either a pull or a knockback immediately after. Later, Close-Quarter Crescendo adds forced movement, and Incandescent Interlude requires the raid to use knockback deliberately to land in meteor circles.
As the phase continues, Suzaku repeats and layers these mechanics together: Phoenix Pattern with Well of Flame, Phoenix Pattern with forced march, and Phoenix Pattern with either pull or knockback followed by another Phantom Flurry. The fight becomes increasingly punishing if players lose track of their quadrant, safe landing space, or tank positioning.
Enrage
If Suzaku is not defeated in time, she begins a final Phoenix Pattern with no safe quadrants. This sequence is an unavoidable wipe.
[tavern_related_encounters]