Eden’s Promise: Umbra Guide (E9N) – Mechanics & Strategy
Duty Information
Expansion: Shadowbringers
Series: Eden
Tier: Eden’s Promise
Encounter: E9N - Eden's Promise: Umbra
Players: 8 (Tank / Tank / Healer / Healer / DPS / DPS / DPS / DPS)
Duty Finder Type: Raid (Normal)
Level: 80
Item Level: 485
Unlock Requirement: Fear of the Dark


Encounter Overview
Eden’s Promise: Umbra (E9N) introduces the Cloud of Darkness as the opening encounter of Eden’s Promise. The fight is structured around three rotating phases that repeat until the boss is defeated, each emphasizing a different type of spatial awareness.
The encounter focuses on quick visual reads, especially through hand cues, directional attacks, and environmental hazards. While individual mechanics are straightforward, the fight becomes more demanding when movement, floor pressure, and overlapping AoEs begin to layer together.
The arena itself evolves across phases, forcing players to adapt their positioning. Success comes from recognizing patterns early and keeping movement controlled rather than reactive.
Arena Overview
The encounter takes place on a large square platform with no railings. During later phases, portions of the arena become unsafe or collapse entirely, reducing available space and increasing positional pressure.
In the Empty Plane phase, the arena is divided into tiles that become unstable if players remain on them too long. In the Obscure Woods phase, persistent hazards occupy large portions of the arena, forcing players into narrow safe zones.
Across all phases, the arena favors short, deliberate repositioning. Players who move too early or too far often run into follow-up mechanics.
Mechanic Archive
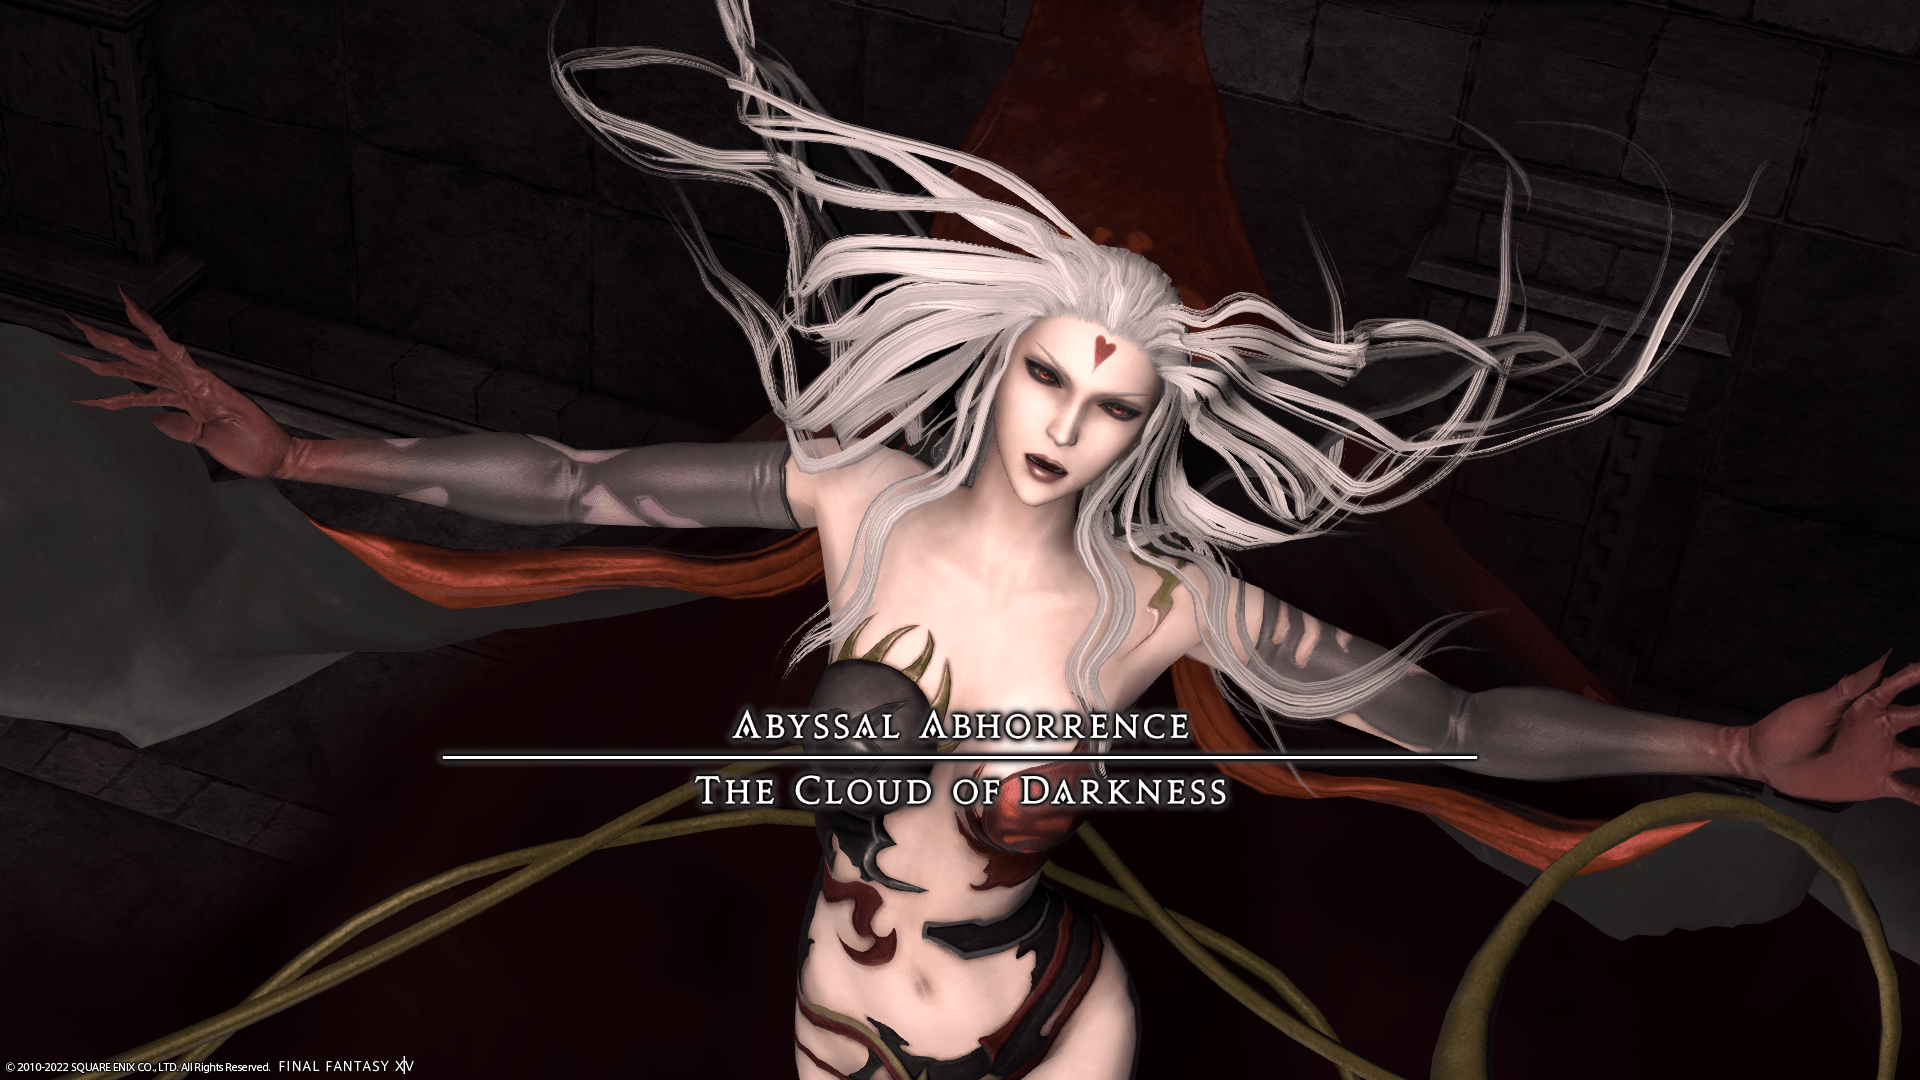
Abyssal Abhorrence: Cloud of Darkness
The encounter is fought against the Cloud of Darkness, who cycles through three repeating phases. Each phase emphasizes a different form of arena control, from directional cleaves to tile management and tether positioning.
Ground Razing Particle Beam
A raid-wide AoE that deals unavoidable damage. This ability frequently marks transitions or follows heavier movement sequences, requiring steady healing.
The Art of Darkness
The boss cleaves one half of the arena based on her hand positioning. The visual tell is brief, so players need to watch her hands rather than relying on ground indicators.
This is a recognition check. Players who hesitate often get caught on the wrong side.
Wide Angle Particle Beam
A large cone attack with a clear telegraph. It is generally forgiving, but poor positioning during other mechanics can make it harder to avoid cleanly.
Zero Form Particle Beam
A tank-targeted beam that fires through the marked player. Anyone standing between the boss and the tank will be hit.
The raid should avoid standing in line with the tank to keep the beam isolated.
Particle Concentration
Four towers appear that each require at least one player. Players must remain inside until the impact resolves.
This is a simple coverage check. Leaving a tower early risks a wipe.
Empty Plane
A raid-wide attack that transitions the encounter into the Empty Plane phase.
Flood of Emptiness
Corner sections of the arena become lethal, and a death zone forms beneath the boss. Players must reposition away from both the corners and the center.
Unstable Tiles
During the Empty Plane phase, tiles begin to charge when stood on. Remaining too long causes them to become unsafe until reset.
Players must rotate positions frequently. Standing still for too long will remove safe space from the arena.
Hypercharged Condensation
Tethers spawn adds that slowly move toward the boss. If they reach her, she gains a buff.
Players can slow the adds by standing in their path, buying time for the group to defeat them.
Summoned Phantoms
Ghosts appear at the edge of the arena and telegraph directional beam attacks. Their facing determines the unsafe lanes.
Anti-Air Particle Beam
The boss uses a point-blank AoE while the ghosts fire line attacks across the arena.
Safe positioning comes from avoiding both the boss hitbox and the ghost beam paths at the same time.
Obscure Woods
A raid-wide AoE that transitions into the Obscure Woods phase.
Flood of Obscurity
A point-blank AoE forms around the boss while multiple AoE markers appear around the arena. After resolving, these locations become persistent hazards.
Players should position near the boss while also considering where they will be pushed or moved afterward.
Dark Tethers
Each player becomes tethered to a nearby hazard. The tether initially pulls inward, then must be broken by moving away once it changes state.
This mechanic requires controlled movement. Moving too early or too late can pull players into lethal zones.
Wide Angle Phaser
The boss targets a wall and prepares a large cone attack. Players must move quickly toward that side and position just outside the central danger zone.
The window to adjust is short, so recognizing the targeted wall early is key.
Rejuvenating Balm
Explosions are telegraphed from opposite sides of the arena, leaving only a narrow safe space between them.
Players must position precisely in the center of the two telegraphs to survive.
Deluge of Darkness
A raid-wide AoE that transitions the encounter back to the opening phase.
Encounter Flow
The encounter cycles through three repeating phases: Deluge of Darkness, Empty Plane, and Obscure Woods. Each phase introduces a different spatial constraint, gradually increasing the pressure on positioning and awareness.
The fight begins with directional mechanics such as The Art of Darkness and basic AoEs, establishing the need to read the boss rather than rely on long telegraphs. Tower mechanics and tank-targeted beams reinforce basic role positioning.
The Empty Plane phase shifts focus to arena management. Players must rotate across unstable tiles while handling adds, avoiding collapsing space, and reading overlapping AoEs from both the boss and summoned enemies.
The Obscure Woods phase tightens the arena further by introducing persistent hazards and tether mechanics. Players must balance positioning near the boss with the need to break tethers and avoid overlapping danger zones.
These three phases repeat in sequence until the boss is defeated. As the fight continues, the main challenge becomes consistency—maintaining clean movement and correct positioning across repeated patterns without losing control of the arena.
[tavern_related_encounters tier=”edens-promise”]