Pharos Sirius (Hard) Dungeon Guide (FFXIV Heavensward) – Boss Mechanics & Strategy
Duty Information
Expansion: Heavensward
Encounter: Pharos Sirius (Hard)
Players: 4 Players (1 Tank, 1 Healer, 2 DPS)
Duty Finder Type: Dungeon
Level: 60
Unlock Requirement: Things Are Getting Sirius
Common Failure Points
- Failing to reach a passive mob in time during Ghrah Luminary’s Aetheric Mimicry, leaving the Prey debuff unresolved.
- Killing a spider Corruption without first pulling it away from the party, leaving a poison pool in a high-traffic area.
- Ignoring aether fissures on Be Gu and failing to plug them with Corrupted Gel adds, allowing damage to accumulate unchecked.
- Leaving Alchemy Engine adds alive during Be Gu’s add phase, allowing their boss tether buffs to persist.
- Failing to hit Remedy bombs before they reach and interact with Grey bombs on Progenitor, losing the kill window.


Dungeon Overview
Pharos Sirius (Hard) is a level 60 dungeon introduced in patch 3.1 with Heavensward, revisiting the lighthouse setting of the original Pharos Sirius with a new set of challenges built around environmental interaction and add management. It is one of the patch 3.1 optional dungeons and continues the post-MSQ difficulty curve established by Neverreap and The Fractal Continuum.
Each boss introduces a mechanic that requires active environmental engagement rather than pure positioning or dodge discipline. Ghrah Luminary asks players to transfer a debuff to specific passive mobs scattered around the arena. Be Gu introduces floor hazards that must be sealed using enemy adds as tools. The final encounter with Progenitrix and Progenitor is a two-phase bomb management fight where the party must kill the right adds in the right order before they can interact with each other.
Throughout all three fights, the core skill being tested is the same: paying attention to what is happening in the arena beyond the boss itself, and responding to environmental cues quickly and correctly.
Need the unlock path? See All FFXIV Dungeon Unlock Requirements.
Dungeon Objectives
- Arrive in the fuel chamber
- Slay the Ghrah Luminary
- Arrive in the second spire
- Slay 8th Order Patriarch Be Gu
- Arrive at Incubator 66
- Secure Incubator 66
Boss Encounters
Ghrah Luminary
Key Mechanics
- Corruption Spawns — Ghrah Luminary periodically creates Corruption adds that tether to random players and apply a Prey debuff marker.
- Aetheric Mimicry — The tethered Corruption begins casting Aetheric Mimicry. Before the cast completes, the marked player must run to one of the passive mobs circling the room to transfer the Prey debuff onto it. After a short delay, the afflicted mob transforms and becomes aggressive — these have very low HP and should be killed quickly.
- Spider Corruption Poison Pools — Spider-type Corruption mobs leave a persistent poison pool on the ground when they die. Pull them away from the party and away from high-traffic areas before killing them.
Strategy Notes
Ghrah Luminary is a debuff transfer fight that requires marked players to act quickly and with spatial awareness. When Prey is applied and Aetheric Mimicry begins casting, the marked player must immediately identify the nearest passive mob circling the room and run to it. The transfer happens on contact — get close to the mob before the cast finishes. Hesitation or slow movement will leave the cast completing on the player instead.
Once the passive mob absorbs the debuff and transforms into an aggressive add, it should be killed promptly. The adds are low-HP and not individually threatening, but leaving them alive while the next Mimicry cast begins creates competing priorities.
Spider-type Corruptions require specific handling. Before killing any spider mob, move it away from the center of the arena and away from where the party is positioned. Their death leaves a poison pool that persists on the ground — a pool left in a central or high-traffic location will force the party to route around it for the rest of the fight, constraining movement during subsequent Mimicry windows.
Failure Points
The most common failure is a marked player being too slow to reach a passive mob before Aetheric Mimicry resolves, leaving the debuff to activate on them directly. The second most common issue is spider Corruption pools dropped in the center of the arena, progressively restricting safe movement. Both are solved by reacting immediately to the Prey marker and being deliberate about where spider mobs are killed.
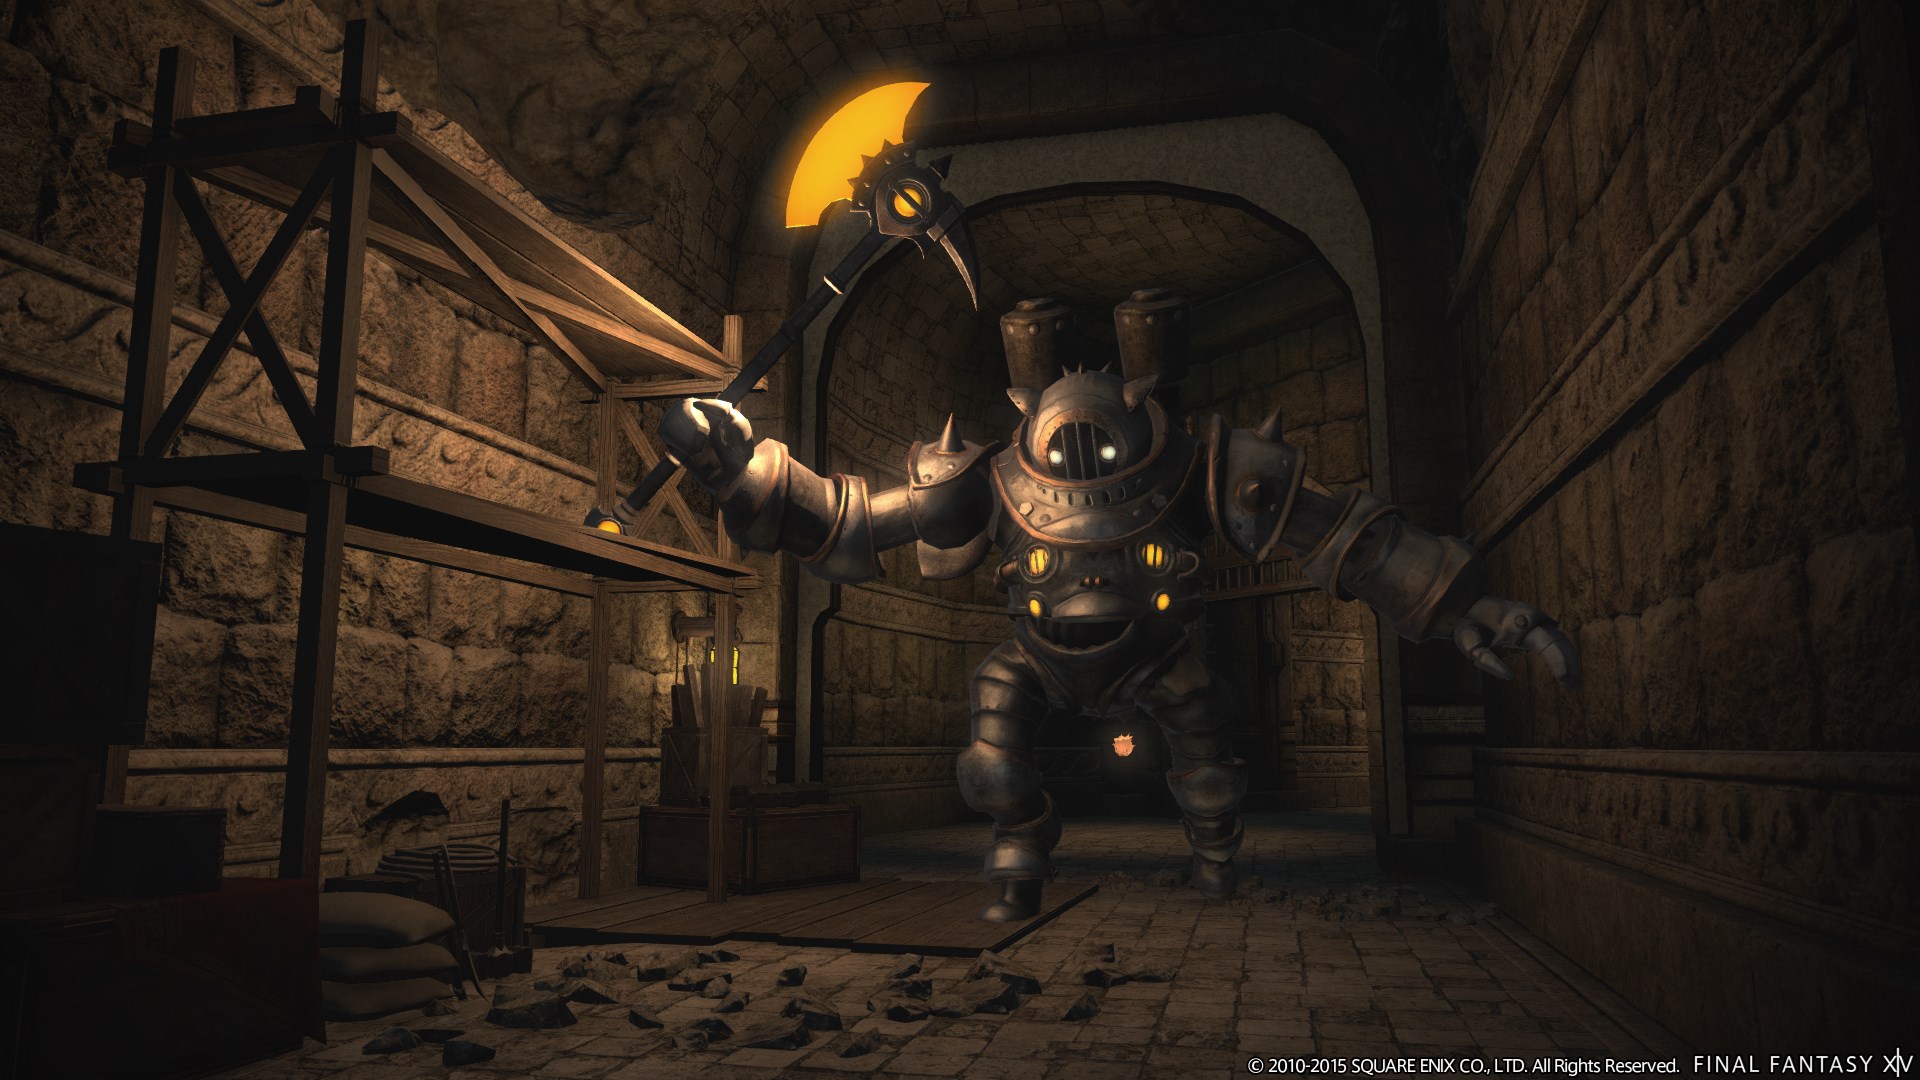
8th Order Patriarch Be Gu
Key Mechanics
- Floor Fissures — Be Gu periodically performs a room-wide AoE that opens fissures in the floor. Aether leaks from these fissures and deals ongoing damage until they are sealed. To seal a fissure, pull a Corrupted Gel add onto the aether plume and kill it there — the add’s death plugs the leak.
- Kobold Adds — Be Gu eventually summons a set of Kobold adds alongside the fissure phase. Kill these promptly to prevent them from adding pressure during the seal mechanic.
- Alchemy Engines — Purple Alchemy Engine adds spawn alongside the Kobolds and tether directly to Be Gu, providing him with a buff. Destroy these immediately — their tether buff significantly increases incoming damage if left active.
Strategy Notes
Be Gu is an environmental management fight where the floor itself becomes a hazard that must be actively neutralized. When fissures open, the party needs to identify the Corrupted Gel adds in the arena, drag them onto the aether plumes leaking from the fissures, and kill them in position. The gel’s death seals the fissure and stops the ongoing damage from that plume.
Coordinate who is handling fissure seals and who is continuing damage on Be Gu. In most group configurations, the tank or an off-DPS can drag Gels into position while the rest of the party maintains pressure on the boss. Multiple unsealed fissures leaking simultaneously compound the incoming damage quickly — do not leave them unaddressed while focusing purely on the boss.
When the Kobold and Alchemy Engine adds appear, the Alchemy Engines are the absolute priority kill target. Their tether buff to Be Gu must be removed immediately. Kobolds can be handled in the window after the Engines are down, or tanked alongside them — but the Engines should always die first.
Failure Points
Allowing multiple fissures to leak unchecked while the party focuses entirely on the boss is the primary source of escalating damage on this fight. Leaving Alchemy Engines alive and letting their tether buff persist on Be Gu is the secondary failure point — the damage increase they provide can rapidly push the fight outside of manageable healing range. Prioritize Engines over everything else when they spawn.
Progenitrix and Progenitor
Key Mechanics
Phase 1 — Progenitrix
- Grey Bombs — Spawn around the perimeter of the arena. Kill them immediately before they can interact with other mechanics.
- Lava Bombs — Spawn alongside Grey Bombs around the perimeter. These are a secondary hazard — manage them alongside Grey Bomb kills and avoid their AoEs.
Phase 2 — Progenitor (after Progenitrix is killed)
- Grey Bombs — Continue to spawn around the perimeter as in Phase 1. Kill them immediately.
- Remedy Bombs — Blue adds that replace the Lava Bombs in this phase. Each Remedy Bomb tethers to a Grey Bomb and slowly moves toward it. If a Remedy Bomb reaches its tethered Grey Bomb, the interaction resolves unfavorably. Hit the Remedy Bombs to knock them back, creating distance between them and the Grey Bombs and buying time to kill the Greys before contact occurs.
Strategy Notes
This is a two-phase fight where the core mechanic — killing Grey Bombs around the arena perimeter — stays consistent, but the secondary bomb type changes the pressure dynamic significantly between phases.
In Phase 1 against Progenitrix, the priority is straightforward: kill Grey Bombs as fast as possible, avoid Lava Bomb AoEs, and maintain damage on the boss. The quicker Progenitrix dies, the less total bomb exposure the party takes before the phase transition.
Phase 2 introduces the Remedy Bomb tether mechanic, which adds time pressure to every Grey Bomb kill. When Remedy Bombs spawn and tether to Grey Bombs, they begin walking toward their target. The party has two jobs running in parallel: hit Remedy Bombs to knock them back and delay the tether closure, while simultaneously killing Grey Bombs before contact can occur. Knockback hits on Remedy Bombs do not kill them — they only buy distance — so the kill priority on Grey Bombs must remain high.
Coordinate perimeter coverage so Grey Bombs are not surviving on the opposite side of the arena while Remedy Bombs are advancing. Spreading DPS assignments around the perimeter rather than clustering on one section keeps the kill pace even and prevents Remedy Bombs from reaching their targets due to neglected Greys.
Failure Points
Allowing Grey Bombs to survive long enough for Remedy Bombs to complete their tether approach is the primary failure point in Phase 2. Players who focus on the boss and ignore perimeter bomb spawns will find Remedy Bombs consistently reaching their targets before Greys can be killed. Keep the Grey kill pace high, use knockbacks on Remedy Bombs to buy time, and maintain consistent perimeter awareness throughout both phases.
Difficulty Assessment
Pharos Sirius (Hard) is a mechanically inventive patch 3.1 dungeon that consistently asks players to engage with the arena environment rather than focusing purely on the boss. Each encounter is built around a different form of active environmental interaction — debuff transfers, add-as-tool mechanics, and a tethered bomb management sequence — making it one of the more varied dungeon experiences in Heavensward’s post-MSQ content.
The dungeon emphasizes:
- Debuff transfer timing and passive mob positioning awareness
- Floor hazard management using adds as environmental tools
- Add prioritization under multi-target pressure
- Coordinated perimeter coverage and knockback timing in a two-phase bomb encounter
Groups who treat the arena as an active part of each fight rather than background scenery will find Pharos Sirius (Hard) clean and well-paced. Those who focus exclusively on boss DPS and ignore the environmental mechanics will find all three encounters considerably harder than they need to be.
Previous Dungeon: Saint Mocianne’s Arboretum | Next Dungeon: The Antitower
Guildmaster Notes
Pharos Sirius is a place that has been through things. The lighthouse has stood long enough to accumulate layers of purpose — built to guide, repurposed, fought over, and now fought through again. There is something persistent about it that feels less like resilience and more like stubbornness. It is still standing not because it should be, but because nothing has finished it off yet.
The Hard version carries that same quality into its mechanics. Nothing here is elegant. The fissures leak, the bombs drift toward each other with a kind of dim inevitability, and the debuffs pass from creature to creature like something contagious that nobody fully understands. It is a dungeon that feels like a situation that got out of hand — which, given the history of this lighthouse, seems entirely appropriate.