Neverreap Dungeon Guide (FFXIV Heavensward) – Boss Mechanics & Strategy
Duty Information
Expansion: Heavensward
Encounter: Neverreap
Players: 4 Players (1 Tank, 1 Healer, 2 DPS)
Duty Finder Type: Dungeon
Level: 60
Unlock Requirement: Reap What You Sow
Common Failure Points
- Failing to find and kill Nunyenunc’s Shadow quickly during the mist phase, wasting time and pressure.
- Letting Nunyenunc’s Feathers explode unattended, stacking Vulnerability Up on the party.
- Leaving a Canu Vanu totem inside the Totem Chant circle, granting the boss immunity.
- Standing on the wrong side of Waukkeon during Turbine and being knocked off the platform.
- Failing to use Limit Break 2 quickly enough during the tornado phase, leading to repeated knockups across the party.


Dungeon Overview
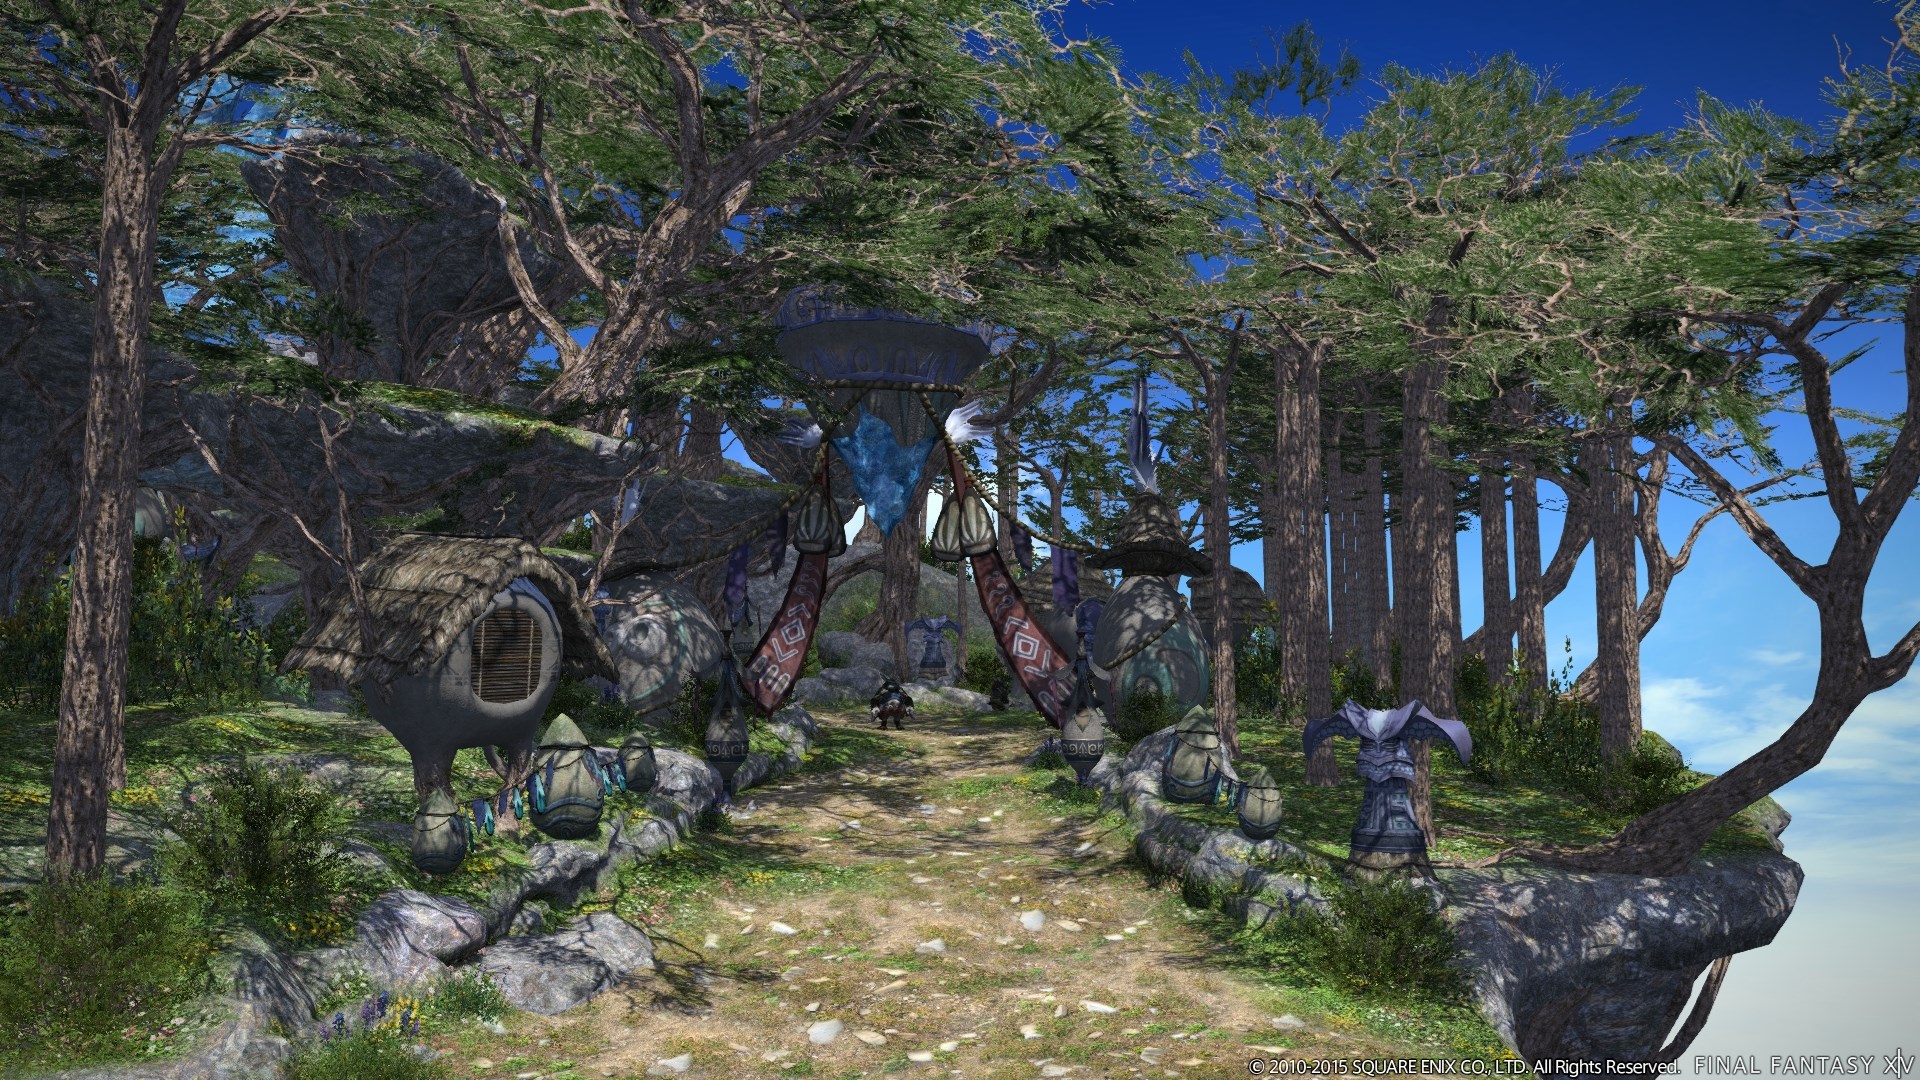
Neverreap is a level 60 dungeon introduced in patch 3.0 with Heavensward, set among the sacred floating isles of the Vanu Vanu. It is one of the two level 60 optional dungeons introduced alongside the main Heavensward content, designed for players who have completed the main scenario and are looking to gear up through harder content.
Each boss fight introduces a distinct environmental or movement challenge. Nunyenunc uses mist and shadow mechanics to disorient the party and punishes slow reactions with stacking debuffs. Canu Vanu introduces a totem management mechanic that rewards spatial awareness and spread positioning. Waukkeon combines an add phase, a platform-threatening knockback, and a roaming tornado hazard that demands Limit Break timing as a core part of its resolution.
Neverreap is more demanding than the main scenario Heavensward dungeons in terms of coordination and awareness, reflecting its role as early post-MSQ content. Groups who communicate positioning and maintain awareness of the arena throughout will find it a clean and enjoyable run.
Need the unlock path? See All FFXIV Dungeon Unlock Requirements.
Dungeon Objectives
- Arrive at the God who Whispers
- Arrive at the Wind that Summons
- Arrive at the Cloud that Laughs
Boss Encounters
Nunyenunc
Key Mechanics
- Feather Squall — AoE attack with a visible telegraph. Move out of the marked zone.
- Mist Phase — Nunyenunc disappears and the arena fills with mist. Players must run around the edge of the arena to locate and kill Nunyenunc’s Shadow before it can act.
- Nunyenunc’s Feathers — Feather adds that spawn during the fight and must be killed immediately. If left alive, they explode and deal damage while inflicting Vulnerability Up on hit players.
Strategy Notes
Nunyenunc alternates between straightforward AoE mechanics and a mist phase that forces the party to reorient. When the mist fills the arena, split up and sweep around the perimeter to find the Shadow as quickly as possible. It does not move predictably — spread out and cover ground fast. Burning it down quickly returns the fight to its normal rotation and keeps the encounter from stalling.
Feathers are the fight’s primary pressure mechanic. They should be treated as an immediate kill priority the moment they appear. A single feather explosion deals moderate damage and inflicts Vulnerability Up — multiple simultaneous explosions can quickly put the party in a dangerous position heading into the next mechanic. Do not delay switching to them in favor of keeping pressure on the boss.
Feather Squall itself is a standard dodge mechanic with a clear ground telegraph. There is no reason to take this hit — move out of the AoE as soon as it appears.
Failure Points
Letting Feathers detonate without killing them is the main source of snowballing damage on this fight. The Vulnerability Up stacks compound quickly if multiple feathers are ignored across consecutive waves. Kill them on sight and keep the mist phase efficient by spreading out to cover the arena perimeter quickly.
Canu Vanu
Key Mechanics
- Morrowcloud — Targets a random player and inflicts Bleed. The healer must cleanse this with Esuna promptly.
- Sacred Totem — Marks one or more players. After a short delay, marked players drop a totem at their current position. Players should spread out when marked to keep totems from clustering. Shortly after, Canu Vanu casts Totem Chant — a large purple AoE circle appears at a random location. Any totems inside the circle when the cast completes will transform into a Canu Vanu’s Totem add and grant the boss immunity. Totems must be moved out of the circle before the cast finishes by having a player stand on them and carry them clear.
- The Totem Chant circle itself is safe to stand in — only the totems inside it pose a problem.
- If a totem transforms into a Canu Vanu’s Totem add, kill it immediately to remove the boss’s immunity.
Strategy Notes
Canu Vanu is a spatial awareness and totem management fight. The key to keeping it clean is understanding that totem positions are set by where players are standing when Sacred Totem resolves — so spreading out when markers appear is the single most important habit to build. Clustered players drop clustered totems, which creates a much harder carry problem when Totem Chant fires.
When Totem Chant begins casting and the purple circle appears, immediately identify which totems are inside it and move to carry them out. A player standing on a totem can physically move it by walking — bring it clear of the circle before the cast finishes. Totem Chant has a visible cast bar, giving a workable window to act if players react immediately.
It is worth noting that standing inside the Totem Chant circle carries no personal penalty — the only danger is leaving a totem inside it. Players should not hesitate to step into the circle to retrieve a totem.
If a totem does transform and Canu Vanu gains immunity, switch to the add and kill it to resume the fight. This is a recoverable mistake but wastes uptime and extends the fight unnecessarily.
Healers should track Morrowcloud closely and cleanse Bleed as it lands. A bleeding player taking ongoing damage during the totem management window can become a healing burden at an inopportune moment.
Failure Points
The most common failure is players clustering on Sacred Totem marks and dropping totems in the same area, making Totem Chant nearly impossible to fully clear. Spread out on every mark, keep track of where previous totems landed, and react to the Totem Chant circle immediately when it appears.
Waukkeon
Key Mechanics
- Divine Mist — Waukkeon marks a random player who then spawns a Divine Mist add. Do not kill it yet.
- Divine Gales + Rush Phase — Several Divine Gale adds spawn and Waukkeon begins rushing around the arena, dealing damage to anyone in its path. Kill the Divine Mist adds first, then kill the Divine Gales.
- Turbine — Cast after all adds are dead. Room-wide AoE combined with a knockback directed away from the boss. The entire party must stack next to Waukkeon on the side with the most platform space behind them, so the knockback sends them toward open ground rather than off the edge. For example, if Waukkeon is on the west side of the platform, stack on its east-facing side to be knocked east.
- Tornadoes — Spawn after Turbine and roam the arena. Any player who touches a tornado is knocked into the air and takes damage. Use Limit Break 2 as soon as possible after tornadoes appear.
Strategy Notes
Waukkeon is a fight with two distinct phases: an add management phase and a platform survival phase. Getting through the add phase cleanly sets up the Turbine knockback and tornado phase in as controlled a state as possible.
During the rush and add phase, kill Divine Mist adds before switching to Divine Gales. The Mist adds take priority because they represent the more immediate threat to the party during the chaos of Waukkeon’s rushing movement. Once Mists are down, clean up the Gales. When all adds are dead, Waukkeon immediately begins casting Turbine.
The critical moment in this fight is positioning for Turbine. Before the cast completes, every player must assess where Waukkeon is standing relative to the platform edge and stack on the side that will send the knockback into open space. Being knocked off the platform is lethal. Communicate Waukkeon’s position clearly and move to the correct side before the cast resolves — do not wait until the last second.
Once tornadoes appear, the arena becomes a persistent hazard zone. Tornadoes roam unpredictably and a single contact means an airborne knockup and incoming damage. Limit Break 2 should be used immediately — it clears or mitigates the tornado threat, and there is no reason to save it. The longer tornadoes are active without Limit Break, the more likely it is that a player takes an accidental hit at a bad moment.
Failure Points
Two distinct failure points define this fight. The first is being knocked off the platform during Turbine due to incorrect positioning — always assess the boss’s location relative to the arena edge before the knockback fires. The second is delaying or forgetting Limit Break during the tornado phase, leading to repeated knockups across the party. Both are entirely preventable with communication and awareness.
Difficulty Assessment
Neverreap is a well-constructed post-MSQ dungeon that introduces mechanics not commonly seen in the main Heavensward dungeon sequence. Its three bosses each require distinct skills — fast shadow tracking and add priority, spread-based totem spatial management, and a Limit Break-dependent tornado phase with a lethal knockback check — making it a more varied mechanical experience than many dungeons at the same level.
The dungeon emphasizes:
- Fast target switching and add priority under pressure
- Spread positioning and persistent arena state awareness
- Platform edge awareness and knockback direction management
- Proactive Limit Break usage as a required phase tool
Groups with good communication will find Neverreap clean and rewarding. The Waukkeon encounter in particular is a fight that punishes passivity — players who treat Limit Break as optional and knockback positioning as an afterthought will find the final phase significantly more dangerous than it needs to be.
Previous Dungeon: Aetherochemical Research Facility | Next Dungeon: The Fractal Continuum
Guildmaster Notes
Neverreap is a place caught between reverence and conflict — sacred isles that have become a battleground not through malice, but through the collision of faiths neither side fully understands. The Vanu Vanu do not fight out of cruelty. They fight to protect something they believe in entirely.
There is something worth sitting with in that, even after the final boss falls. The clouds beneath your feet, the wind in every mechanic, the sense that this place was never meant for the kind of work being done here — it all adds up to a dungeon that feels genuinely alive. Few places in Heavensward carry that same quality. Neverreap is one of the ones that does.