Sohm Al (Hard) Dungeon Guide (FFXIV Heavensward) – Boss Mechanics & Strategy
Duty Information
Expansion: Heavensward
Encounter: Sohm Al (Hard)
Players: 4 Players (1 Tank, 1 Healer, 2 DPS)
Duty Finder Type: Dungeon
Level: 60
Unlock Requirement: The Fires of Sohm Al
Common Failure Points
- Failing to spread away from the proximity spore sacs on The Leightonward as successive casts add more large explosive sacs.
- Misreading Gowrow’s attack telegraphs when the Damage Up buff is active, expecting the unbuffed version of an ability and taking the enhanced hit instead.
- Accumulating Infirmity stacks from multiple Gowrow hits in quick succession, reducing survivability through the buffed phase.
- Standing in lava puddles on the Lava Scorpion and taking sustained high damage while adds are still alive.
- Failing to kill Scorpion’s Claw adds before their Borehole cast completes.


Dungeon Overview
Sohm Al (Hard) is a level 60 dungeon introduced in patch 3.5 with Heavensward, revisiting the sacred mountain with a harder set of encounters designed for players at the end of the Heavensward content cycle. It is the final optional dungeon of the expansion and the last dungeon released before Stormblood, offering a mechanically dense experience that draws on patterns established in earlier content while adding new layers to each.
The Leightonward introduces an escalating proximity AoE system built around successive spore sac casts. Gowrow is a telegraph-reading fight where the boss’s Damage Up buff swaps every attack it uses to a more dangerous enhanced version with the same visual animation — demanding players read the combat log as well as the boss model. The Lava Scorpion is an arena management fight where lava puddles accumulate throughout the encounter and Scorpion’s Claw adds must be killed on a strict timer.
Throughout all three encounters, the dungeon consistently rewards players who read carefully and maintain awareness of the arena state rather than focusing exclusively on the boss.
Need the unlock path? See All FFXIV Dungeon Unlock Requirements.
Dungeon Objectives
- Arrive at the Wound
- Defeat The Leightonward
- Arrive in the Fever
- Defeat Gowrow
- Clear the Heart
- Defeat the Lava Scorpion
Boss Encounters
The Leightonward
Key Mechanics
- Wild Horn — Minor tankbuster.
- Inflammable Fumes — Unavoidable raidwide AoE damage. Heal through it.
- Spore Sac — Spawns several untargetable small spore sacs around the arena. Each small sac explodes in a standard AoE after a short delay. After the first cast, each successive Spore Sac cast also spawns one additional large spore sac — and each subsequent cast adds another. The large sacs explode as proximity AoEs, dealing significantly more damage to players who are close when they detonate. The second Spore Sac cast spawns 1 large sac, the third spawns 2, and so on. Move away from large sacs before they explode.
- Excretion — Damages the target and inflicts 30 seconds of Heavy, slowing movement significantly.
Strategy Notes
The Leightonward is primarily a positioning fight that escalates in AoE density as the fight progresses. The opening casts of Spore Sac are manageable, but each successive cast increases the number of large proximity sacs present simultaneously, progressively restricting safe movement space.
When Spore Sac fires, immediately identify where the large proximity sacs have appeared and move away from them before they detonate. Small sacs are standard dodge mechanics — step out of their AoE circles. Large proximity sacs require distance: the further you are from the detonation point, the less damage you take. As the fight progresses and multiple large sacs appear simultaneously, pre-positioning before the cast resolves becomes increasingly important.
Excretion’s Heavy debuff significantly impairs movement — a player affected by it will struggle to reposition quickly during a Spore Sac wave. Healers cannot cleanse it, so tanks should manage their position defensively when the debuff is active and DPS players who are Heavy should be given priority movement space to avoid sacs without needing to sprint.
Failure Points
Being caught near a large proximity sac at late-fight Spore Sac casts is the primary source of avoidable spike damage, particularly when a Heavy debuff has restricted movement. Track the sac count as the fight progresses, give large sacs more distance than small ones, and pre-position away from likely detonation zones rather than reacting after they appear.
Gowrow
Overview
Gowrow uses telegraphed attacks with invisible cast bars. The boss’s animations signal incoming attacks — watch the battle log for readiness messages such as “Gowrow readies Ripper Claw” as a secondary cue. When Volcanic Howl fires and the boss glows red with a Damage Up buff, every subsequent attack upgrades to an enhanced version using the same visual telegraph as its base version. Read the combat log or track the buff state to avoid being caught by a stronger version of a familiar-looking animation.
All attacks except Volcanic Howl inflict 8 seconds of uncleansable Infirmity. If the hit is fully absorbed by a shield or avoided through invincibility, the debuff is not applied.
Key Mechanics
- Volcanic Howl — Raidwide AoE. Grants the boss a temporary Damage Up buff, causing it to glow red and enhancing all subsequent attacks until the buff expires.
- Ripper Claw — Telegraphed by the boss raising its left arm. Dodgeable cleave.
- Buffed version: Also spawns a tornado at the main tank’s location that explodes with knockback after a few seconds.
- Tail Smash / Tail Swing — Telegraphed by the boss twisting to its left and raising its tail. Dodgeable backward cleave with knockback.
- Buffed version (Tail Swing): Becomes a melee-range circular cleave with knockback instead. Same animation telegraph.
- Fireball / Lava Flow — Telegraphed by the boss standing upright and placing its hands together. Faces a target, remembers their location, then fires an AoE there.
- Buffed version (Lava Flow): Becomes a continuous channeled cone AoE aimed at the target instead of a delayed location hit. Same animation telegraph.
- Wild Charge / Hot Charge — Telegraphed by the boss taking a shoulder charge stance. Line AoE charge at a target with knockback.
- Buffed version (Hot Charge): Delivers massive knockback instead of moderate. Same animation telegraph.
Strategy Notes
Gowrow is a fight that demands active buff tracking alongside animation reading. The base versions of every attack are readable from the boss’s body language — the challenge is that the buffed versions share identical telegraphs while behaving differently in ways that punish players who react to the animation alone.
As soon as Volcanic Howl fires and the boss glows red, recalibrate expectations for every ability that follows. Ripper Claw now drops a tornado at the main tank’s position — the tank should move after absorbing the cleave to avoid the delayed knockback explosion. Tail Swing now covers a melee circular zone rather than a backward cleave — melee DPS who would normally stand safely to the side may now be in the AoE. Lava Flow is a continuous cone rather than a delayed circle — move continuously rather than pre-positioning at the remembered location. Hot Charge delivers a knockback severe enough to send players into hazardous positions — be aware of what is behind you before the charge lands.
The Infirmity debuff accumulates with each hit taken. Players who absorb multiple attacks in quick succession will find their survivability eroding through the buffed phase. Mitigation cooldowns are valuable here, and full absorb via shields negates the debuff entirely for that hit.
When in doubt about which version is coming, treat every buffed-phase attack as more dangerous than its base form and give yourself more space than you think you need.
Failure Points
The most common failure is reacting to a buffed-phase animation with the base-version response — positioning to dodge the expected behavior and taking the enhanced hit instead. Tracking the Damage Up buff state and adjusting expectations for every subsequent attack is the fight’s core skill. Stack too many Infirmity stacks through overlapping hits during the buffed phase and the back end of the encounter becomes significantly harder to heal through.
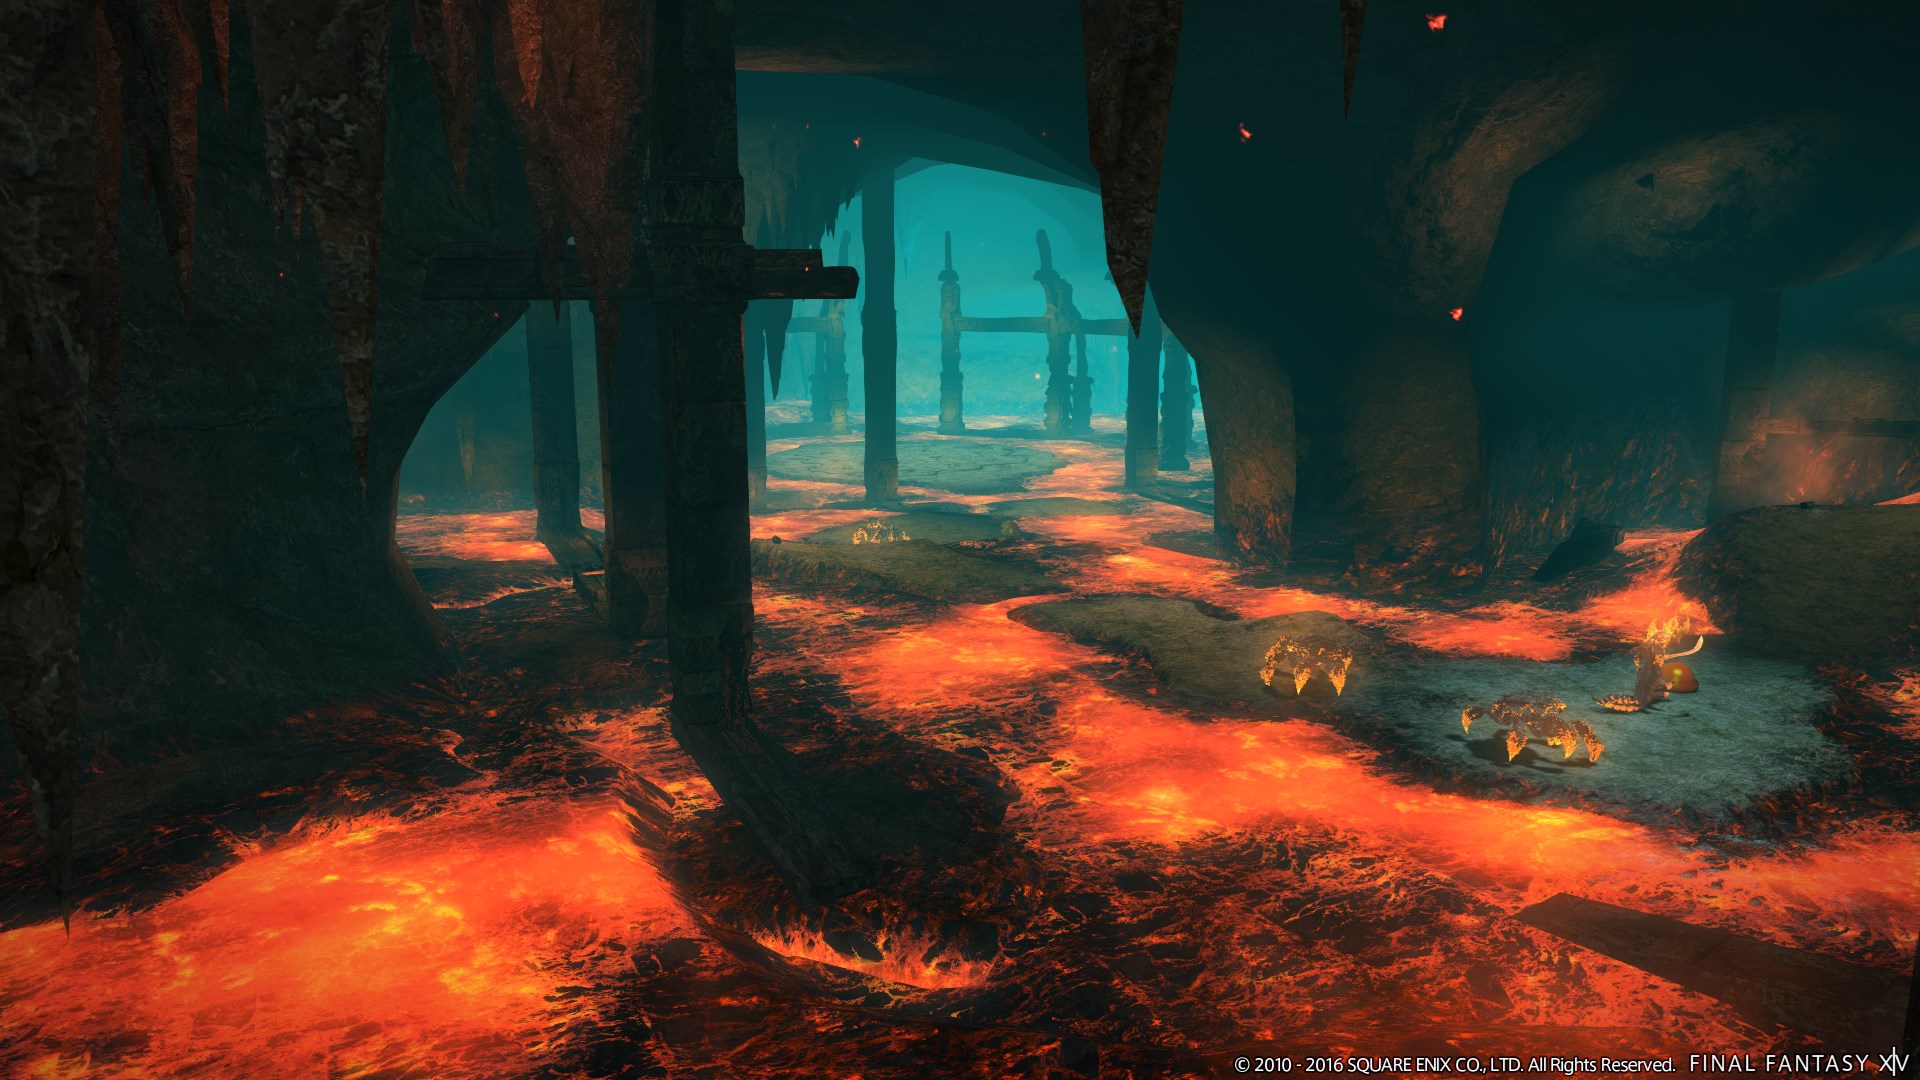
Lava Scorpion
Key Mechanics
- Molten Silk — 270-degree close-range cleave with the safe zone directly behind the boss. Often used twice in succession, rotating to the other side for the second hit. Move to the boss’s rear before each cast.
- Deadly Thrust — Very high damage attack on the primary target. Tanks should use mitigation cooldowns. Particularly dangerous when adds are also dealing damage simultaneously.
- Hiss — Summons 2–4 Scorpion adds. Kill them promptly.
- Realm Shaker — Short-range circular AoE centered on the boss. Move out of melee range.
- Flying Press — Marks a random party member for a moderate splash-damage attack. Creates new lava puddles near the impact point and expands existing puddles. Move the marked player away from already-puddled areas before the hit lands.
- Lava Puddles — Persistent ground hazards left by Flying Press and Scorpion’s Claw adds. Contact deals high damage. Avoid them throughout the fight. Move toward the boss if necessary to avoid running through puddles to return to position.
- Scorpion’s Claw — Adds that spawn and create lava puddles. Must be killed before they complete their Borehole cast. Borehole creates additional puddle coverage if it resolves.
- Scorpion’s Tail — Adds that use a weaker version of Deadly Thrust. Kill them alongside Scorpion’s Claws.
Strategy Notes
The Lava Scorpion is an arena attrition fight. Lava puddles expand and accumulate throughout the encounter through Flying Press impacts and Scorpion’s Claw activity — every decision made about where to position, where to direct marked players, and how quickly to kill adds directly determines how much navigable floor remains in the fight’s later stages.
Molten Silk is the fight’s most frequent individual movement demand. The 270-degree arc leaves only the direct rear safe — move behind the boss on the cast bar and be prepared to rotate again immediately if the second hit follows. Staying behind the boss as a default positioning habit reduces the total adjustment needed each time.
When Flying Press marks a player, that player should move toward cleaner sections of the arena before the impact. Flying Press not only deals splash damage but also expands any existing puddles near the landing zone — marking a player who is standing near an existing puddle cluster will extend that hazard further. Direct the marked player deliberately away from high-puddle areas.
Scorpion’s Claw adds are the fight’s clearest priority kill target. Each Claw creates lava puddles as it acts and will complete a Borehole cast if left alive, depositing additional puddle coverage that further restricts movement. Kill Claws immediately on spawn, before Boreholecompletes. Scorpion’s Tail adds are lower priority but should be cleaned up alongside Claws.
Deadly Thrust is most dangerous when Tail adds are simultaneously attacking the tank. The combination of Deadly Thrust’s high base damage and add auto-attacks arriving in the same window is the primary scenario where tanks should pre-emptively use a mitigation cooldown. Healers should maintain high tank health going into any phase where adds are alive.
If puddles have accumulated between the party and the boss, move closer to the boss rather than routing through puddles to return to position. The inside of the arena is usually cleaner than the outside in the late fight, and proximity to the boss simplifies Molten Silk dodging simultaneously.
Failure Points
Letting Scorpion’s Claw adds complete Borehole casts is the primary source of long-term arena degradation. Each unchecked Borehole compounds puddle coverage in ways that restrict movement for every subsequent mechanic. Flying Press directed into already-heavy puddle areas accelerates the same problem. Kill Claws first, direct Flying Press marks away from puddle clusters, and stay mobile — the Lava Scorpion punishes players who stop moving.
Difficulty Assessment
Sohm Al (Hard) is a fitting final dungeon for the Heavensward optional content sequence, offering three mechanically distinct fights that each test a different form of sustained awareness. The Leightonward escalates AoE density across the encounter. Gowrow demands that players track buff state alongside visual telegraphs and adjust expected behavior for every attack the moment the boss glows red. The Lava Scorpion is a progressive arena management fight where player decisions directly shape how navigable the floor remains.
The dungeon emphasizes:
- Proximity AoE management under escalating density
- Animation-plus-buff-state reading with opposite correct responses
- Uncleansable debuff mitigation through shield and invincibility usage
- Persistent hazard management and add kill priority under arena attrition
Groups who communicate Gowrow’s buff state clearly and maintain consistent Scorpion’s Claw kill priority will find the dungeon demanding but clean. Those who autopilot Gowrow’s animations without checking whether the buff is active and ignore Claw adds on the Lava Scorpion will find both encounters correcting that complacency directly and without mercy.
Previous Dungeon: Baelsar’s Wall
Guildmaster Notes
Sohm Al (Hard) returns to a mountain that was never truly peaceful — only patient. The wounds torn open in its depths by the events of the base dungeon have not closed. They have deepened. What waits inside now is older and angrier than what came before, shaped by everything the mountain has absorbed since the last time anyone walked its paths.
There is a particular satisfaction in how the Hard version asks more of you than its predecessor without simply making the same fights harder. It asks different questions. Gowrow asks whether you are reading the fight or just reacting to it. The Lava Scorpion asks whether you are thinking about the floor beneath your feet or only the enemy in front of you. The answers, by the end, say something about the kind of player you have become across the full breadth of Heavensward’s content. That feels like the right note to end on.