Recollection Trial Guide: Zelenia Mechanics and Strategy
Duty Information
Expansion: Dawntrail
Encounter: Recollection
Players: 8 (Tank / Tank / Healer / Healer / DPS / DPS / DPS / DPS)
Duty Finder Type: Trial
Level: 100
Item Level: 715
Unlock Requirement: Descent to the Foundation


Encounter Overview
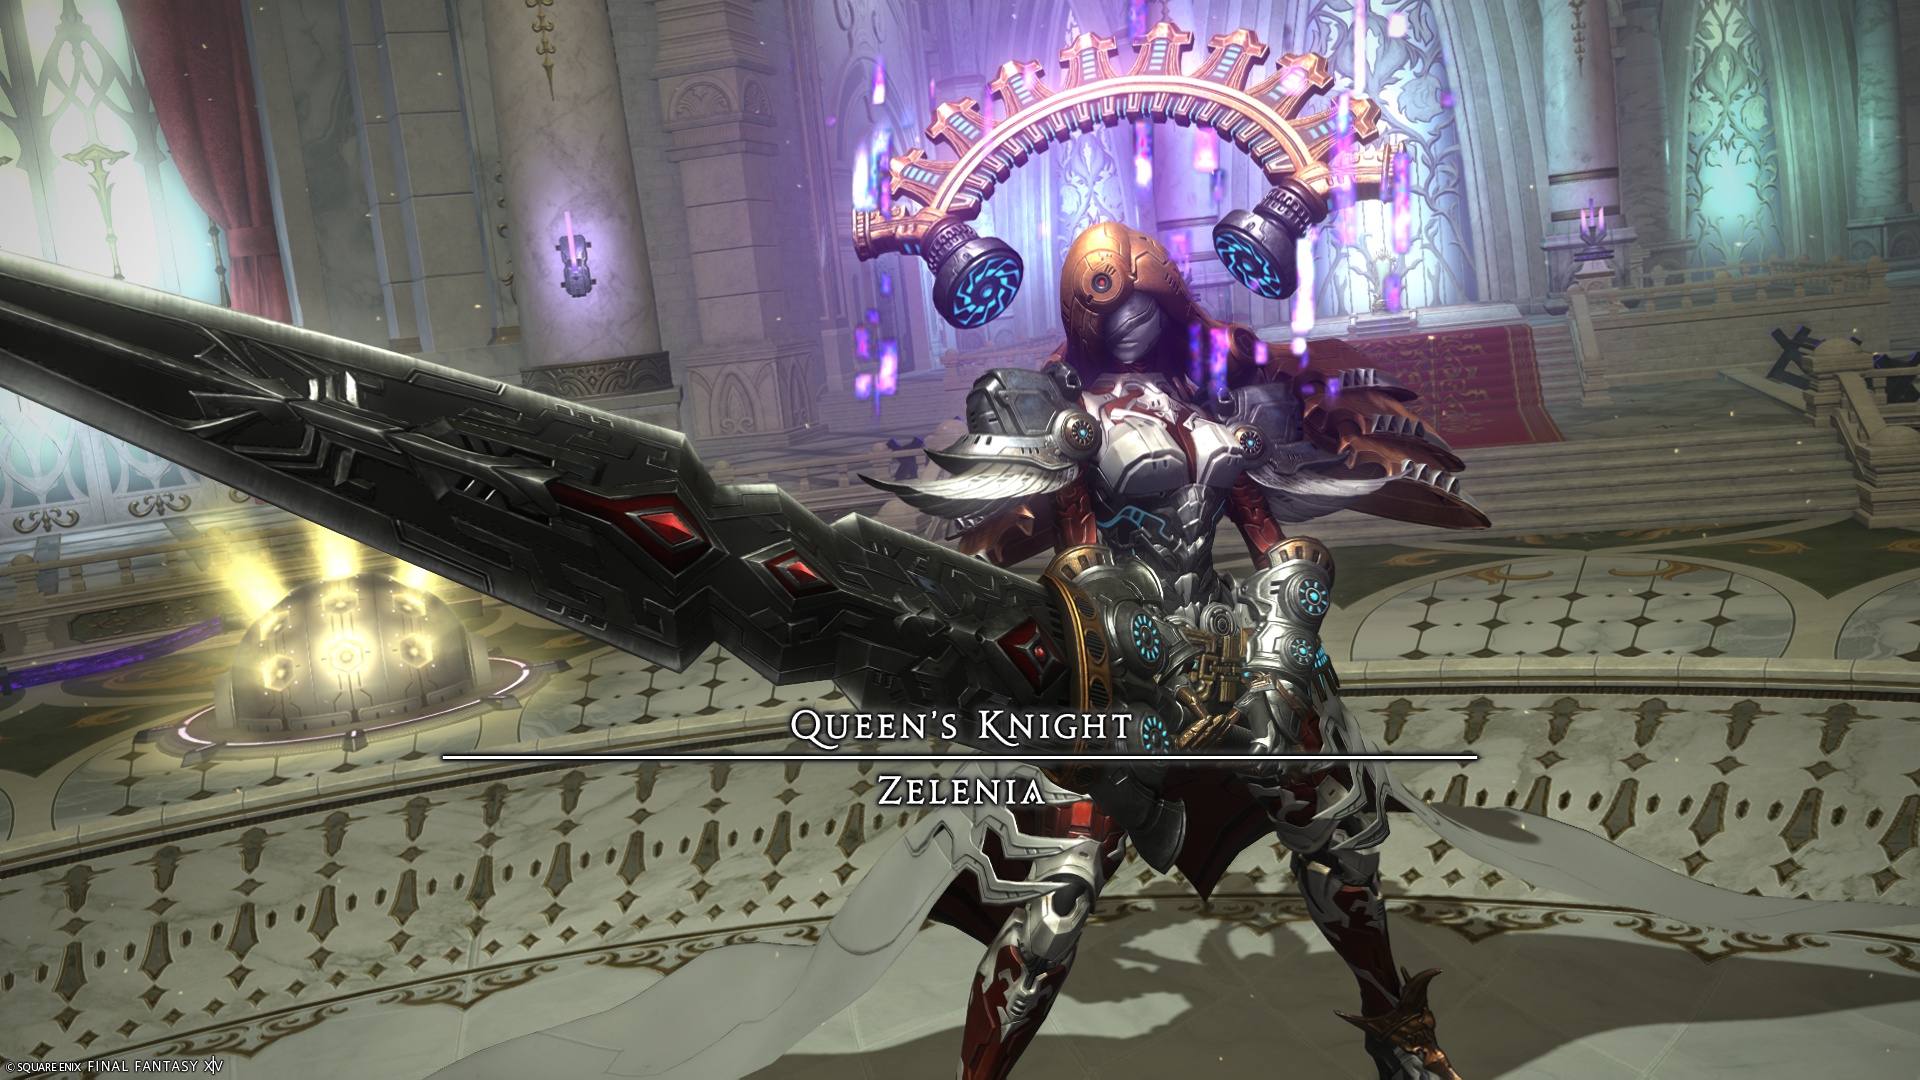
Recollection is a level 100 Dawntrail trial featuring Zelenia, the Queen’s Knight. This encounter revolves around sector-based mechanics, layered AoEs, and strict positioning requirements. The fight emphasizes recognizing safe sectors early and committing to movement paths before overlapping mechanics resolve.
Compared to encounters like The Interphos, Recollection is less about rapid execution chains and more about spatial planning. Most wipes occur when players hesitate during Roseblood Bloom sequences or attempt to adjust too late.
For a full comparison across all trials, see the FFXIV Trial Rankings.
Arena Overview
The arena is divided into six sectors, with certain sectors marked as “red” during mechanics. Red sectors become dangerous when triggered and can chain-explode to adjacent sectors.
A persistent central AoE also limits movement options, forcing players to resolve mechanics around the outer sectors. Positioning discipline is critical—safe space becomes limited quickly during later sequences.
Mechanic Archive
Alexandrian Thunder IV
Point-blank and donut AoEs in sequence.
Resolve in/out first, then stabilize. Do not overmove—small adjustments keep you aligned for follow-ups.
Shock
Spread markers that leave persistent AoEs.
Spread cleanly, then return to safe positioning after detonation. Running too far creates unnecessary spacing issues.
Power Break
Half-room cleave.
Identify safe side early and stay near center for minimal adjustment.
Holy Hazard
Sequential cone cleaves.
Move once per cleave—overadjusting will put you into the next AoE.
Specter of the Lost
Tankbuster cones on both tanks.
Tanks separate early—late movement risks clipping the party.
Thunder Slash
Layered cleaves combined with in/out AoEs.
Start at the third telegraph, resolve first in/out, then rotate forward. Treat this as a preset movement pattern, not reactive dodging.
Roseblood Bloom (Core Mechanic)
Marks sectors that will explode when triggered.
Always identify safe sectors first, then move. Never move into a red sector “temporarily”—it will chain explode.
Alexandrian Thunder III
Circle AoEs that can trigger red sectors.
Resolve on safe sectors only. Even partial overlap with red sectors will cause chain explosions.
Roseblood Drop
Orb that converts a sector into a red sector.
Avoid both current red sectors and the orb’s destination. Pre-position early—late movement leaves no safe space.
Stock Break
Multi-hit stack AoE.
Stack tightly and mitigate across hits. Healers should plan recovery after the final hit.
Valorous Ascension
Raidwide damage spawning Briar Thorns.
Dodge thorn line AoEs while staying in safe sectors—line AoEs will trigger red sectors on contact.
Briar Thorns
Line AoEs that interact with sectors.
Always dodge in safe sectors. Even indirect contact with red sectors will trigger explosions.
Absolute Sector Sequences
Complex combinations of Roseblood Bloom, Drop, and AoEs.
Solve in order:
1. Identify safe sectors
2. Track orb destination
3. Resolve AoEs
4. Adjust for cleaves
Critical tip: Trying to solve everything simultaneously leads to panic—break mechanics into steps.
Encounter Flow
Opening Phase
The fight begins with Thunder IV, Shock, and Power Break, establishing movement and positioning fundamentals.
Thunder Slash introduces layered movement patterns, requiring players to follow preset paths rather than react.
Mid Phase (Roseblood Mechanics)
Roseblood Bloom becomes the core mechanic, introducing sector-based hazards.
Players must identify safe sectors early and maintain positioning while resolving Thunder III, Power Break, and Roseblood Drop.
This is the primary execution check—most wipes occur from late movement or incorrect sector selection.
Late Phase
Valorous Ascension and Briar Thorns add additional pressure, forcing players to maintain safe sector positioning while dodging line AoEs.
Mechanics repeat with increased overlap until the boss is defeated.
[tavern_related_encounters]