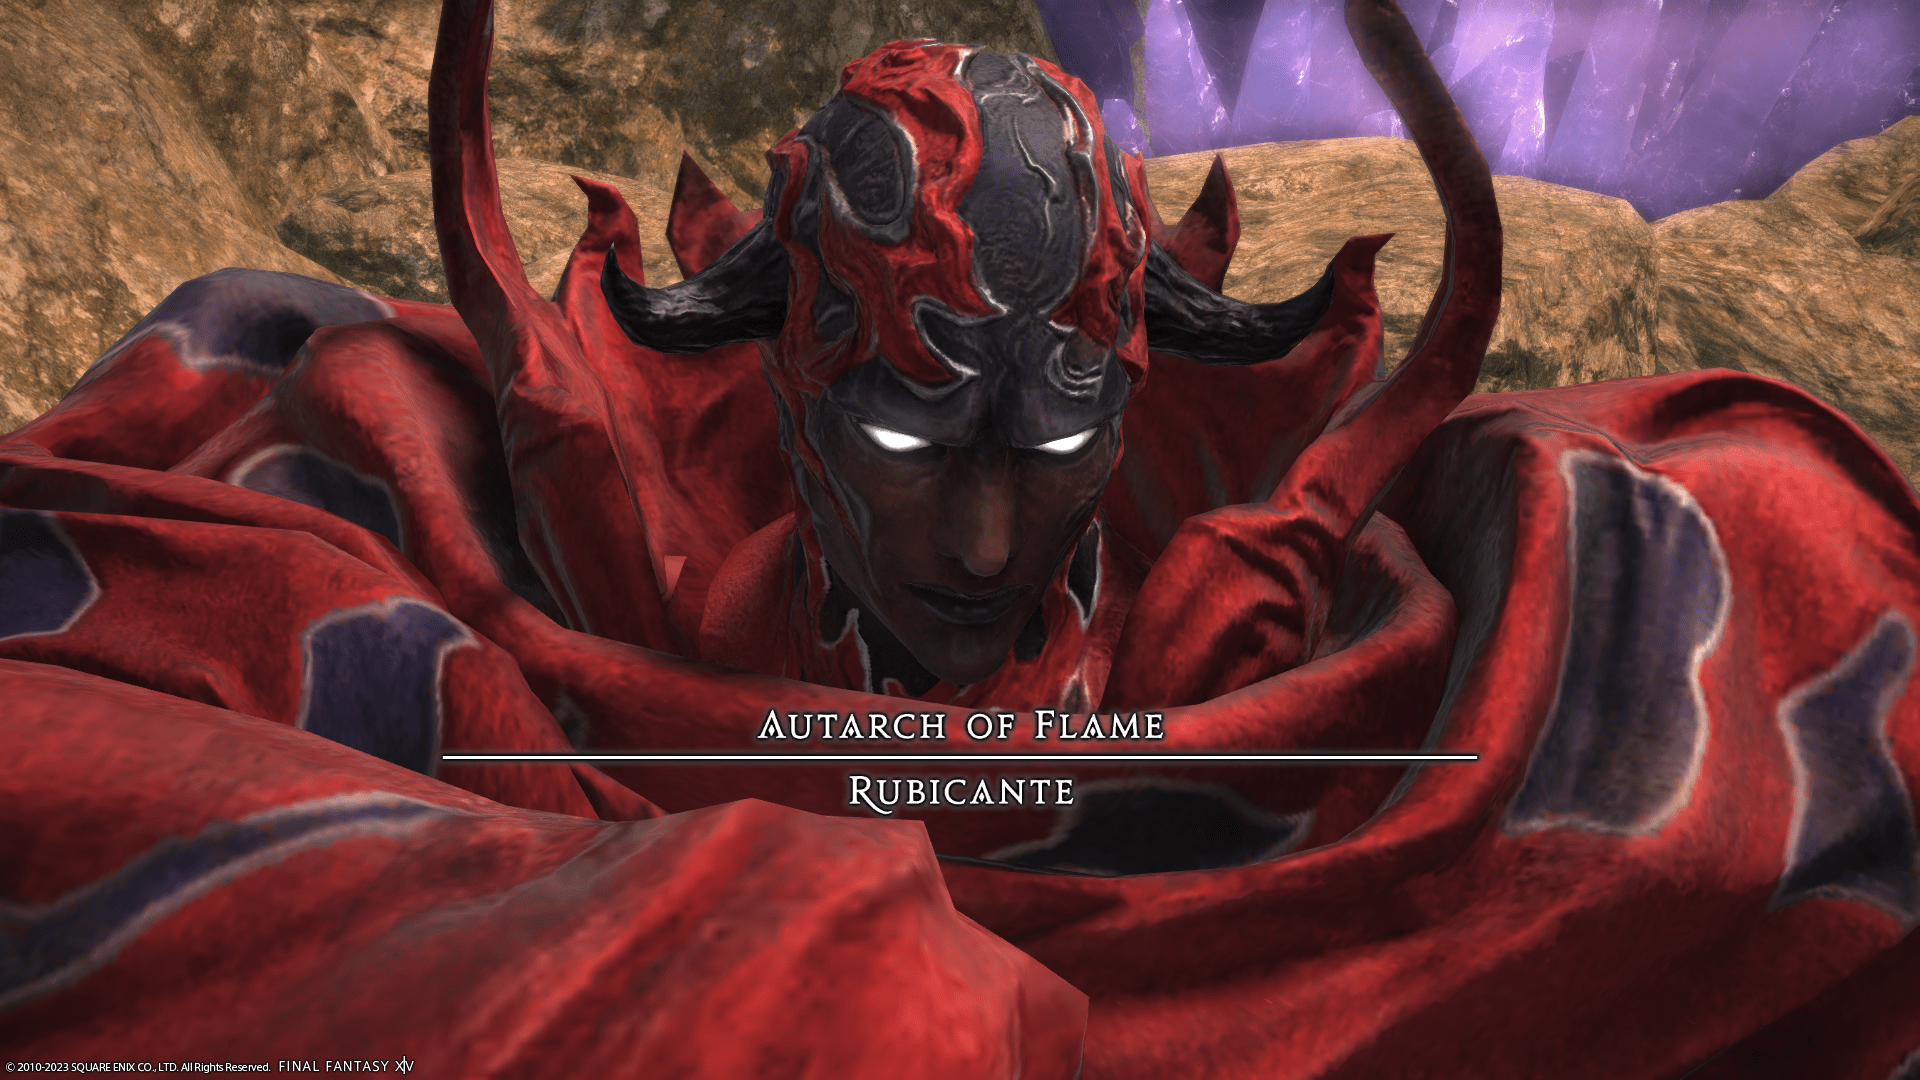
Mount Ordeals Extreme Guide: Rubicante Mechanics and Strategy
Duty Information
Expansion: Endwalker
Encounter: Mount Ordeals (Extreme)
Players: 8 (Tank / Tank / Healer / Healer / DPS / DPS / DPS / DPS)
Duty Finder Type: Trial
Level: 90
Item Level: 610
Unlock Requirement: I Wandered Sharlayan as a Minstrel


Encounter Overview
Mount Ordeals (Extreme) is the level 90 Endwalker trial against Rubicante, transforming the normal encounter into a highly structured execution fight centered around rotational patterns, debuff resolution, and precise positioning. The encounter is defined by Ordeal of Purgation, which demands fast pattern recognition and early commitment.
Compared to fights like Storm’s Crown (Extreme), Rubicante places more emphasis on solving structured puzzles rather than reacting to chaos. Most wipes occur when players hesitate or misread Purgation rotations rather than from mechanical overload.
For a full breakdown of difficulty across trials, see the FFXIV Trial Rankings.
Arena Overview
The fight takes place on a circular arena divided into slices during key mechanics. Players can fall off the edge, making positioning especially important during movement-heavy sequences.
Most mechanics resolve based on slice positioning and rotational logic. Assigning consistent clock spots and light parties is essential for clean execution.
Mechanic Archive
Inferno
Raidwide damage used throughout the fight.
Treat this as a reset point—heal quickly and immediately reposition for the next mechanic rather than lingering.
Ordeal of Purgation
The defining mechanic involving rotating rings and fireball paths that trigger either cone or half-room AoEs.
Identify the fireball path first, then adjust for rotation. Do not try to solve everything at once—commit early to a safe slice before immobilization.
Advanced tip: When uncertain, follow a marked player. Late movement is worse than imperfect positioning.
Arch Inferno
Rotating AoEs combined with stacks or spreads.
Move in controlled rotations with your light party. Overmoving breaks spacing and causes overlap deaths.
Radial Flagration
Conal AoEs on all players.
Snap to clock positions immediately—hesitation leads to overlapping cones.
Adds Phase
Multiple adds spawn, including a Greater Flamesent that applies stacking damage-over-time.
Kill the Greater Flamesent first to stabilize healing. Tanks should pick up tethered adds immediately to avoid random deaths.
Blazing Rapture
Heavy raidwide damage after adds.
Pre-mitigate and top the party quickly—phase two begins immediately after.
Flamespire Brand
Assigns flare, stack, and spread debuffs.
Resolve flare/stack first, then spreads. Trying to handle spreads early causes unnecessary overlap.
Flamerake
Expanding cross AoEs with sequential safe zones.
Move with the pattern—safe → unsafe → safe. Do not panic-run; controlled repositioning is key.
Scalding Signal / Ring
Point-blank or donut AoE followed by line attacks.
Stay in clock positions while dodging. Returning to original positions prevents overlap from follow-up lines.
Sweeping Immolation
Half-room cleave combined with spread or stack.
Resolve cleave first, then adjust for spread/stack. Prioritizing the wrong mechanic leads to instant deaths.
Dualfire
Untelegraphed tankbuster cleaves.
Tanks separate early—waiting for visual confirmation is too late.
Inferno (Spread Version)
Targets each player with AoEs.
Stay disciplined in clock spots—drifting causes chain overlap deaths.
Flamespire Claw
Sequential cleaves on numbered players with tether management.
Resolve cleaves away from the group and rotate tethers immediately. Delays cause lethal stack buildup.
Late Ordeal of Purgation Variants
More complex rotations with mixed panel types.
Focus on identifying “V” or straight fuse patterns first, then follow rotation arrows. Trying to read everything simultaneously leads to mispositioning.
Encounter Flow
Phase One
The fight opens with Ordeal of Purgation, immediately testing pattern recognition. Players must identify fireball paths and rotations before being immobilized.
Arch Inferno and Radial Flagration establish movement discipline, requiring players to maintain spacing while rotating through safe zones.
Adds Phase
The party must quickly eliminate the Greater Flamesent while managing tether mechanics and AoEs. Efficient execution here reduces healing pressure and stabilizes the transition.
Phase Two
Phase two introduces debuff-heavy mechanics like Flamespire Brand and Flamerake, requiring precise coordination and positioning.
Mechanics such as Sweeping Immolation and Scalding Signal test layered execution. Players must resolve mechanics in order rather than reacting to everything at once.
Final Phase
The encounter culminates with complex Flamespire Claw sequences and advanced Ordeal of Purgation patterns.
Success comes from consistency—early recognition, minimal movement, and strict adherence to assigned positions.
[tavern_related_encounters]