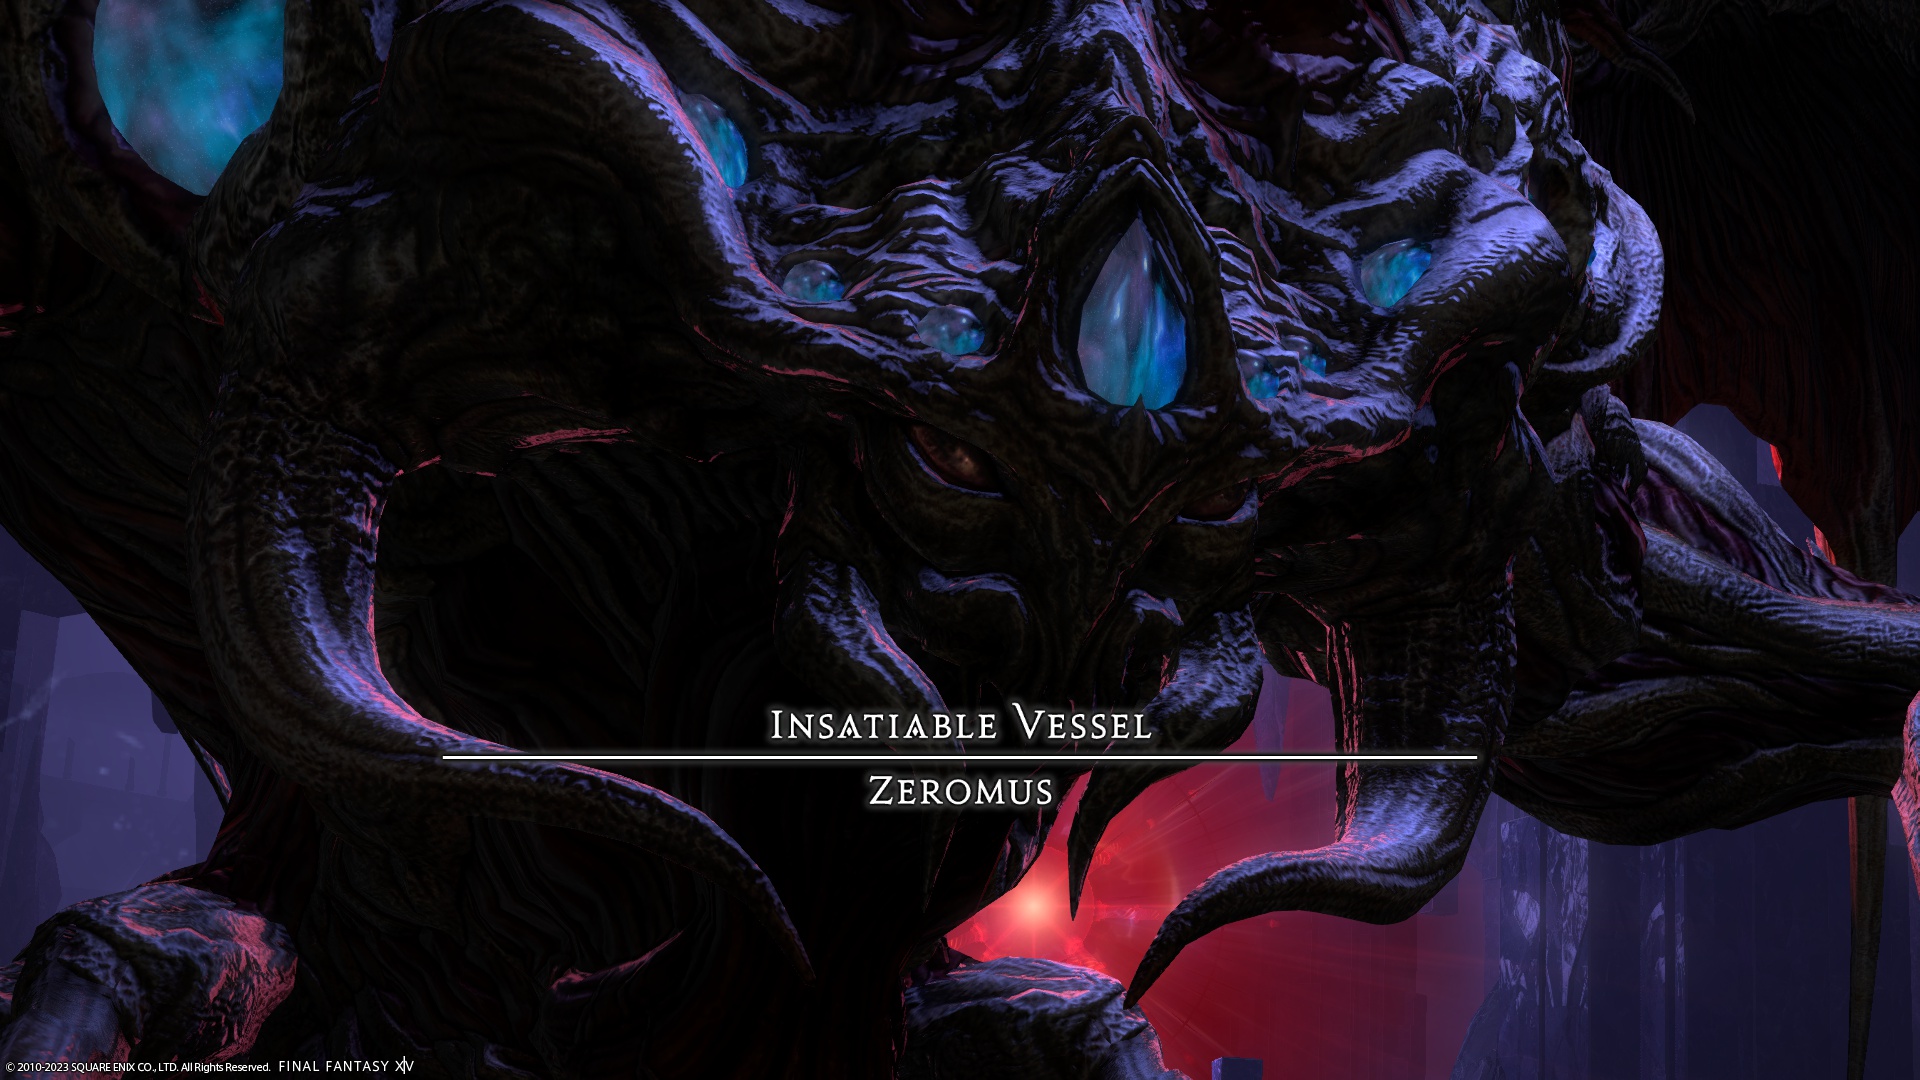
The Abyssal Fracture Trial Guide: Zeromus Mechanics and Strategy
Duty Information
Expansion: Endwalker
Encounter: The Abyssal Fracture
Players: 8 (Tank / Tank / Healer / Healer / DPS / DPS / DPS / DPS)
Duty Finder Type: Trial
Level: 90
Unlock Requirement: Down in the Dark


Encounter Overview
The Abyssal Fracture is a level 90 Endwalker trial against Zeromus, the Insatiable Vessel. This encounter is one of the most mechanically dense trials in the expansion, combining heavy raidwide pressure, debuff management, and precise positioning into long, layered sequences.
The fight revolves around survival under pressure. Many mechanics reduce player health, apply lethal debuffs, or force exact positioning under time constraints. Success comes from controlled movement, early recognition, and strict discipline—especially during Big Bang and tether-based mechanics where hesitation leads to immediate wipes.
Want to see how this fight compares to other Endwalker trials? Check the FFXIV Trial Rankings for difficulty and progression insights.
Arena Overview
The encounter takes place on a circular arena with full fall risk at the edges. Many mechanics rely on cardinal and intercardinal positioning, making orientation critical throughout the fight.
The arena frequently becomes constrained by moving hazards, expanding AoEs, or tether spacing requirements. Players must constantly balance positioning relative to the boss, arena edges, and other players.
Mechanic Archive
Abyssal Nox
Reduces all players to 1 HP and applies Doom. The Doom must be cleansed by healing to full before it expires. Simultaneously, large AoEs appear at cardinal/intercardinal positions. Players must both dodge and recover quickly—healers should prioritize rapid group healing immediately.
Sable Thread
A multi-hit line stack attack. The group should stack together, with tanks closest to the boss taking increased damage. Proper mitigation and tight stacking are required to avoid deaths.
Visceral Whirl
Creates perpendicular line AoEs across the arena, leaving two triangular safe zones. Identify the safe triangles early and move decisively. This mechanic frequently overlaps with others, increasing its difficulty.
Dark Matter
A multi-hit tankbuster. Tanks should mitigate and prepare for sustained damage. Healers should monitor tank health closely during this sequence.
Flare
A tower spawns with a stack requirement. The party must soak it together. Afterward, it leaves behind a fireball that emits multiple line AoEs. Players should reposition quickly after soaking to avoid follow-up damage.
Nox
Two players receive chasing AoEs. These should be baited away from the group. Movement should be controlled—these AoEs do not travel far, so small adjustments are enough.
Void Bio
Poison orbs move across the arena from north to south, creating shifting safe gaps. Players must navigate through openings while avoiding damage-over-time effects. This often overlaps with Visceral Whirl, requiring careful pathing.
Big Bang
A major mechanic combining raidwide damage, baited AoEs, and multiple debuffs. Players must handle spreads, a stack marker, and Acceleration Bomb simultaneously.
When Acceleration Bomb expires, players must stop moving and avoid actions. Resolve the stack marker first, then spread afterward. This sequence heavily punishes panic and overmovement.
Meteor Impact
All players are tethered to a central meteor. Each player must stretch their tether without overlapping others. Proper spacing is critical—short tethers or overlapping lines will result in death.
Black Hole
A large expanding AoE appears in one corner while a rotating line AoE sweeps the arena. Players must position behind the line attack while avoiding the expanding circle. Contact with the black hole results in instant death.
Void Meteor
Four proximity AoEs spawn near corners, leaving behind persistent meteors. These must be avoided during subsequent mechanics, particularly Meteor Impact, where overlapping them causes massive damage.
Big Crunch
Similar to Big Bang but removes HP penalties and applies damage-over-time instead. Players must again handle baited AoEs while maintaining clean positioning.
Rend the Rift
Transitions the fight into phase two with heavy raidwide damage. Players should prepare for immediate follow-up mechanics.
Nostalgia
A sequence of multiple raidwide hits with increasing intensity. Mitigation should be layered, and healers must stabilize the party quickly.
Flow of the Abyss
A large line AoE based on a background indicator. Players must identify the direction early and move out of its path.
Akh Rhai
Each player drops persistent AoEs that remain on the ground. Spread carefully and avoid placing these in future movement paths.
Chasmic Nails
Sequential conal AoEs that require players to move into previously resolved safe areas. Anyone hit receives a debuff that must be cleansed. Controlled movement is essential.
Encounter Flow
Phase One
The fight opens with Abyssal Nox, immediately forcing players to recover from critical HP while dodging AoEs. This sets the tone for the encounter—mechanics often combine survival checks with positioning requirements.
Core mechanics such as Sable Thread, Visceral Whirl, and Void Bio establish movement discipline and pattern recognition. Players must stay aware of overlapping mechanics and avoid overcommitting movement.
The fight escalates with Big Bang, a complex sequence combining multiple debuffs and positioning requirements. Players must stop moving during Acceleration Bomb while correctly resolving stack and spread mechanics.
Later, Meteor Impact introduces tether spacing, followed by layered mechanics involving Black Hole and Void Meteor. These sequences test coordination and spatial awareness under pressure.
After Big Crunch, the phase repeats its core mechanics with increased intensity until transitioning at low health.
Phase Two
Phase two begins with Rend the Rift and quickly introduces heavy raidwide pressure through Nostalgia. Players must stabilize before handling movement-heavy mechanics.
Flow of the Abyss and Akh Rhai require players to manage both directional AoEs and persistent ground hazards simultaneously. Positioning mistakes here can quickly cascade into wipes.
Chasmic Nails tests sequential movement, requiring players to step into previously unsafe areas while maintaining awareness of lingering hazards.
The phase repeats these mechanics until the boss is defeated. Consistency, positioning discipline, and early recognition are the keys to success.
[tavern_related_encounters]