M3N Brute Bomber Raid Guide – Arcadion Light-Heavyweight (FFXIV)
Expansion: Dawntrail
Raid Series: Arcadion
Raid Tier: Light-Heavyweight
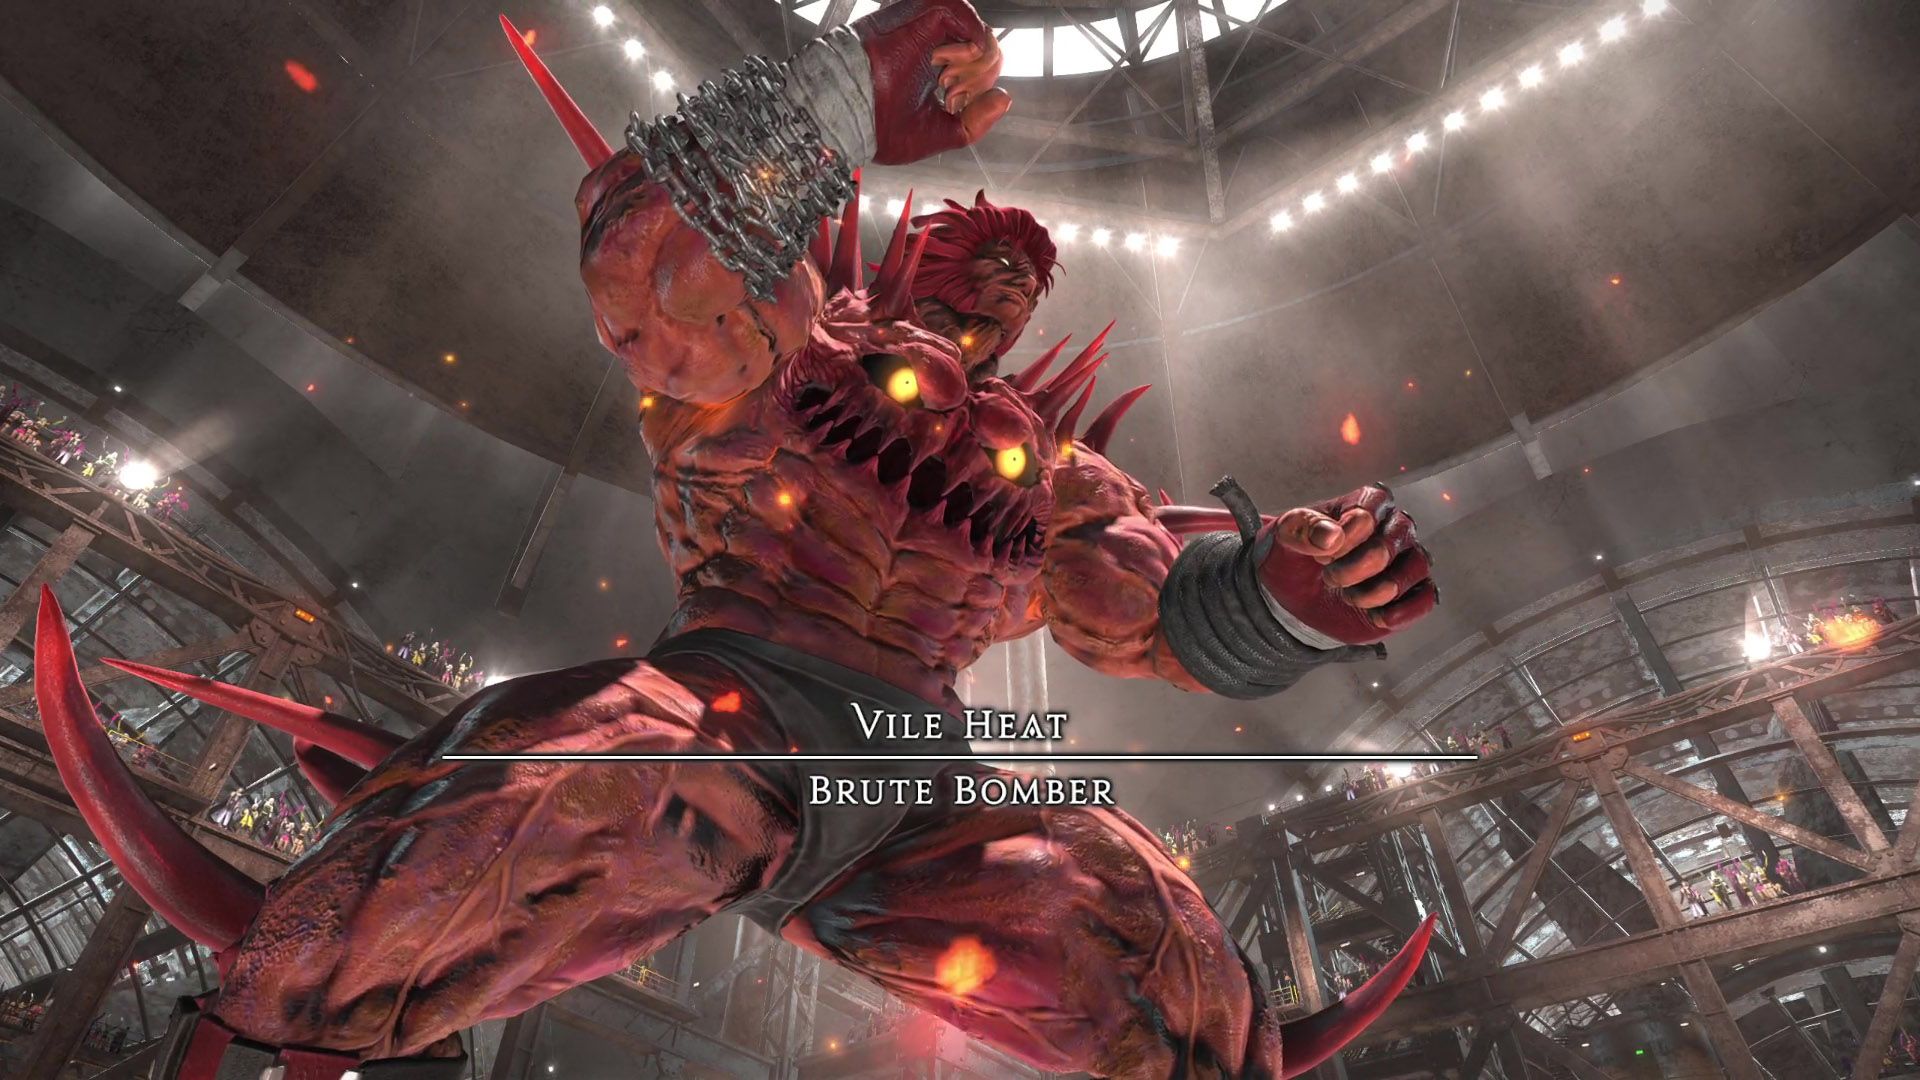
Boss: Brute Bomber
Encounter: M3N
Players: 8 (2 Tanks / 2 Healers / 4 DPS)
Duty Finder Type: Normal Raid
Unlock Requirement: Arcadion Light-Heavyweight Progression
← Back to Arcadion Light-Heavyweight Raid Archive
Encounter Overview
Brute Bomber is the third encounter of Arcadion: Light-Heavyweight.
The fight centers around rotating cleaves, tower knockbacks, and bomb sequencing mechanics. As the encounter progresses, the boss enhances its attacks with Doping Draught, increasing both damage and mechanical overlap.
Players must carefully manage:
• rotating cone mechanics
• knockback positioning
• bomb fuse timing
• stacked raid damage
The arena is surrounded by a border of fire that inflicts Burns if touched.
Arena Overview
The battlefield is a square arena surrounded by a dangerous fire border.
Arena hazards include:
• lethal fire edges
• tower knockbacks
• rotating cone attacks
• bomb explosions with short and long fuse timers
Proper positioning is critical to avoid being knocked into the fire.
Mechanic Archive
Brutal Impact
Four hits of raid-wide physical damage.
Response
• mitigate raid damage
• heal through all hits
After Doping Draught, this attack becomes six hits instead of four.
Knuckle Sandwich
Split-damage tankbuster targeting the off-tank.
Deals physical damage.
Response
• off-tank stacks with main tank
• both tanks mitigate
Brutal Lariat
The boss leaps to one side of the arena.
One arm glows, indicating a 180-degree cleave hitting:
• in front of the boss
• toward the glowing arm side
The opposite flank is safe.
The boss then charges across the arena.
Response
• move to the safe flank opposite the glowing arm
Murderous Mist
The boss gathers poison around itself.
Signals a 270-degree frontal cleave, leaving only the rear safe.
Response
• move behind the boss
Barbarous Barrage
Four towers spawn around the arena.
Each tower must be soaked by one player.
Soaking deals magical damage and knocks the player away from the tower.
Knockback can be prevented with knockback immunity.
Without immunity, aim the knockback toward the opposite corner to avoid the fire edge.
Fire Spin
Rotating frontal cone AoE.
The boss completes one full rotation, hitting each section once.
Response
• move into the area where the first cone resolved
• remain there safely
Fuses of Fury
Bomb adds spawn around the arena.
Some bombs have short fuses, others long fuses.
Each bomb explodes in a point-blank AoE.
Short-fuse bombs explode first.
Response
• dodge short-fuse bombs
• reposition before long-fuse bombs detonate
Doping Draught
The boss buffs itself, increasing damage dealt and augmenting several mechanics.
This marks the second half of the encounter.
Lariat Combo
Enhanced version of Brutal Lariat.
The boss performs two Lariat attacks in sequence.
The second cleave may hit the same side or the opposite side.
Response
• dodge the first cleave
• immediately reposition for the second
Brutal Burn
Stack marker AoE on a random player.
Deals heavy magical damage.
Response
• stack together to share damage
Infernal Spin
Enhanced version of Fire Spin.
Includes several overlapping mechanics:
• rotating frontal cone
• central point-blank AoE
• concentric donut explosions (Explosive Rain)
• three sets of red circle AoEs on players
The rotating cone still completes one full circle.
Response
• move into the already-resolved cone section
• dodge donut explosions
• spread for late circle AoEs
Combined Mechanics
Fuses of Fury + Lariat Combo
Long-fuse bombs explode during the first Lariat cleave.
Response
• dodge short-fuse bombs
• move into a previously exploded safe location that avoids the Lariat
Fuses of Fury + Barbarous Barrage
Short-fuse bombs explode shortly after tower knockbacks.
Response
• aim tower knockbacks into safe bomb locations
Fuses of Fury + Murderous Mist
Murderous Mist occurs shortly after long-fuse bombs explode.
Response
• dodge bomb explosions
• move behind the boss immediately
Final Phase Loop
After Doping Draught, Brute Bomber repeats upgraded mechanics until defeated.
Role Pressure Analysis
Tanks
Tanks must handle shared tankbusters and maintain safe boss positioning near arena edges.
Healers
Healers manage repeated raid damage and recover players after knockbacks or bomb damage.
DPS
DPS must handle tower assignments while maintaining uptime during heavy movement phases.
Failure Points
Most wipes occur from:
• tower knockbacks pushing players into the fire border
• misreading Brutal Lariat safe zones
• poor bomb positioning during Fuses of Fury
• overlapping AoEs during Infernal Spin
Difficulty Profile
| Category | Rating |
|---|---|
| Mechanical Complexity | Moderate |
| Movement Requirement | High |
| Coordination Requirement | Moderate |
| Punishment Severity | High |
Brute Bomber emphasizes positioning awareness and knockback control, especially when mechanics begin overlapping later in the fight.
Related Encounters
← Back to Arcadion Light-Heavyweight
← Back to Dawntrail Raid Archive
← Back to FFXIV Raid Archive