M2N Honey B. Lovely Raid Guide – Arcadion Light-Heavyweight (FFXIV)
Expansion: Dawntrail
Raid Series: Arcadion
Raid Tier: Light-Heavyweight
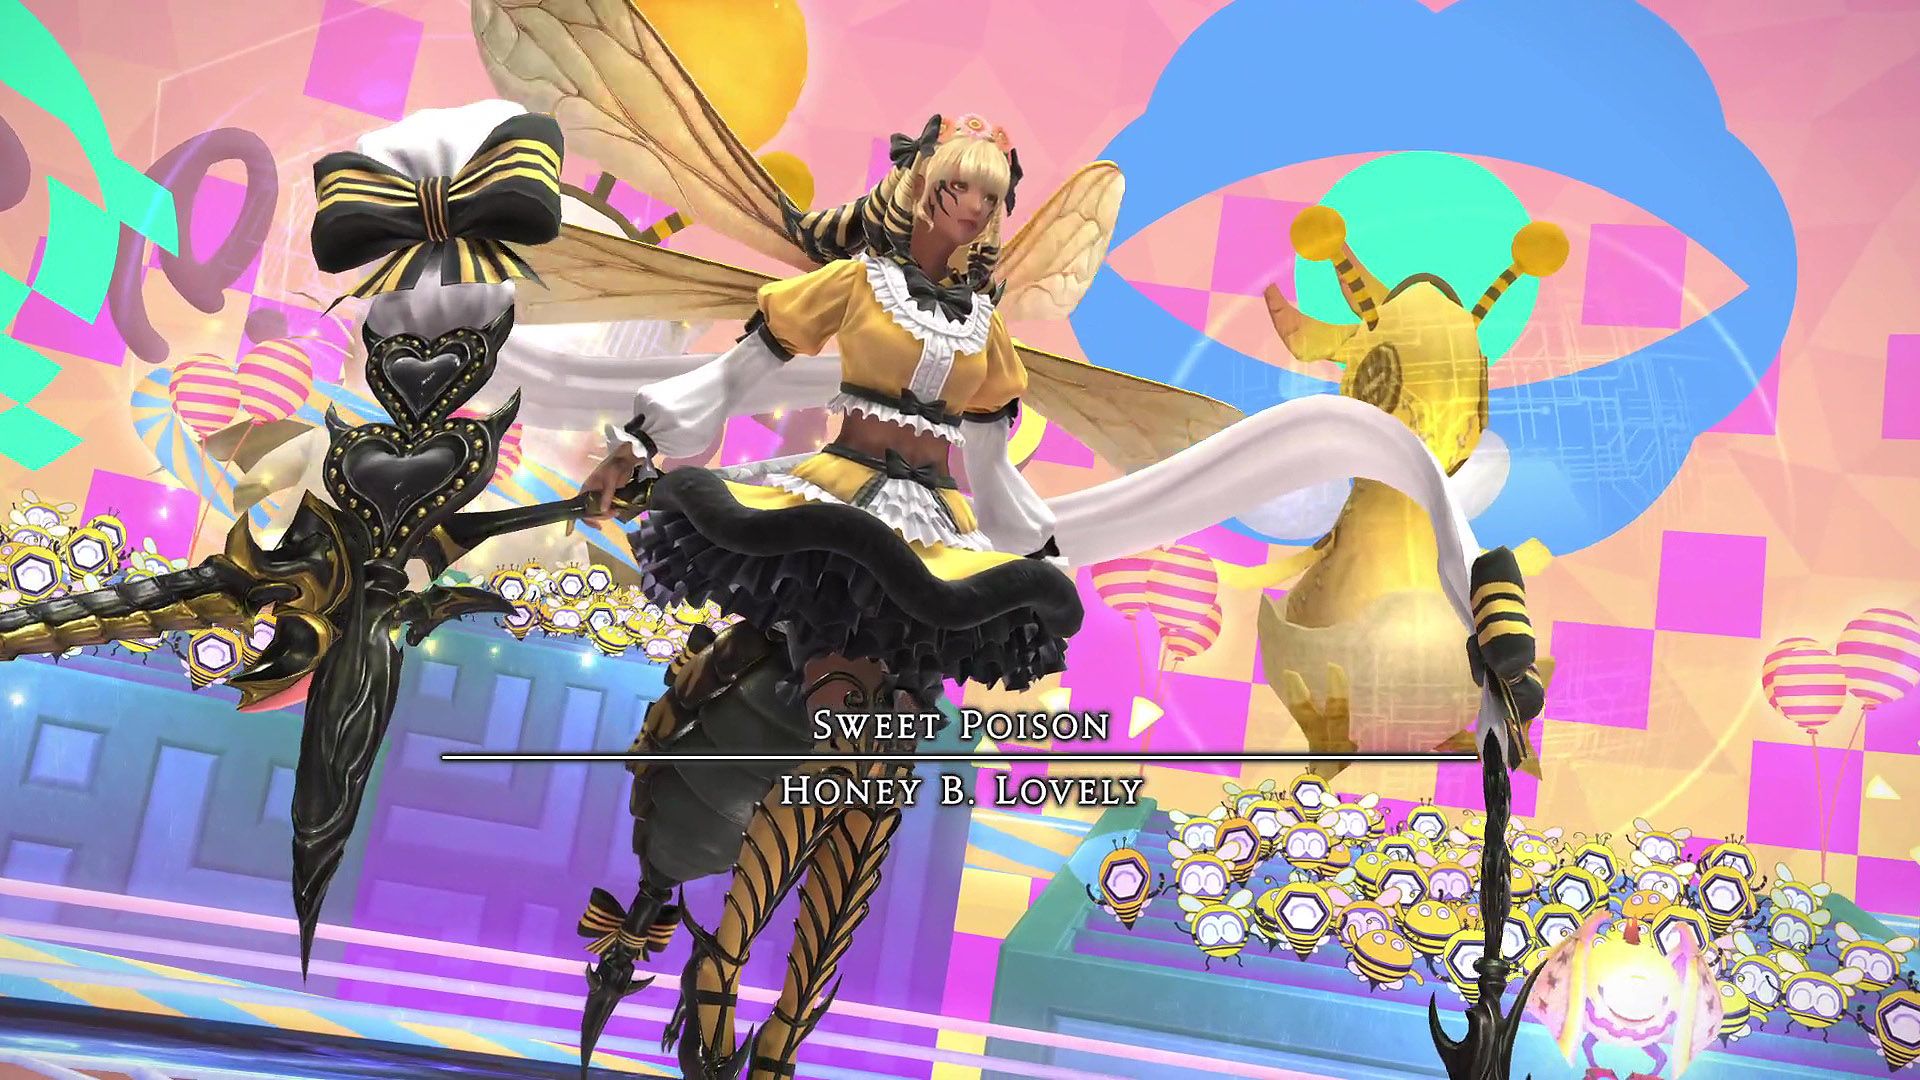
Boss: Honey B. Lovely
Encounter: M2N
Players: 8 (2 Tanks / 2 Healers / 4 DPS)
Duty Finder Type: Normal Raid
Unlock Requirement: Arcadion Light-Heavyweight (Normal) Progression
← Back to Arcadion Light-Heavyweight Raid Archive
Encounter Overview
Honey B. Lovely is the second encounter of Arcadion: Light-Heavyweight.
The fight introduces a Heart Gauge mechanic that tracks player mistakes during a special arena phase. Players who accumulate too many hearts become charmed, leaving them vulnerable to attacks.
The encounter focuses on:
• heart gauge management
• poison AoE patterns
• rotating arena mechanics
• tower soaking
• swarm add attacks
Avoidable mechanics either inflict Vulnerability Up or Sustained Damage, making repeated mistakes extremely punishing.
The arena is surrounded by a dangerous electrical field that inflicts Electrocution if touched.
Arena Overview
The battlefield is a circular platform surrounded by an electrified boundary.
Touching the boundary applies Electrocution and will quickly kill players.
During parts of the encounter the arena temporarily changes and introduces the Heart Gauge mechanic, which tracks player mistakes.
Mechanic Archive
Call Me Honey
Raid-wide magical damage.
Response
• mitigate and heal
Tempting Twist
Rotating spear indicators appear around the boss.
This signals a donut AoE around the boss.
Response
• stand close to the boss
Honey Beeline
Spear indicators appear in the direction the boss is facing.
This signals a line AoE from the boss.
Response
• move to the boss’s flanks
Honeyed Breeze
Narrow conal tankbusters targeting both tanks.
Deals physical damage.
Response
• tanks mitigate
• avoid overlapping the cones with the party
Honey B. Live Phase
Honey B. Live
Raid-wide magical damage.
This ability transitions the arena and grants every player a Heart Gauge.
The gauge increases when players are hit by certain mechanics.
Heart Gauge Effects
| Hearts | Debuff | Effect |
|---|---|---|
| 1 | Infatuated | Light damage over time |
| 2 | Head Over Heels | Moderate damage over time |
| 3 | Hopeless Devotion | Heavy damage and charm stun |
Players who reach 3 hearts become charmed, leaving them vulnerable to attacks.
Love Me Tender (Spread)
All players receive spread markers.
Deals magical damage and adds 1 heart.
Response
• spread around the arena
• avoid overlapping spreads
Tower Soaks
Four towers spawn that must be soaked.
Each tower requires one player.
Failure to soak causes the tower to explode and give everyone a heart.
Later versions of the mechanic spawn additional towers.
Loveseeker
Point-blank AoE around the boss.
Adds 1 heart to anyone hit.
Response
• move away from the boss
Love Me Tender (Heart Waves)
Several heart projectiles spawn:
• hearts moving outward from the boss
• hearts moving inward from the arena edge
• multiple circle AoE indicators
Each hit increases the Heart Gauge.
Response
• carefully weave between moving AoEs
Blow Kiss
Wide frontal cone with a delayed ground indicator.
Adds 1 heart if hit.
Response
• move behind or to the sides of the boss
Rotating AoE Pattern
Nine circle AoEs appear around the arena edge plus one in the center.
The outer AoEs rotate sequentially.
Response
• move into the first AoE after it explodes
Honey B. Finale
Raid-wide magical damage.
The arena returns to its original state and removes the Heart Gauge.
Poison Phase
Splash of Venom
The boss buffs her next attack.
Honey Beeline (Poison Version)
After the line AoE resolves:
• poison globules spawn
• these explode as circle AoEs
Players also receive spread markers.
Spread markers resolve after the glob explosions, giving time to reposition.
Response
-
dodge poison explosions
-
spread afterward
Drop of Venom
The boss enhances the next attack again.
Tempting Twist (Poison Version)
After the donut AoE:
• poison globules spawn and explode
One player receives a stack marker.
Response
-
dodge poison explosions
-
regroup for stack damage
Alarm Pheromones
Honey B. Lovely summons Groupbee adds outside the arena.
These bees perform line attacks.
Blinding Love
Bees fire line AoEs through the arena.
Players hit are knocked back.
Quadrant Strike
Multiple bees tether to one quadrant.
That quadrant and the opposite quadrant are hit.
The remaining two quadrants are safe.
Response
• move to one of the safe quadrants
Second Honey B. Live Phase
The arena transitions again and players receive the Heart Gauge.
Heartsies
Two players receive stack markers.
These must be split between the party.
Stacks with fewer than four players will give extra hearts to random players.
Stacks cannot overlap or the raid will die.
Repeating Mechanics
The phase repeats mechanics similar to the first Heart Gauge phase:
• spreads
• towers
• heart AoEs
Players must avoid building too many hearts.
Final Alarm Pheromones
Groupbees spawn again, but this time their line attacks appear in random positions instead of passing through the center.
Dodging becomes significantly more chaotic.
Final Phase Loop
The boss repeats poison mechanics and bee attacks until defeated.
Role Pressure Analysis
Tanks
Tanks must handle Honeyed Breeze tankbusters and maintain boss positioning.
Healers
Healers must sustain frequent raidwide damage while managing players suffering heart debuffs.
DPS
DPS must maintain uptime while navigating poison AoEs and bee line attacks.
Failure Points
Most wipes occur from:
• players reaching 3 hearts and becoming charmed
• missed tower soaks
• overlapping spread markers
• failing quadrant positioning during bee attacks
Difficulty Profile
| Category | Rating |
|---|---|
| Mechanical Complexity | Moderate |
| Movement Requirement | High |
| Coordination Requirement | Moderate |
| Punishment Severity | High |
Honey B. Lovely emphasizes awareness and heart gauge management, punishing repeated mistakes.
Related Encounters
← Back to Arcadion Light-Heavyweight
← Back to Dawntrail Raid Archive
← Back to FFXIV Raid Archive