The Great Gubal Library Dungeon Guide (FFXIV Heavensward) – Boss Mechanics & Strategy
Duty Information
Expansion: Heavensward
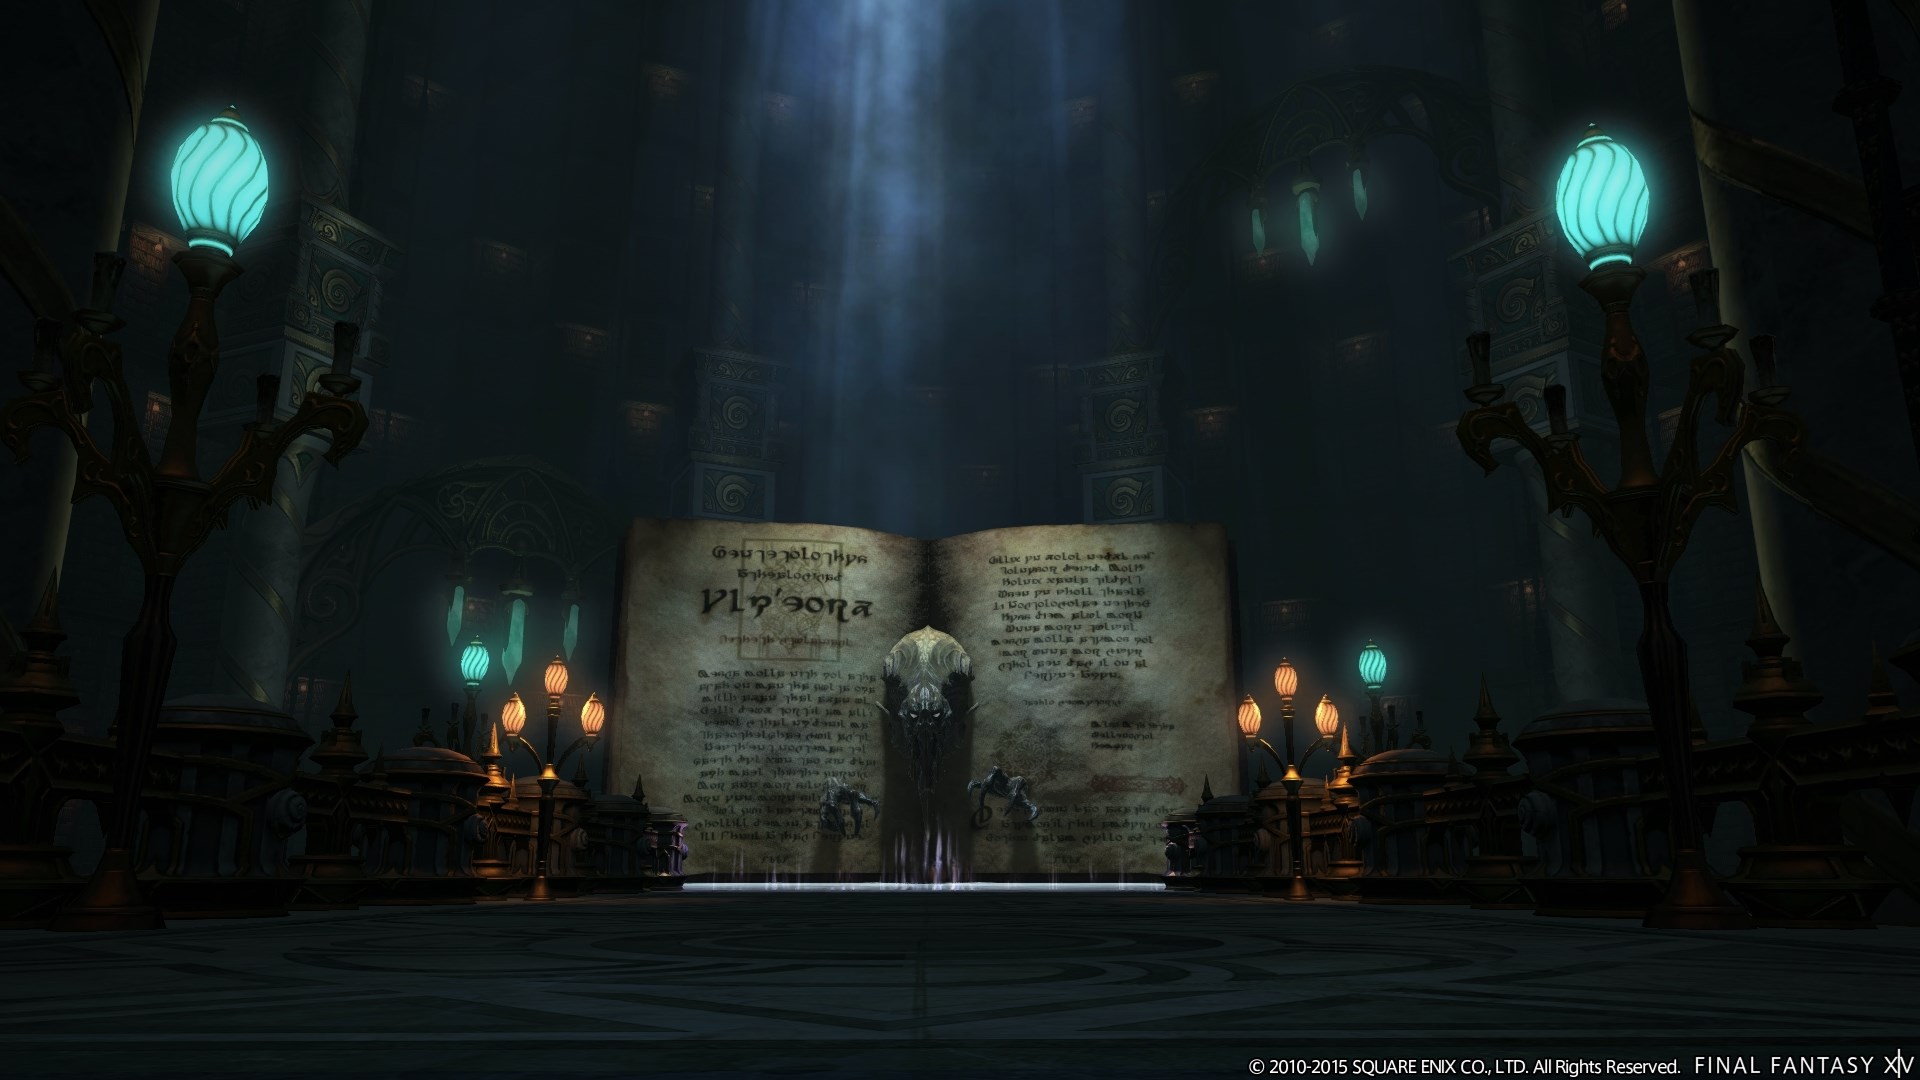
Encounter: The Great Gubal Library
Players: 4 Players (1 Tank, 1 Healer, 2 DPS)
Duty Finder Type: Dungeon
Level: 59
Unlock Requirement: Forbidden Knowledge
Common Failure Points
- Getting Slowed by the Demon Tome’s middle or side AoEs and failing to reach the back side before Disclosure closes.
- Breaking the invulnerability orb on Byblos by running it through an oil fume cloud instead of into the boss.
- Failing to assign platform responsibilities before the Bibliotaph fight, leading to uncanceled Void Summons and add spawns.
- Standing in void spark zones after a target bait on the Bibliotaph, accumulating Vulnerability stacks.
- Being on the wrong side of the arena when Deep Darkness and Magic Burst fire back to back.


Dungeon Overview
The Great Gubal Library is a level 59 dungeon introduced in patch 3.0 with Heavensward, set within the vast repository of knowledge maintained by the Sharlayans. It is the final dungeon before the end of the main Heavensward story sequence, and its mechanical complexity reflects that placement — each boss presents a unique puzzle that demands more coordination and pre-planning than anything earlier in the expansion’s dungeon progression.
Unlike most dungeons where mechanics can be reacted to in the moment, The Great Gubal Library rewards parties who communicate before pulls. The Demon Tome requires understanding how ice sliding interacts with a positional kill mechanic. Byblos introduces orb routing that can be ruined by environmental hazards if the party is not paying attention. The Bibliotaph demands explicit platform assignments before the fight begins, with no room to improvise once the summon windows open.
This is a dungeon that thinks. Groups that go in with a plan will find it deeply satisfying. Those who wing it will encounter consequences.
Need the unlock path? See All FFXIV Dungeon Unlock Requirements.
Duty Support
The Great Gubal Library supports the Duty Support system. Players can enter the dungeon solo accompanied by the following NPC companions:
- Pero Roggo (Tank DPS Poroggo) — Tank or DPS
- Alphinaud (Academician) — Healer or DPS
- Y’shtola (Conjurer Archon) — DPS
Dungeon Objectives
- Defeat the Demon Tome
- Defeat Byblos
- Defeat the Everliving Bibliotaph
Boss Encounters
Demon Tome
Key Mechanics
- Middle AoE — Fires down the center of the arena. Players hit are inflicted with Slow.
- Side AoEs — Fire along both sides of the arena after the middle AoE. Players hit are inflicted with Slow.
- Dark Blizzard III — Circle AoE targeting a random player, cast between the middle and side AoEs.
- Disclosure — The Demon Tome begins to glow, signaling that players must run along the arena’s sides to reach the back of the book. Anyone still on the front-facing side when it closes is killed instantly.
- Words of Winter — Freezes the ground, causing players to slide a set distance in whatever direction they move. This is always active when Disclosure is cast after Words of Winter has been used.
Strategy Notes
The Demon Tome is a movement puzzle that becomes significantly harder once Words of Winter enters the rotation. In the early part of the fight, Disclosure simply requires running to the back of the book before it closes — straightforward as long as players avoid the middle and side AoEs, since the Slow debuff will cost precious movement time.
Once Words of Winter is active, the ground freezes and all movement slides a fixed distance rather than stopping where intended. From this point forward, every Disclosure requires navigating the slide mechanic to get past the boss. The key is deliberate, small inputs rather than holding a direction and hoping. Face the boss directly, then use lateral movement to slide into the side fence, and follow with two forward inputs to slide through and past. Players using a controller should use the same logic — one lateral tap to catch the fence, two forward taps to clear the boss.
The fence on the immediate left and right of the book has a gap, but the floor will not let you fall — use the fence segments just beyond those gaps as your anchor point for the slide maneuver.
Avoid the middle AoE first, the side AoEs second, step out of Dark Blizzard III if targeted, and begin moving toward the back of the book the moment the Disclosure glow appears. Getting Slowed at any point before Disclosure makes the crossing significantly harder.
Failure Points
Most deaths come from taking a Slow into a Disclosure window — either by being caught in the middle AoE or not moving quickly enough. After Words of Winter activates, deaths also come from panic movement during the slide. Stay calm, use the fence, and commit to deliberate inputs.
Byblos
Key Mechanics
- Invulnerability Phase — At intervals, Byblos moves to the center of his summoning book and becomes invulnerable. Two books spawn with adds that fire Death Ray, a long-range line AoE. Kill the adds quickly — when each add dies, it creates a tethered orb. Guide the orb into Byblos to break his invulnerability. Orbs are destroyed if they collide with oil fume clouds.
- Oil Fume Clouds — Appear after the first invulnerability phase. Walking through a cloud deals around 2,000 damage and inflicts a pushback. Avoid running through multiple clouds simultaneously and clear them carefully to prevent overlap. Clouds will destroy invulnerability orbs on contact.
- Gale Cut — Frontal attack with no ground warning and a short cast time. Mild damage to the tank. Avoid by sidestepping or passing through the boss.
- Tail Swipe — Rear-facing cone attack. Only triggers if a player is standing behind the boss.
- Head Down — Charge targeting a random party member. Cannot be avoided by movement. Damage is shared evenly among all players hit — if targeted, try to align yourself with the rest of the party so they can share the hit.
Strategy Notes
Byblos is a boss where two distinct hazard types — invulnerability orbs and oil fume clouds — interact with each other in ways that can ruin the fight if not carefully managed.
During each invulnerability phase, kill the spawned adds as fast as possible, then carefully walk the resulting orbs into Byblos. The orbs behave similarly to the elemental orbs in The Labyrinth of the Ancients — they tether to a player and follow their movement. Route them directly to the boss in a clean line. After the first invulnerability phase, oil fume clouds begin appearing around the arena. These clouds will destroy orbs on contact, so before routing an orb into Byblos, confirm that the path between you and the boss is clear of clouds. If a cloud is in the way, move it first by carefully walking through it — take the pushback and damage — then resume the orb route.
Managing fume clouds between invulnerability phases is a steady background responsibility. Do not let them stack or overlap, and never let a cloud drift into a likely orb routing path. Designate someone to track cloud positions if coordination is available.
For Head Down, the targeted player should move toward the group rather than away — the charge hits everyone in its path, and sharing the damage is far preferable to one player absorbing it solo.
Do not stand behind the boss unless necessary, as Tail Swipe is only triggered by rear presence and is entirely avoidable.
Failure Points
The most common failure is routing an invulnerability orb through a fume cloud, destroying it and forcing another add phase. Keep cloud paths clear before moving orbs, and do not panic-route when clouds are nearby. Byblos can also be dangerous if Head Down damage is not shared — make sure the targeted player moves toward the party before the charge lands.
The Everliving Bibliotaph
Key Mechanics
- Void Summon (85%, 55%, 25% HP) — Bibliotaph begins casting Void Summon and platforms on the floor light up, each requiring a specific number of players to stand on them to cancel the summon. One light requires one player, two lights require two players, three lights require three players. If a platform is not canceled in time, it summons an add:
- 1-player platform → Bibliophile
- 2-player platform → Bibliomancer
- 3-player platform → Biblioklept
All six platforms light at 85% (one player each), four platforms light at 55% (two players each), and two platforms light at 25% (three players each). Players have approximately ten seconds to cover all active platforms.
- Target Markers — Bibliotaph marks players with target indicators. Marked players should move to the side of the arena between platforms to bait the AoE placement away from the group and away from platform positions.
- Void Sparks — Left behind after target AoEs resolve. These stationary balls pulse periodically and inflict stacking Vulnerability on anyone nearby. Avoid them entirely for the remainder of the fight.
- Deep Darkness — After the 55% Void Summon, begins appearing in the fight. Covers the entire outer ring of the arena. Deals approximately 3,000 damage to tanks and inflicts a 25–30 second Heavy debuff.
- Magic Burst — Covers the inside of the arena. Deals damage and a knockback. Used in immediate conjunction with Deep Darkness — one covers the outside while the other covers the inside. Move to whichever zone is currently safe.
- Ground AoEs — Various floor telegraphs throughout the fight requiring standard repositioning.
Strategy Notes
The Bibliotaph is the most coordination-dependent boss in the dungeon. The single most important thing the party can do before the pull is assign platform responsibilities for all three Void Summon phases. There is no time to negotiate mid-fight — the ten-second window closes fast, and a single uncovered platform spawns an add that compounds pressure on every subsequent mechanic.
For the first phase at 85%, all six platforms light with one-player requirements — spread the party evenly and cover two platforms each. For the second phase at 55%, four platforms require two players each — pre-designate pairs. For the third phase at 25%, two platforms each require all three non-tank players — pre-determine which side each group of three goes to. The assignments do not need to be elaborate, but they need to exist before the fight begins.
When target markers appear, marked players should move to the edges of the arena between platforms — away from the group, away from platform zones, and away from void spark positions already on the ground. After the AoE resolves and a void spark is left behind, treat that zone as permanently unsafe. Sparks persist and their Vulnerability stacks compound quickly if players drift back into them.
After the 55% Void Summon, Deep Darkness and Magic Burst begin appearing together. Deep Darkness pushes players off the outer ring, Magic Burst pushes them out of the center — together they cover the full arena except for a mid-ring safe zone. Watch which cast resolves first and position in the zone that is currently safe. The Heavy debuff from Deep Darkness makes movement sluggish, so anticipate it and preposition before it lands rather than reacting after.
Failure Points
Uncanceled Void Summon platforms are the primary source of wipes on this boss. Every add that spawns adds ongoing pressure to a fight that is already mechanically dense in its later stages. Assign platforms before the pull, communicate clearly, and treat every Void Summon window as the fight’s highest priority until all platforms are covered. Outside of that, void spark accumulation and late repositioning during Deep Darkness and Magic Burst are the main sources of preventable deaths.
Difficulty Assessment
The Great Gubal Library is the most demanding dungeon in the base Heavensward sequence, functioning as a genuine capstone skill check before the expansion’s story concludes. Each boss introduces a mechanic type that cannot be fully handled through individual reaction alone — the Demon Tome requires practiced slide navigation, Byblos demands hazard routing awareness, and the Bibliotaph requires group-level pre-planning that no amount of in-the-moment skill can substitute for.
The dungeon emphasizes:
- Environmental navigation under time pressure
- Hazard routing and orb path management
- Pre-fight platform assignment and coordination
- Persistent arena state awareness across long fights
Groups that communicate and prepare will find this dungeon deeply satisfying — each mechanic has a clean solution, and executing all three bosses cleanly feels earned. Groups that treat it like a standard dungeon and improvise will find the Bibliotaph in particular to be an unforgiving lesson in the value of planning ahead.
Previous Dungeon: The Vault | Next Dungeon: The Aetherochemical Research Facility
Guildmaster Notes
The Great Gubal Library is a place that should feel safe — a repository of knowledge, ordered and preserved. Instead it has been turned against itself, its own records and guardians twisted into something hostile. There is something quietly unsettling about a library that fights back.
But there is also something fitting about reaching the end of Heavensward’s journey through a place built on the accumulation of understanding. Every mechanic in here asks you to learn, adapt, and plan. By the time the Bibliotaph falls, the dungeon has made its point — knowledge, properly applied, is the most reliable weapon there is.