Brayflox’s Longstop (Hard) Dungeon Guide – Boss Mechanics & Strategy (FFXIV)
Duty Information
Expansion: A Realm Reborn
Encounter: Brayflox's Longstop (Hard)
Players: 4 Players (1 Tank, 1 Healer, 2 DPS)
Duty Finder Type: Dungeon
Level: 50
Unlock Requirement: Curds and Slay


Encounter Overview
Brayflox’s Longstop (Hard) is a fast-paced level 50 dungeon that emphasizes add control, arena awareness, and burst-response mechanics. Unlike its normal version, this dungeon introduces significantly more chaotic encounters, with multiple sources of damage happening simultaneously.
The dungeon’s difficulty comes from overlapping mechanics rather than individual complexity. Tethers, expanding ground hazards, and intermission phases all force the party to stay aware of the entire arena rather than focusing purely on boss uptime.
Looking for difficulty rankings? See the A Realm Reborn Dungeon Rankings.
Arena Overview
Brayflox’s Longstop (Hard) uses three boss arenas with increasing pressure:
- Illuminati Commander: open arena with tether management and directional bomb explosions
- Magitek Vangob G-III: arena denial through expanding ceruleum puddles
- Gobmachine G-VI: multi-phase arena with bomb control and movement-heavy intermissions
The final encounter is where the dungeon peaks. Gobmachine G-VI introduces repeated intermissions that can quickly overwhelm uncoordinated groups.
Mechanic Archive
Dungeon Mechanics
Add Pressure Is Constant — Every boss introduces adds that must be handled quickly. Ignoring them leads to stacking damage sources that can overwhelm the healer.
Positioning Over Raw Healing — Many mechanics in this dungeon punish standing still. Movement and positioning reduce incoming damage far more than brute-force healing.
Intermission Awareness — The final boss requires players to shift from damage to control instantly. Failing to adapt during transitions is the most common cause of wipes.
Illuminati Commander
Sniper Tethers — Illuminati Snipers tether to a player and deal continuous damage. The tether can be intercepted by another player.
Spiked Bombs — Bombs explode in cardinal line AoEs, requiring quick repositioning.
Bomb Toss — Circular AoE targeted on a player.
Strategy: This fight is about controlling incoming damage sources. If a player is under pressure from a Sniper tether, another player can intercept it to stabilize the group. Spread slightly so Bomb Toss does not overlap, and always watch bomb placement so you are not caught by the cardinal explosions. The fight is manageable as long as the party reacts quickly to tethers instead of ignoring them.
Magitek Vangob G-III
Ceruleum Spill — Blue puddles gradually cover the arena and restrict movement.
Oversurge — Causes all ceruleum puddles to explode, dealing heavy damage if players are standing in them.
Drill Cannons — Line AoE targeting a player.
Career — Charges a marked player after a short delay.
Needle Burst — Light raidwide damage.
Glider Adds — Continuously spawn and cast Bomb Toss.
Strategy: The tank should actively reposition the boss away from ceruleum puddles as they expand. The arena will gradually become more restrictive, so early positioning matters. Players should avoid lingering in puddles even if they seem safe, since Oversurge will detonate them all at once. Kill Glider adds quickly to reduce incoming AoE pressure, and be ready to sidestep Drill Cannons and incoming charges.
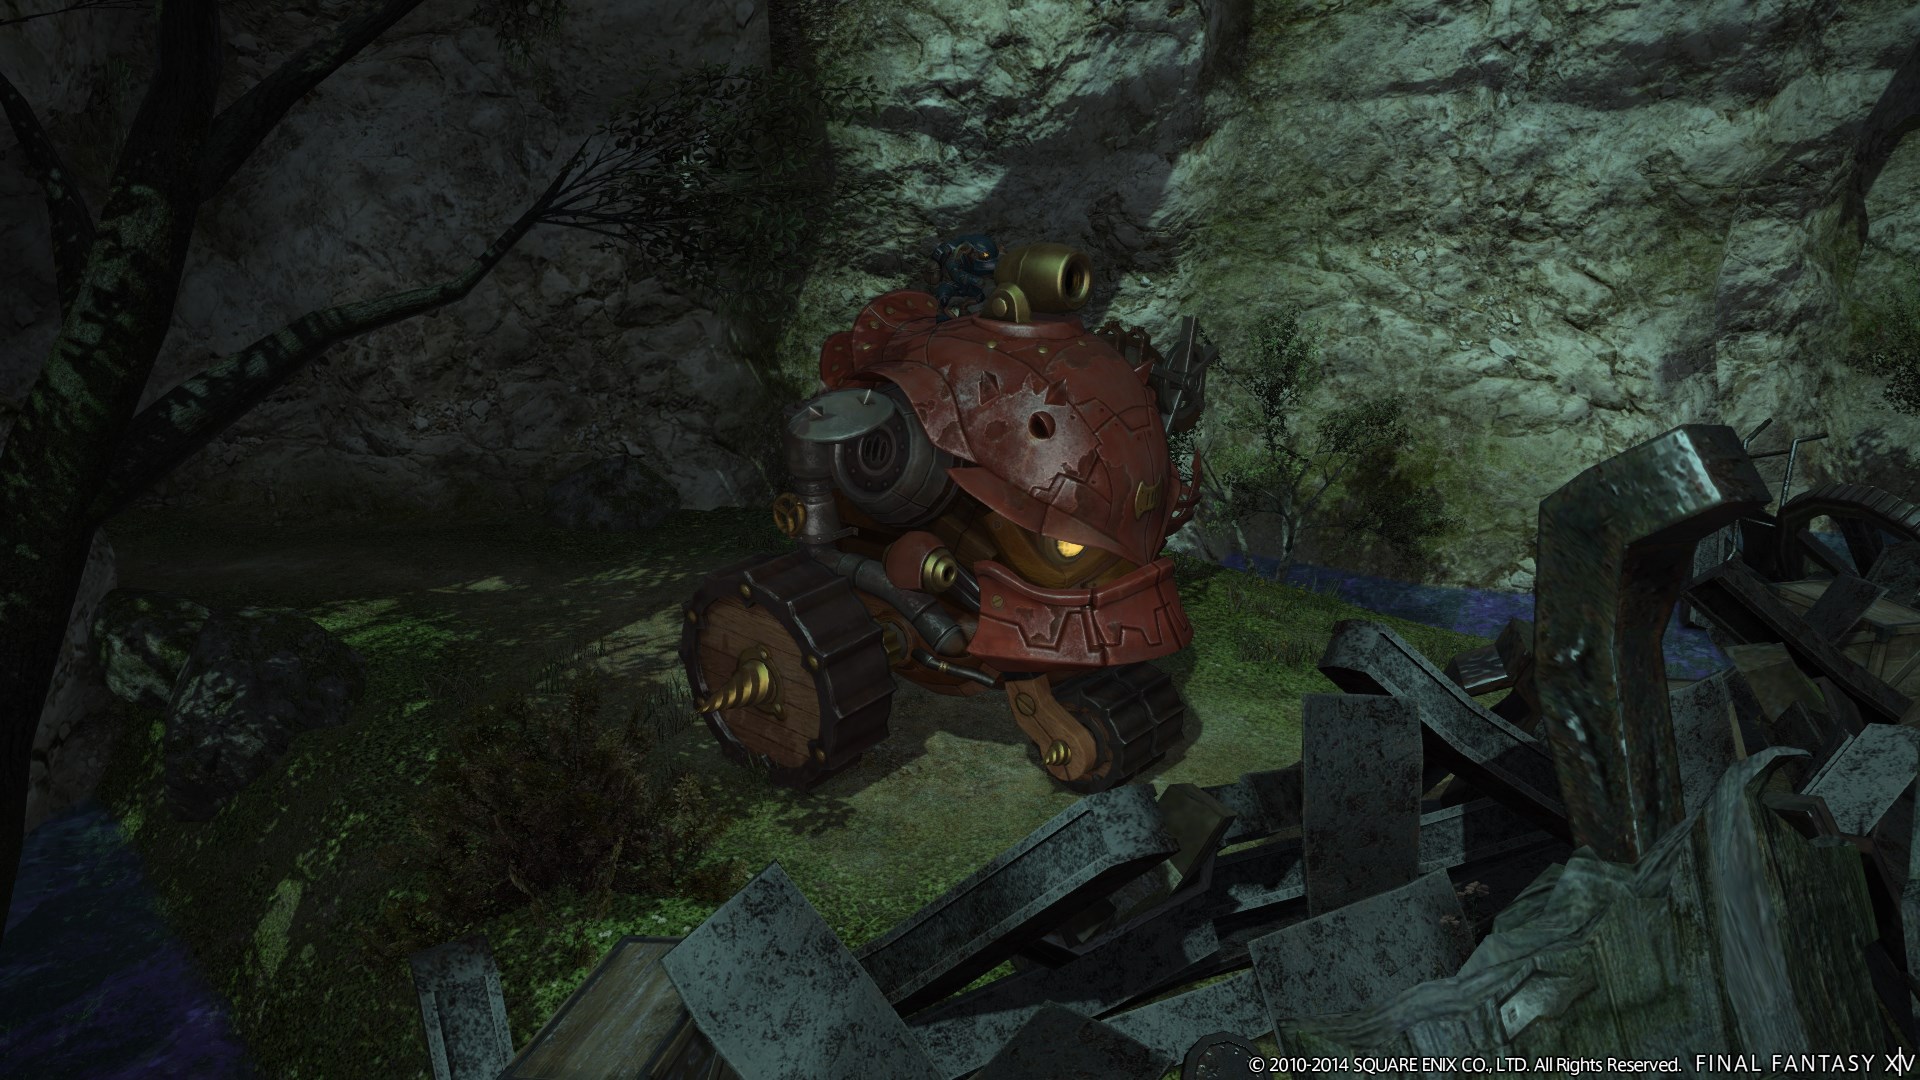
Gobmachine G-VI
Flame Thrower — Frontal cleave on the tank.
Bombardment — Circular AoE targeted on a player.
Intermission Phases — At 75%, 50%, and 25%, the boss becomes untargetable and circles the arena, damaging players in its path.
Bomb Field — Large number of bombs spawn across the arena. These must be knocked away from the center before they explode.
Add Spawns — Sniper and Glider adds appear during intermissions.
Final Phase Giant Bomb — A large bomb must be destroyed quickly while the boss continues to move through the arena.
Strategy: This fight is all about clean transitions. During intermissions, stop focusing the boss entirely and shift to control: avoid the boss’s movement path, kill adds quickly, and immediately begin pushing bombs away from the center using AoE attacks. If bombs are left clustered, the explosion can overwhelm the party instantly. In the final phase, prioritize the Giant Bomb above everything else while maintaining awareness of the boss’s movement pattern. This is less a DPS check and more a coordination check.
Encounter Flow
Brayflox’s Longstop (Hard) escalates steadily across its three encounters.
Illuminati Commander introduces overlapping mechanics through tethers and bombs, teaching players to react to multiple threats at once.
Magitek Vangob G-III shifts the dungeon into positional control, forcing the party to manage space as the arena fills with hazards.
Gobmachine G-VI closes the dungeon with repeated intermission phases that demand quick adaptation. Players must transition from damage to control instantly to survive.
Overall, the dungeon rewards awareness and fast reaction time. Groups that stay organized during intermissions will find the run smooth, while groups that hesitate often get overwhelmed by stacked mechanics.
Continue the A Realm Reborn Archive
- A Realm Reborn Encounter Hub
Return to the A Realm Reborn encounter hub - A Realm Reborn Dungeons
View all A Realm Reborn dungeons - Relic Weapon Progression
See the A Realm Reborn relic weapon guide - A Realm Reborn Trials
Browse all A Realm Reborn trials
Previous Dungeon: Halatali (Hard) | Next Dungeon: Hullbreaker Isle
[tavern_related_encounters]