Shisui of the Violet Tides Dungeon Guide (FFXIV Stormblood) – Boss Mechanics & Strategy
Duty Information
Expansion: Stormblood
Encounter: Shisui of the Violet Tides
Players: 4 Players (1 Tank, 1 Healer, 2 DPS)
Duty Finder Type: Dungeon
Level: 63
Unlock Requirement: The Palace of the Lost Souls
Common Failure Points
- Failing to destroy Amikiri’s leg quickly enough during Shuck, allowing the immobilised player to be killed.
- Running into an already-used box during the Ruby Princess’s Seduce phase and getting caught by the follow-up Coriolis Kick.
- Clipping the arena boxes while dodging Abyssal Volcano tracking AoEs, burning a box needed for the next Seduce.
- Standing in the ripple zone when Shisui Yohi re-emerges from Thick Fog, eating the full Black Tide hit and a Vulnerability Up stack.
- Failing to kill shark adds before Thick Fog begins, leaving hidden, untargetable sharks free to execute their rush attacks mid-phase.


Dungeon Overview
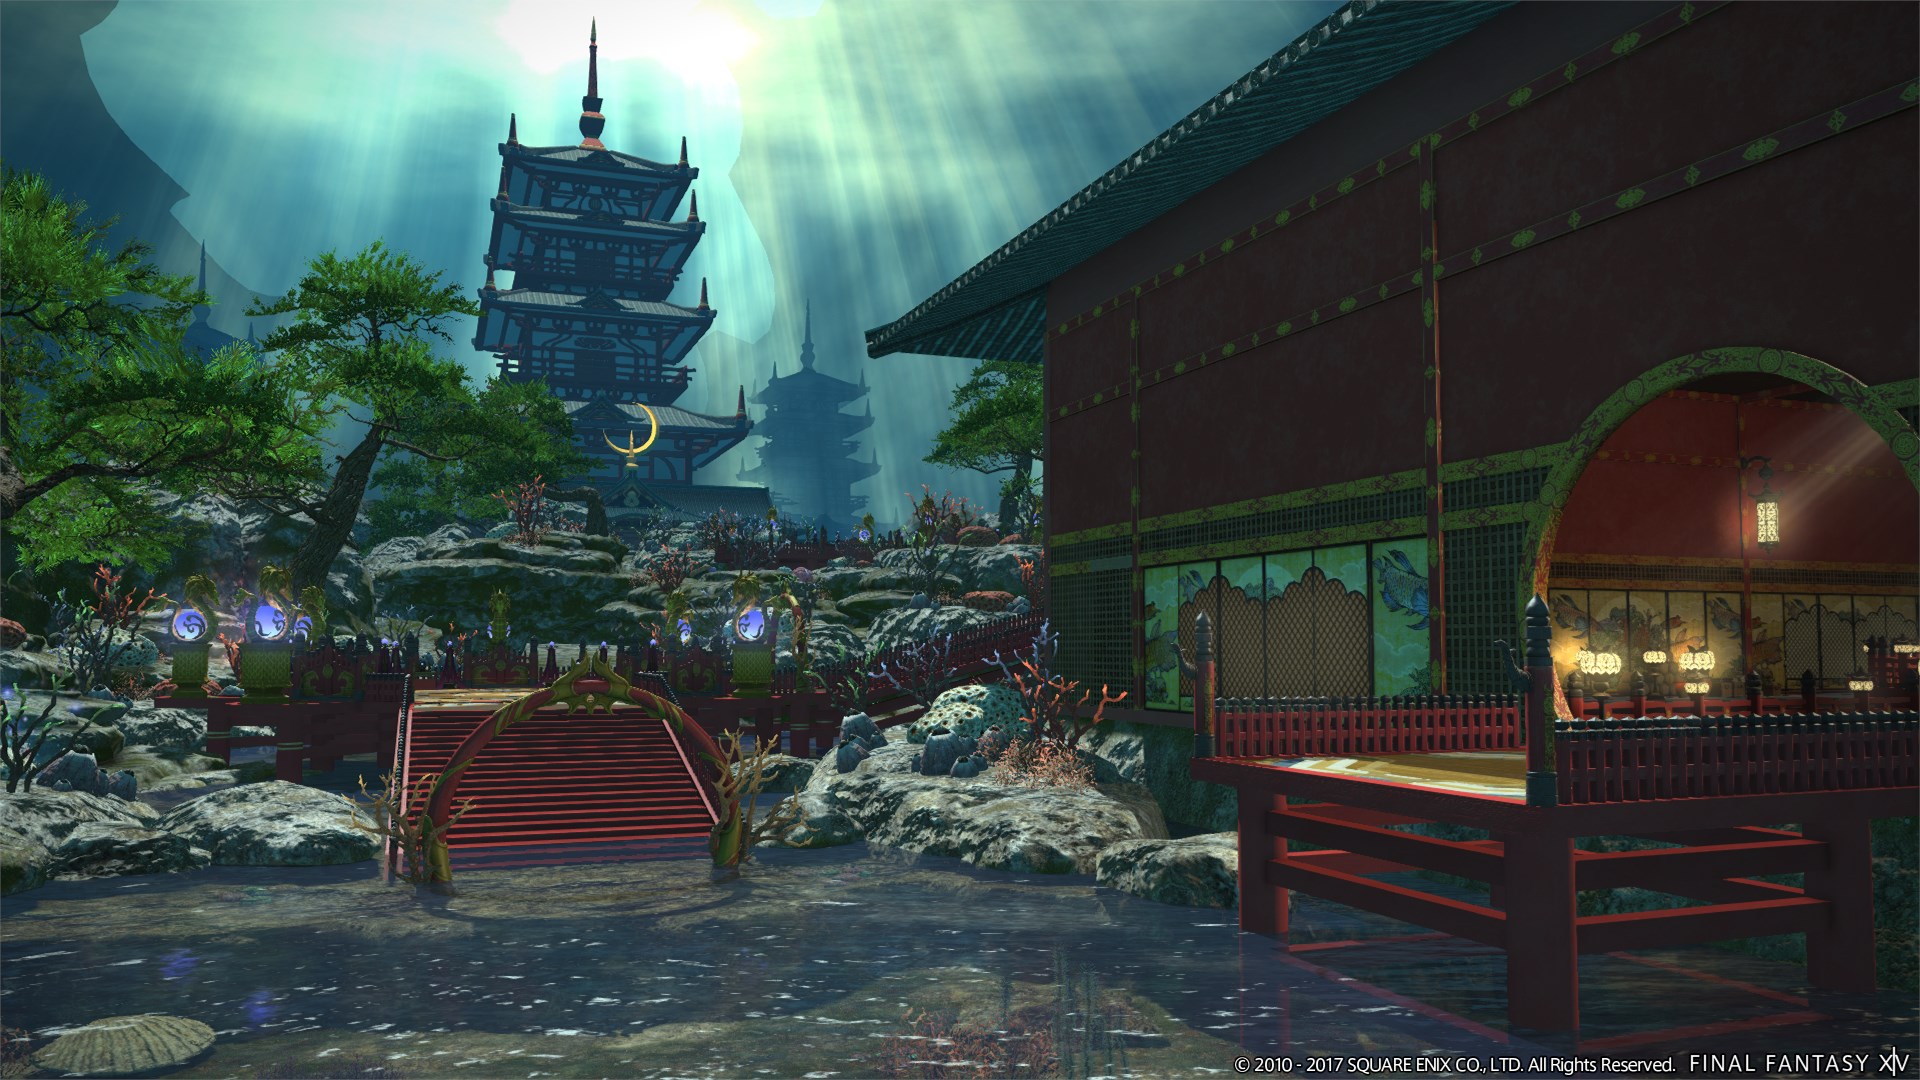
Shisui of the Violet Tides is a level 63 dungeon introduced in Patch 4.0 with Stormblood. Set within a submerged Hingan palace of haunting beauty, it is the second dungeon of the expansion and a noticeable step up in mechanical complexity from The Sirensong Sea. The dungeon’s aesthetic — violet-lit coral halls, ceremonial grandeur slowly reclaimed by the deep — frames three boss encounters that each demand a different kind of attentiveness from the party.
Amikiri opens the run with an interrupt check that punishes passive groups and rewards those willing to target specific enemy parts under pressure. The Ruby Princess introduces one of Stormblood’s more distinctive mechanical ideas: a set of environmental tools the party must ration carefully across multiple phases, demanding resource discipline as much as positional awareness. Shisui Yohi closes the dungeon with a multi-layered final encounter that combines add priority, a gaze mechanic, and a recurring hidden-boss phase that can spiral badly if the party carries unfinished business into it.
Across all three encounters, the dungeon consistently rewards preparation over reaction. The mechanics here are not especially fast, but several of them have consequences that compound — a box used at the wrong time, a shark add left alive at the wrong moment, a gaze not turned away from in time. Groups that understand the shape of each fight before the pull will find Shisui of the Violet Tides one of the more satisfying early-Stormblood dungeons. Groups that improvise will find it patient and unforgiving in equal measure.
This is a dungeon without Duty Support. Need the unlock path? See All FFXIV Dungeon Unlock Requirements.
Dungeon Objectives
- Clear the Sogyoku Piscary
- Defeat Amikiri
- Clear the Kogyoku Palace
- Defeat the Ruby Princess
- Clear the Shisui Temple
- Defeat the Shisui Yohi
Boss Encounters
Amikiri
Key Mechanics
- Sharpstrike — Tankbuster. Moderate damage on the primary target; use cooldowns and heal through as needed.
- Puddle Immobilise — Targets a single player and drops a rooting AoE beneath them. Any player caught in it is immobilised. The boss immediately moves to the stunned target and begins casting Shuck, which will kill the target if it completes.
- Shuck — A lethal cast targeting the immobilised player. Interrupted by destroying one of Amikiri’s targetable legs, which also knocks the boss onto its back and applies Vulnerability Up for a brief window.
- Kamikiri (add) — Spawns periodically and casts Digest, marking the three non-tank players with tracking AoEs that leave Dropsy puddles on the ground. If Kamikiri spawns during a Shuck cast, Digest targets the three players not targeted by Shuck instead. Killing Kamikiri before Digest resolves cancels the cast.
Strategy Notes
For most of its duration, this fight is a clean tank-and-spank — Amikiri hits firmly but predictably, and the party’s primary job is simply to stay healthy and hold position. The encounter’s structure shifts entirely, however, when the boss drops a puddle AoE beneath a player and begins its Shuck cast. From that moment, the only priority is the leg.
When Shuck begins, one of Amikiri’s legs becomes targetable. The entire party — tank included — should switch to it immediately and burn it down before the cast completes. Destroying the leg interrupts Shuck, cancels the kill, and knocks Amikiri prone for a short vulnerability window that should be exploited with damage cooldowns. There is no mechanical complexity here, only urgency: the leg must die before Shuck finishes, or the immobilised player dies with it. Do not panic, do not scatter — just switch targets and hit the leg.
The Kamikiri add that periodically spawns is its own secondary priority. It channels Digest on the three non-tank players, placing tracking AoEs that leave persistent Dropsy puddles wherever they land. Players should spread slightly to avoid stacking the puddles in the same area of the arena, and everyone should keep the Kamikiri in their peripheral awareness. If it spawns while Shuck is already in progress, the fight demands split attention: the leg for the tank and melee, the Kamikiri for ranged and healers where possible. Killing the add before Digest resolves cancels the puddles entirely, which is always worth attempting.
The prone window after a successful leg break is the fight’s primary damage opportunity. Amikiri cannot act, vulnerability is up, and all cooldowns should come out here. Groups that treat these windows as incidental rather than intentional will find the fight slower and more taxing on healing resources than it needs to be.
Failure Points
The only wipe condition in this fight is a Shuck that completes. This happens when the party is slow to recognise the phase shift, fails to switch targets quickly enough, or — occasionally — when the leg’s health pool is not burned down fast enough due to poor damage uptime earlier in the fight. The solution is singular: the moment Shuck begins, everyone switches to the leg. No exceptions, no delay.
Kamikiri causes attrition rather than outright wipes. Dropsy puddles accumulate in the arena and restrict movement, and if multiple Digest casts go uninterrupted, the floor becomes difficult to navigate safely. Groups with low DPS should be especially attentive to killing the add promptly — a cluttered arena is a meaningful handicap going into the later stages of the fight.
Ruby Princess
Key Mechanics
- Tornadogenesis — Tankbuster. Moderate damage on the primary target; use cooldowns and heal as needed.
- Seduce — Cast from the centre of the arena. Any player hit is compelled to walk slowly toward the boss. Immediately followed by Coriolis Kick, a large circular AoE centred on the boss that hits all Seduced players.
- Boxes — Four environmental objects placed around the arena edge. Running into a box applies the Old debuff, which prevents Seduce from landing. Each box is consumed on use and does not refresh until the next Seduce phase begins.
- Abyssal Volcano — Places a large circular AoE in the arena and marks two players with tracking AoEs that follow them. Affected players must keep moving to avoid the effect, and must not run into the arena boxes while doing so.
Strategy Notes
The Ruby Princess is a resource management fight disguised as a positional one. The four boxes around the arena edge are the party’s only defence against Seduce, and they are finite between phases — each box can only be used once per Seduce cycle. This means the boxes must be preserved carefully, and the fight punishes any player who burns their box at the wrong moment and finds themselves without protection when the mechanic resolves.
The cleanest approach is for each player to claim a specific box at the start of the fight and treat it as their own. When Seduce begins, each player moves to their assigned box, takes the Old debuff, and holds until Coriolis Kick resolves. Sharing a box is theoretically possible but the timing window is too narrow to be reliable in practice — assign boxes, communicate before the pull, and keep the system simple. One box per player, one player per box.
Abyssal Volcano is the mechanic that disrupts this system. The two marked players must keep moving to outrun the tracking AoEs, and the arena layout means the boxes are directly in the path of natural movement. This is the collision point: players dodging Abyssal Volcano will have to think consciously about the boxes and route around them rather than through them. Touching a box while dodging Volcano consumes it, leaving that player without protection for the next Seduce cast — which will likely be arriving soon.
When Abyssal Volcano is active, marked players should run in arcs away from the boxes rather than cutting across the arena edge. The AoE is persistent but the tracking is not instant — clean lateral movement while staying in the interior of the arena is usually sufficient to avoid both the Volcano and the boxes simultaneously. Unmarked players should clear the path and hold their positions near their assigned boxes without touching them prematurely.
Failure Points
The most common cause of death in this fight is arriving at a Seduce cast without a usable box. This almost always happens because a player touched their box while fleeing Abyssal Volcano, either through inattention or by routing too close to the arena edge. Seduced players who cannot break the effect are walked directly into Coriolis Kick, which hits hard enough at this level to kill or critically injure. Awareness of box positions while dodging is the single most important skill this encounter tests.
Groups sometimes attempt to share boxes to cover a player who lost theirs, but the timing of the Old debuff application is precise enough that this rarely works outside of very coordinated parties. If a player burns their box early, the cleaner solution is for the healer to stabilise them through the Seduce and Coriolis Kick hit rather than relying on a shared box save. It is recoverable — it simply requires the healer to anticipate the damage rather than react to it.
Shisui Yohi
Key Mechanics
- Foul Nail — Tankbuster. Two-hit attack dealing moderate damage to the primary target. Cooldown and heal as needed.
- Thick Fog — Raidwide damage followed by a phase transition. The arena fills with water, the boss submerges and becomes untargetable, and three Churn adds spawn. Each Churn applies stacking Dropsy until killed. When all three are dead, Shisui Yohi re-emerges.
- Ripples — During Thick Fog, a churning mass of bubbles moves through the arena, indicating the boss’s position beneath the surface. The boss will re-emerge from the ripple location at the end of the phase.
- Black Tide — Instant cast upon re-emergence. Deals significant damage and applies Vulnerability Up to any player standing near the boss when it surfaces. Players must clear the ripple zone before the phase ends.
- Naishi-no-jo / Naishi-no-Kami (shark adds) — Two sharks summoned periodically. Each locks onto a specific target with a line AoE rush attack called Bite and Run. Naishi-no-jo targets a random DPS and completes its cast quickly. Naishi-no-Kami targets the healer and has a longer cast time. Both must be killed before their rush attacks execute. If either shark is alive when Thick Fog begins, it becomes untargetable but continues to perform rush attacks during the phase.
- Mad Stare — Gaze attack cast after the shark adds are summoned. Inflicts Hysteria on any player who faces the boss during the cast, causing loss of player control. Turn away from the boss before the cast completes.
Strategy Notes
Shisui Yohi is the most mechanically layered encounter in the dungeon, and it is best understood as a fight with two interlocking priorities: clearing the Thick Fog phases cleanly, and ensuring the shark adds never survive long enough to follow the party into one.
The Thick Fog phase itself has a clear sequence. When the boss submerges, three Churn adds spawn across the arena and must be killed quickly — they stack Dropsy on the party for every second they are alive, and the stacks are punishing if the adds are left up for long. While killing the Churns, the party should track the ripple mass moving through the arena. This marks where the boss will re-emerge, and the party must be clear of that area before Yohi surfaces. The instant Black Tide cast on re-emergence applies Vulnerability Up to anyone caught nearby, and that debuff feeds directly into the damage checks of the rest of the fight. Read the ripples, finish the Churns, and move away from the emergence point before the phase ends.
The shark adds — Naishi-no-jo and Naishi-no-Kami — must die before they execute their Bite and Run rush attacks. Naishi-no-jo is the faster and weaker of the two; it targets a DPS and completes quickly, so it should typically be killed first. Naishi-no-Kami targets the healer, hits harder, but has a longer cast window. The priority order is flexible if the party’s damage is high enough to kill both before either cast completes, but groups with lower DPS should burn Naishi-no-jo immediately and switch to Naishi-no-Kami before its cast finishes. The healer should move away from the party while Naishi-no-Kami is channelling to keep the rush’s line AoE from hitting anyone else when it resolves.
Mad Stare is cast directly after the shark adds appear, and it is easy to forget in the chaos of add prioritisation. The cast time is not short — there is enough time to switch to an add, deal damage, and then turn away before the gaze resolves — but players who are fully committed to burning the sharks will sometimes miss the audio and visual cues. Hysteria from Mad Stare causes uncontrolled wandering, which is dangerous near ripple zones and catastrophic if it carries a player into the next mechanic. Build the habit of glancing at the boss cast bar when the sharks spawn, and turn away briefly when Mad Stare begins.
The fight’s critical failure condition is a shark add surviving into a Thick Fog phase. A hidden, untargetable shark that still executes its Bite and Run during the phase creates unpredictable line AoE damage at a moment when the party is already split across the arena killing Churns and tracking the boss’s ripple position. The healer has no warning and limited ability to anticipate which player will be struck. This is the scenario that most commonly ends runs — not any individual mechanic, but the compound pressure of a bad Thick Fog phase with an active shark still running.
Failure Points
Shark adds surviving into Thick Fog is the most dangerous failure state in this encounter, and it is entirely avoidable. If the sharks are spawned and the party recognises that Thick Fog is imminent, the only correct response is to extend every offensive cooldown available and ensure neither shark survives the transition. A wipe from hidden shark rush attacks mid-fog phase is not bad luck — it is the consequence of a priority that was not met.
The second most common failure point is Black Tide. Players who are still standing in the ripple zone when Yohi re-emerges take the full hit with Vulnerability Up, and that debuff can make the next several seconds of the fight very difficult for the healer to manage. Reading the ripple movement is not fast-paced — the boss telegraphs its position clearly throughout the fog phase. There is no reason to be near the emergence point at the end of the phase except inattention, and that inattention has a meaningful cost.
Difficulty Assessment
Shisui of the Violet Tides is a mid-range Stormblood dungeon — mechanically more demanding than The Sirensong Sea, but not punishing in the way the expansion’s later dungeons become. Each of its three encounters introduces a distinct mechanical concept, and all three reward understanding over reaction speed. The dungeon’s difficulty comes less from fast execution windows than from the consequences of mismanagement: used boxes, surviving sharks, Vulnerability Up stacks from poor emergence positioning. None of these are instantly fatal, but they compound efficiently.
- Interrupt timing and add priority under simultaneous mechanical pressure during Amikiri
- Environmental resource management and routing discipline against the Ruby Princess
- Gaze awareness and add kill priority under phase transition pressure during Shisui Yohi
- Cross-phase consequence tracking — mistakes in one phase create problems in the next
Groups that communicate box assignments before the Ruby Princess pull and understand the shark-into-Thick-Fog failure condition on Shisui Yohi will find the dungeon manageable and well-paced. The mechanics are generous enough in their telegraphs that any party willing to engage with them before the pull will navigate the run cleanly. Amikiri in particular is a satisfying encounter for groups that execute the leg interrupt efficiently — the vulnerability window feels earned.
Groups that improvise the Ruby Princess without a box plan will struggle through Seduce phases with increasing frustration as consumed boxes leave players unprotected at the wrong moments. Shisui Yohi will similarly punish groups that treat the shark adds as a secondary concern — the hidden rush attack scenario during Thick Fog is the dungeon’s sharpest difficulty spike, and it is only encountered by groups that did not prioritise correctly. Neither encounter is cruel, but both are designed to identify exactly the habits that cause problems at higher difficulty levels.
Previous Dungeon: The Sirensong Sea | Next Dungeon: Bardam’s Mettle
Guildmaster Notes
A palace built beneath the sea does not ask to be forgotten. It simply waits, sealed away from the world above by fathoms of dark water, its corridors still lit by lights that have no reason to keep burning. Shisui of the Violet Tides has that quality — a grandeur that refuses to decay, guarded by things that have long since lost the context for what they are protecting. There is no malice in this place. There is only the persistence of purpose after the purpose itself has been buried.
The Shisui Yohi does not feel like a monster. It feels like a threshold. Whatever once governed this palace ended somewhere in the deep, and what remains is the boundary between that ending and whatever lies beyond it. Walking out of Shisui is not a triumph so much as a passage — the sense of having moved through something that was always going to let you go, and simply wanted to know whether you were ready.