The Great Gubal Library (Hard) Dungeon Guide (FFXIV Heavensward) – Boss Mechanics & Strategy
Duty Information
Expansion: Heavensward
Encounter: The Great Gubal Library (Hard)
Players: 4 Players (1 Tank, 1 Healer, 2 DPS)
Duty Finder Type: Dungeon
Level: 60
Unlock Requirement: Let Me Gubal That for You
Common Failure Points
- Missing the narrow edge AoE indicators on the Demon of the Tome and stepping into the large follow-up attack.
- Running in the wrong direction during Liquid Flame’s Ferrofluid — moving toward the boss when your polarity is opposite, or away when it matches.
- Leaving Strix’s white or black circles too early, causing the Levitation or Leaden status to not snapshot correctly for Quakes or Tornados.
- Stepping into a green circle before fully transforming into an imp during On the Properties of Imps, accidentally toggling the status twice.
- Failing to get a rock between yourself and Behemoth Ward before Ecliptic Meteor resolves, taking lethal proximity damage.


Dungeon Overview
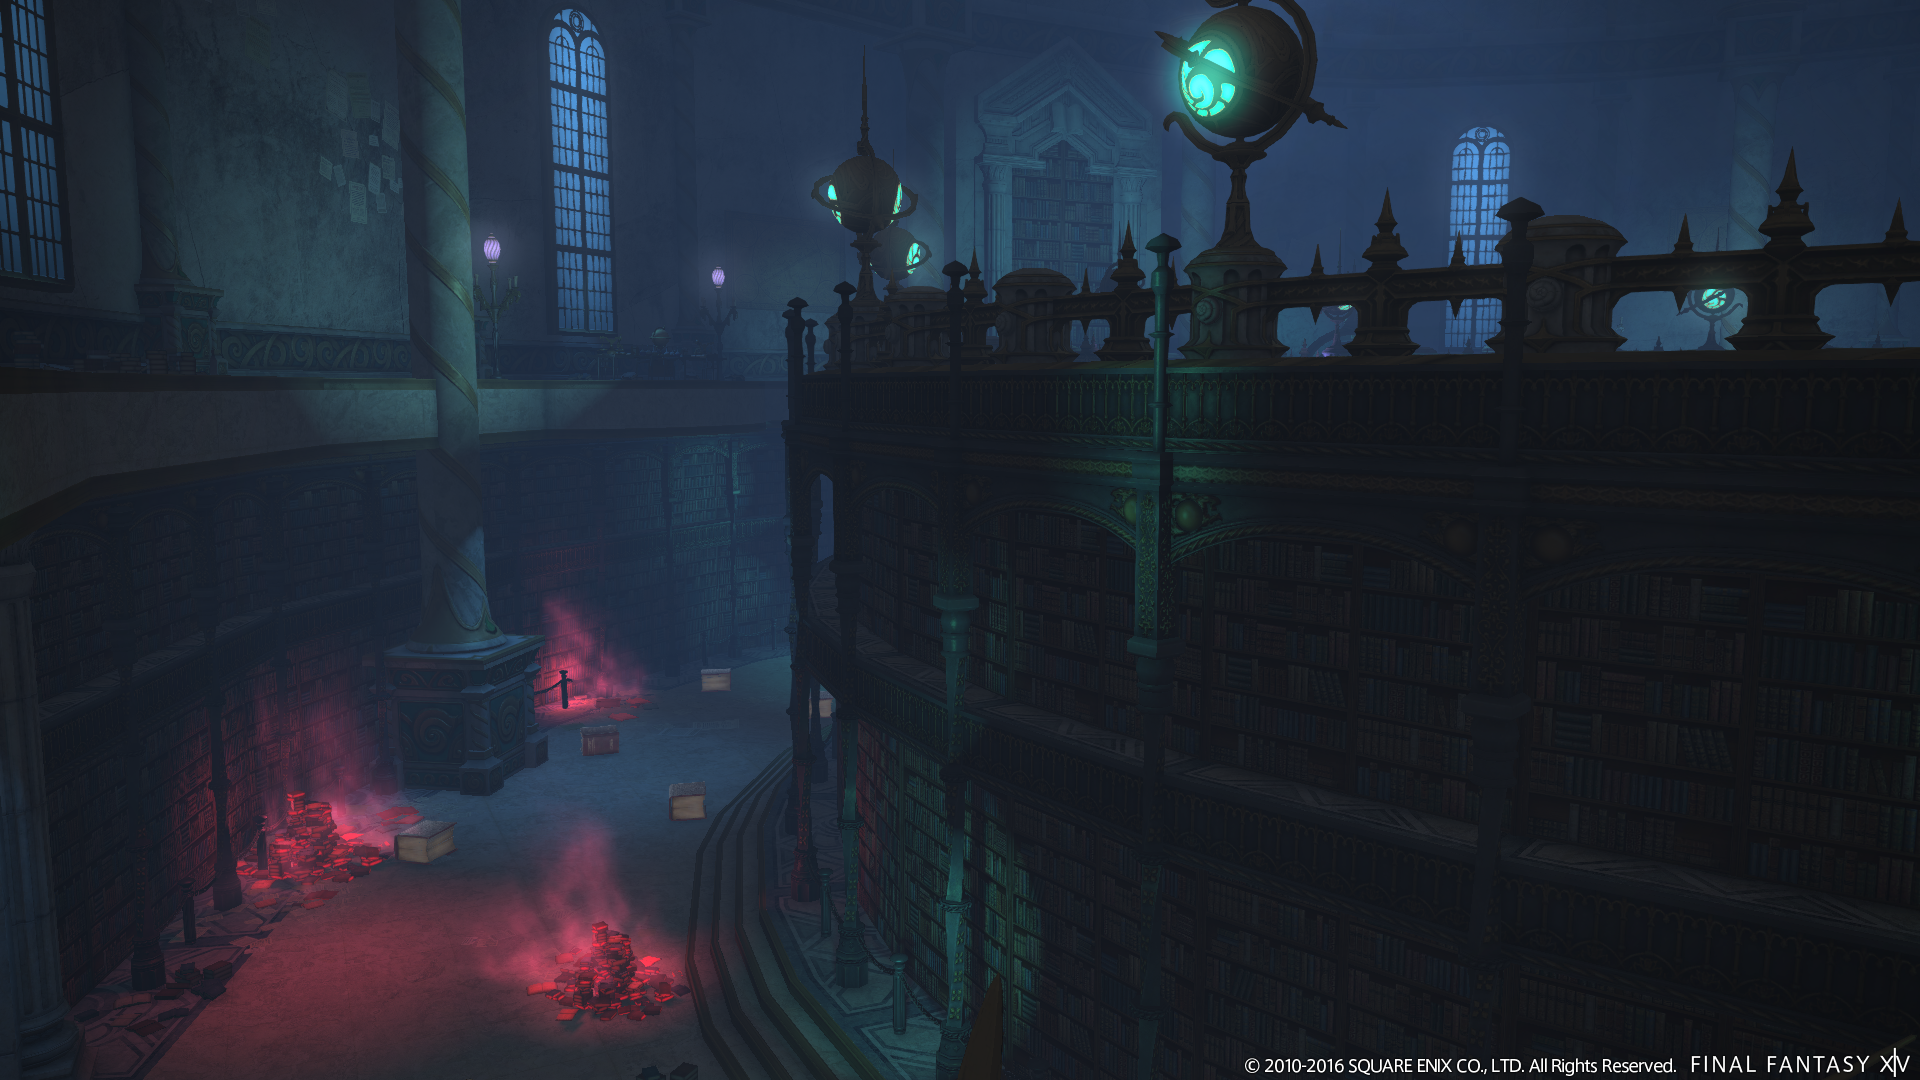
The Great Gubal Library (Hard) is a level 60 dungeon introduced in patch 3.4 with Heavensward, revisiting the Sharlayan repository with three new encounters that are significantly more mechanically demanding than those found in the original version. It is one of the patch 3.4 optional dungeons and represents one of the most complex dungeon experiences in the Heavensward post-MSQ content sequence.
The Demon of the Tome is a positioning fight built around reading edge AoE indicators and anticipating large follow-up attacks. Liquid Flame introduces a polarity mechanic requiring players to read magnetic marks and move toward or away from the boss accordingly. Strix is the dungeon’s most complex encounter — a fight built around a circle system that grants specific statuses needed to survive each mechanic, with precise snapshot timing that punishes players who leave circles even a moment too early.
All three fights reward players who read carefully and act precisely. The Great Gubal Library (Hard) is a dungeon where the difference between surviving and dying is often a question of exactly when you move, not just where.
Need the unlock path? See All FFXIV Dungeon Unlock Requirements.
Dungeon Objectives
- Arrive in the Hall of Magicks
- Clear the Hall of Magicks
- Arrive in the Astrology and Astromancy Camera
- Clear the Astrology and Astromancy Camera
- Arrive in the Rare Tomes Room
- Defeat Strix
Boss Encounters
Demon of the Tome
Key Mechanics
- Edge AoE Indicators — Narrow AoE markers appear at the edge of the arena. A large AoE attack follows in between them. Identify the gap in the edge markers and position there before the follow-up fires.
- General Positioning — Tank the Demon of the Tome sideways so that all AoE indicators are visible to the party. The fight is primarily a positioning check requiring players to read and respond to AoE patterns clearly.
Strategy Notes
The Demon of the Tome is a mechanic-reading fight where clear sightlines to AoE indicators are the most important preparation the party can make. The tank should position the boss sideways at the start of the encounter and maintain that orientation — a boss angled correctly ensures that all AoE telegraphs are visible to every party member rather than obscured by the boss model or perspective.
The key mechanic to watch is the narrow edge AoE markers that appear around the arena’s perimeter. These telegraph a large AoE that fires in the space between them — identify where the gaps are in the edge pattern and position there before the follow-up resolves. Players who are watching only the center of the arena and ignoring the edges will miss these telegraphs entirely.
Outside of the edge-to-center AoE sequence, the fight resolves through consistent positional awareness. Stay mobile, read each new AoE pattern as it appears, and maintain the sideways tank positioning throughout.
Failure Points
Missing the edge AoE indicators and being caught by the large follow-up attack is the primary source of avoidable damage. This almost always stems from not watching the arena perimeter. Keep eyes on the full arena rather than the boss model, and establish the sideways tank position at the pull.
Liquid Flame
Key Mechanics
- Bibliocide — Unavoidable party-wide AoE dealing moderate damage. Heal through it.
- Sea of Flames — Scorched earth AoE attack, functioning similarly to Ifrit’s ground fire. Move out of the marked zones.
- Slosh — A random player is tethered to the boss. Liquid Flame shortly charges directly at them. The tethered player must run as far from the boss as possible to create distance before the charge resolves.
- Ferrofluid — All players and the boss receive either a + or − polarity mark.
- If your mark matches the boss’s mark — run close to the boss.
- If your mark is opposite to the boss’s mark — run away from the boss.
- Seal of Night and Day — Players receive either a sun or moon marker. Move to stand on the corresponding sun or moon sigil on the arena floor before the mechanic resolves.
Strategy Notes
Liquid Flame is a fight where two key mechanics require players to read their own debuff mark and move in response — one based on polarity, one based on assigned sigil. Both have clear visual identifiers; the challenge is reacting to the correct movement direction quickly.
For Ferrofluid, immediately check your polarity mark and the boss’s mark when the ability fires. Matching marks are attracted — move toward the boss. Opposite marks repel — move away. Players who apply the wrong rule will move in the wrong direction, taking the full force of the polarity snap instead of mitigating it. The marks are clearly visible on both the boss and each player — there is no ambiguity, only the need to react without hesitation.
For Seal of Night and Day, the sun and moon sigils are marked on the arena floor. When markers are assigned, move directly to the matching sigil. Coordinate with other party members if two players receive the same marker type so they do not collide on the same sigil position.
During Slosh, the tethered player should immediately run to the opposite end of the arena from Liquid Flame. The further the distance when the charge resolves, the less damage is taken. Other players should step clear of the charge path.
Failure Points
Misreading Ferrofluid polarity and moving in the wrong direction is the most common source of avoidable damage on this boss. Moving toward the boss on a repelling polarity or away from it on an attracting polarity both result in the full snap force being applied rather than mitigated. Check both marks before moving and commit to the correct direction immediately.
Strix
Overview
Strix is built around a circle system deployed by Check Out. Each circle grants a specific status effect when stood in, and those statuses are required to survive specific upcoming attacks. The fight proceeds in segments defined by which circles are currently available, and the boss only uses attacks that correspond to the active circle set. Understanding the circle system before the fight begins is essential.
- White circle — Grants Levitation. Required to survive On the Properties of Quakes without damage and stun.
- Black circle — Grants Leaden. Required to survive On the Properties of Tornados without being knocked up and accumulating Vulnerability stacks.
- Green circle — Toggles imp status. If you are not currently an imp, stepping in inflicts 20 seconds of Imp and Lightning Resistance Down II. If you are already an imp, stepping in cleanses both debuffs. Imps cannot use any actions.
Key Mechanics
- Check Out — Spawns a set of circles corresponding to the next mechanic segment. The first Check Out spawns 4 white circles. The second spawns 2 black and 2 green circles. After the Ecliptic Meteor phase, the fourth spawns 1 of each circle type.
- On the Properties of Quakes — Raidwide AoE. Any player without Levitation takes damage, is Stunned for 3 seconds, and receives a 30-second Vulnerability Up stack. Stand in a white circle before this resolves and remain there until the cast completes.
- On the Properties of Tornados — Hits each player with a tornado AoE. Without Leaden, each tornado that clips a player deals damage, knocks them into the air, and inflicts a 30-second Vulnerability Up stack. The Leaden status snapshots when the damage lands, not when the cast bar ends — do not leave the black circle early.
- On the Properties of Imps — Toggles everyone’s imp status. Players who are not imps become imps; imps are cleansed. The imp status snapshots when the cast bar ends, but there is a delay before debuffs actually change — wait until you visually confirm you have been transformed into an imp before stepping into a green circle to cleanse it. Stepping in immediately after the cast bar ends will toggle the status a second time, re-applying the imp debuff.
- On the Properties of Thunder III — Used after On the Properties of Imps. Marks everyone with a purple AoE marker and hits each player. Players who are still imps take increased damage from Lightning Resistance Down II, are afflicted with Down for the Count for 5 seconds, and receive a Vulnerability Up stack. Players who are Sprinting when hit are knocked into the air. Clear the imp status via a green circle before this resolves.
- On the Properties of Darkness — Minor tankbuster.
- On the Properties of Darkness II — Raidwide AoE.
- Ecliptic Meteor Phase — Approximately 1 minute 40 seconds into the fight, Strix moves to the north of the arena and casts Check Out, spawning an untargetable Behemoth Ward that begins slowly casting Ecliptic Meteor. Two consecutive proximity AoEs fire, dropping rocks at each location. Avoid being too close to the proximity AoE centers — but do not run too far, as you must hide behind one of the dropped rocks before Ecliptic Meteor resolves. Position a rock between yourself and the Behemoth Ward, identical to the rock cover mechanic in The Labyrinth of the Ancients. Failing to have a rock between you and Behemoth when Meteor fires is lethal for non-tanks. With modern gear levels and clean execution of prior mechanics, it is possible to kill Strix before or during the Ecliptic Meteor cast and skip the phase entirely.
Strategy Notes
Strix demands a thorough understanding of the circle system before the fight begins. Each Check Out cycle deploys circles that correspond to the attacks that follow — the party must identify which circles are available, enter the correct ones, and hold their status long enough for the snapshot to register.
For Quakes, enter a white circle and stay in it until the cast resolves. Levitation is straightforward — in the circle, survive; outside it, take damage and a stun.
For Tornados, enter a black circle and hold position. The critical distinction here is that Leaden’s protective effect snapshots on damage application, not cast bar completion. Players who see the cast bar end and immediately step out of the black circle will lose their Leaden status before the tornado damage registers and take the full hit. Stay in the circle until the tornados physically land.
The imp sequence is the fight’s most timing-sensitive interaction. When On the Properties of Imps fires, do not move toward a green circle immediately — wait. The cast bar ending does not instantly apply the transformation. Watch for the visual confirmation that you are now an imp, then step into the green circle to cleanse the debuff. Acting on the cast bar end rather than the visual transform will double-toggle the status and leave you as an imp heading into Thunder III, resulting in Down for the Count and a Vulnerability Up stack. Do not Sprint during Thunder III — it causes an airborne knockup even without the imp debuff.
For Ecliptic Meteor, position near the proximity AoE markers without being at their centers, allow the rocks to drop, then move so a rock is directly between you and the Behemoth Ward before Meteor fires. The cover mechanic functions identically to Behemoth’s cover phase in The Labyrinth of the Ancients — line of sight through the rock is the only protection. Squishier party members who take Meteor without cover will likely die.
Failure Points
The most common deaths on Strix fall into three categories: leaving black circles before Tornado damage snapshots and losing Leaden protection, double-toggling the green circle during the imp sequence by moving too early, and failing to establish rock cover before Ecliptic Meteor fires. All three stem from acting on the cast bar end rather than the actual mechanic resolution. Read the visual confirmations — not just the cast bar — before moving on every circle interaction.
Difficulty Assessment
The Great Gubal Library (Hard) is one of the most mechanically demanding optional dungeons in the Heavensward content sequence, with Strix in particular standing as one of the most complex final dungeon bosses in the expansion. The fight requires players to understand a multi-status circle system, execute precise snapshot timing on two different debuff types, manage a transformation toggle with a visual-delay condition, and respond to a rock cover phase — all within a single encounter.
The dungeon emphasizes:
- Full arena awareness and edge AoE pattern reading
- Polarity and sigil mechanic reading under time pressure
- Circle status management with precise hold timing
- Visual-delay transformation recognition before green circle interaction
- Rock cover positioning under a timed proximity-drop sequence
Groups who study the Strix circle system before the pull and communicate the imp-cleanse timing clearly will find the fight deeply satisfying when executed cleanly. Those who treat it as an improvisation exercise will find the snapshot timings and transformation delays to be consistent and unforgiving correctors.
Previous Dungeon: Xelphatol | Next Dungeon: Baelsar’s Wall
Guildmaster Notes
The Great Gubal Library (Hard) does not simply revisit the original — it argues with it. Where the first version asked players to learn, adapt, and plan, the Hard version asks them to do all of that while the ground shifts beneath them and the tools they need to survive come with hidden timing conditions attached.
Strix is the clearest expression of the dungeon’s philosophy. It is not enough to know what the circles do. You have to know when they have done it — and those are different things. The library has always been a place that rewards the careful and punishes the impatient. The Hard version simply makes that point with considerably less patience of its own.