Xelphatol Dungeon Guide (FFXIV Heavensward) – Boss Mechanics & Strategy
Duty Information
Expansion: Heavensward
Encounter: Xelphatol
Players: 4 Players (1 Tank, 1 Healer, 2 DPS)
Duty Finder Type: Dungeon
Level: 60
Unlock Requirement: Shadows of the First
Common Failure Points
- Killing Airstones in the wrong order during Nuzal Hueloc’s turret phase — kill Airstones first when four are tethered to a turret, turrets first otherwise.
- Not positioning underneath Nuzal during the turret’s Hot Air cast, missing the window to bring him down.
- Standing with your back to open space instead of the barriers during Dotoli Ciloc’s On High knockback, falling into the spike pit.
- Attempting to dodge Swiftfeather’s instant On Low as a side-step rather than treating it as a tankbuster.
- Failing to spread out during Summon Garuda’s crystal AoE rings on Tozol Huatotl, causing overlap damage.


Dungeon Overview
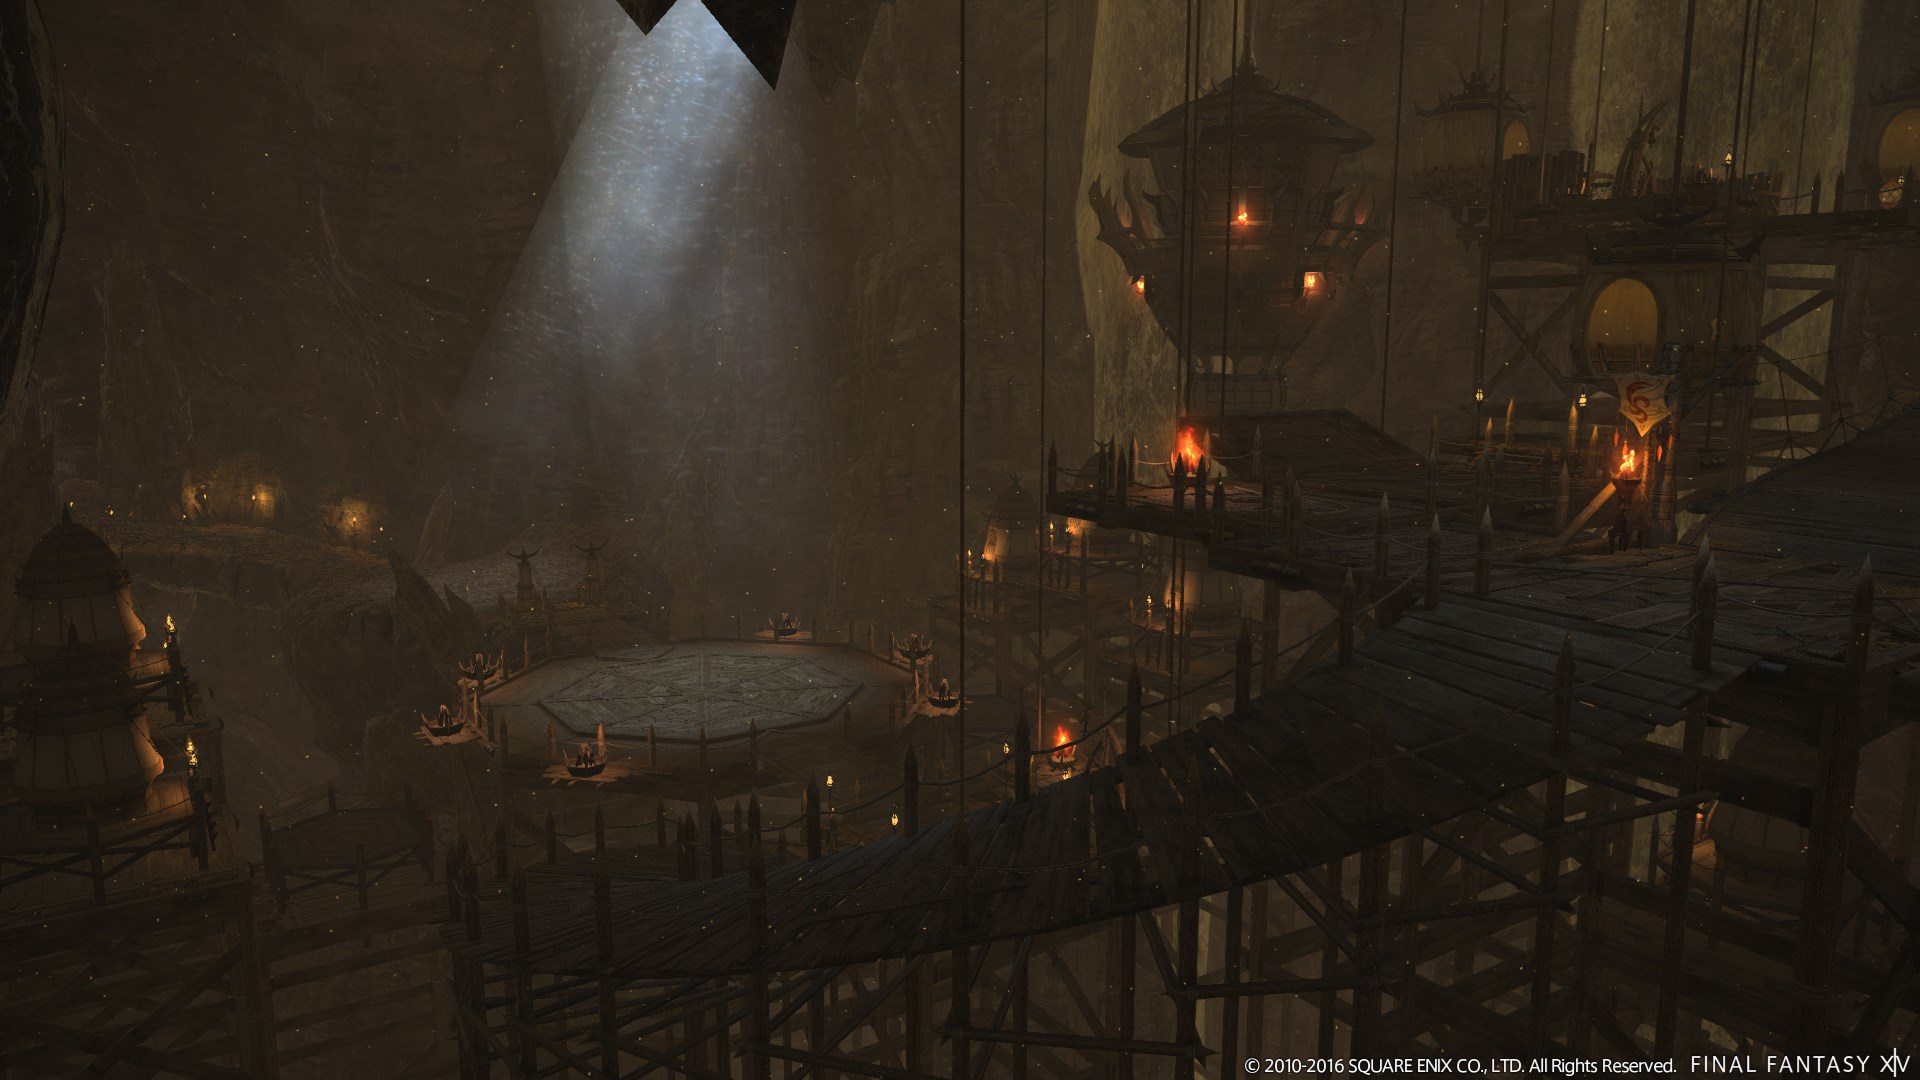
Xelphatol is a level 60 dungeon introduced in patch 3.4 with Heavensward, set within the mountain stronghold of the Ixal. It is one of the patch 3.4 optional dungeons and continues the post-MSQ Heavensward difficulty curve with three mechanically distinct encounters built around aerial mechanics, arena boundary awareness, and a multi-phase climax summon.
Nuzal Hueloc introduces a turret-and-Airstone management system with a specific kill priority that shifts depending on how many Airstones are tethered. Dotoli Ciloc features an arena with spike pits that make knockback direction critical — standing in the wrong position during On High ends the fight for careless players. Tozol Huatotl combines a binary stack-or-spread read with a Garuda summon phase that adds a room-wide AoE and personal spread markers simultaneously.
Xelphatol supports the Duty Support system, making it accessible to solo players alongside a House Fortemps Knight, Alphinaud, a House Fortemps Banneret, and a House Fortemps Archer.
Need the unlock path? See All FFXIV Dungeon Unlock Requirements.
Duty Support
Xelphatol supports the Duty Support system. Players can enter the dungeon solo accompanied by the following NPC companions:
- House Fortemps Knight (Knight) — Tank
- Alphinaud (Academician) — Healer or DPS
- House Fortemps Banneret (Banneret) — DPS
- House Fortemps Archer (Archer) — DPS
Dungeon Objectives
- Arrive at the Cage
- Defeat Nuzal Hueloc
- Arrive in the Tiachtli
- Defeat Dotoli Ciloc
- Eliminate impending enemies
- Defeat Tozol Huatotl
Boss Encounters
Nuzal Hueloc
Key Mechanics
- Wind Blast — Path AoE. Move out of the telegraph.
- Lift — Nuzal jumps upward and summons adds, including a Floating Turret. The turret and Airstones must be managed correctly.
- Air Raid — Party-wide raidwide AoE. Unavoidable; heal through it.
- Hot Air — Party-wide AoE cast by summoned turrets that launches all players into the air. During the cast, position the party underneath Nuzal — this brings him down to the arena floor after the cast completes, making him targetable again.
- Airstone — An add that spawns tethered to either the boss or a turret. Kill priority shifts based on the situation:
- If four Airstones are tethered to a turret — kill the Airstones first, then the turret.
- Otherwise — kill the turret first, then the Airstones.
- Long Burst — Unavoidable attack targeting a random player. Heal through it.
Strategy Notes
Nuzal Hueloc is an add management fight with a specific priority condition that changes based on how many Airstones are currently tethered to the turret. Reading that condition correctly on each Lift phase is the fight’s core skill check.
When Nuzal uses Lift and adds spawn, immediately count how many Airstones are tethered to the turret. If four Airstones are tethered, kill the Airstones first before switching to the turret — this prevents the turret from being powered up. In all other situations, kill the turret first, then clean up the Airstones. Applying the wrong priority causes unnecessary damage and extends the add phase.
When the turret’s health reaches zero, it begins casting Hot Air. This is the window to bring Nuzal back down — position the entire party directly underneath Nuzal during the Hot Air cast. When the cast completes and the launch resolves, Nuzal descends and becomes targetable again. Missing this positioning window means losing the opportunity to resume damage on the boss until the next cycle.
Wind Blast is a standard path AoE dodge. Long Burst is unavoidable single-target damage — maintain healing readiness throughout.
Failure Points
Applying the wrong Airstone kill priority is the most common source of extended add phases. Failing to position underneath Nuzal during Hot Air loses the turret-down window and delays resuming damage on the boss. Both are solved by reading the tether count each Lift phase and repositioning immediately when the turret begins its Hot Air cast.
Dotoli Ciloc
Key Mechanics
- On Low — Frontal cleave aimed at the tank. Tank should keep Dotoli facing away from the party.
- On High — Party-wide AoE with a knockback effect. Players must stand with their backs against the arena barriers before this resolves — the knockback pushes players away from the boss, and anyone sent off the platform edge falls into the spike pit. Barriers around the arena edge provide the necessary backstop.
- Dark Wings — Targets a random player with an AoE. Spread out to avoid overlap damage.
- Stormcoming — Targets the arena barriers and spawns a wind AoE in that area. Move away from the indicated barrier section.
- Swiftfeather — Causes the next On Low to resolve almost instantly. The cast is instant and cannot be dodged to the side — Dotoli runs up to the tank before using it. Treat this as a tankbuster and use mitigation rather than attempting to reposition.
Strategy Notes
Dotoli Ciloc is a fight where the arena’s spike pit boundaries make every knockback mechanic potentially lethal. The entire fight’s positioning discipline centers on being aware of where the safe barriers are and ensuring everyone is against one before On High resolves.
As soon as On High appears on the cast bar, every player must identify the nearest barrier and move to press against it. The knockback sends players directly away from Dotoli — standing against the barrier absorbs the push and prevents anyone from going over the edge. Players who are mid-arena or near an open section of the platform during On High risk being launched into the spike pit. There is always time to reach a barrier if movement begins immediately on cast.
Stormcoming targets specific barrier sections and creates wind AoEs there. When this is cast, check which barrier section is being targeted and make sure the party is not using that section as their On High backstop if the two mechanics overlap. Adjust to a safe barrier section that is not currently affected by Stormcoming.
Swiftfeather followed immediately by On Low is a pure tankbuster sequence. The instant cast means repositioning is not viable — have a mitigation cooldown ready and absorb the hit. Do not attempt to sidestep this.
Dark Wings requires players to spread when targeted. Maintain enough arena separation that the AoE does not clip nearby party members.
Failure Points
The most common death in this fight is being knocked off the platform during On High due to not being against a barrier. This is entirely preventable — the cast time provides a clear window to reposition. The secondary failure point is Swiftfeather players attempting to dodge the instant On Low rather than using mitigation, resulting in an unmitigated tankbuster hit.
Tozol Huatotl
Key Mechanics
- Ixali Aero III — Party-wide raidwide AoE. Unavoidable; heal through it.
- Ixali Aero II — Path AoE. Move out of the telegraph.
- Hawk — Resolves as either a stack marker or a spread marker. Read the marker type and respond accordingly — stack on the target for the stack version, spread apart for the spread version.
- Summon Garuda — Tozol summons an untargetable Garuda who fires a room-wide AoE with safe zones. Simultaneously, all players are marked with green crystals and personal AoE rings. Spread out immediately to prevent the AoE rings from overlapping on other players. Identify and move into a safe zone from Garuda’s room-wide AoE at the same time.
Strategy Notes
Tozol Huatotl is a fight with a clean mechanical structure that escalates with the Summon Garuda phase, which layers two simultaneous demands onto the party in its most complex moment.
The standard rotation of Ixali Aero II path AoEs and Hawk markers should be handled smoothly before the Garuda phase arrives. For Hawk, the only required skill is reading the marker type before committing to a response. Stack markers bring the party together; spread markers push them apart. Reacting to the wrong version is the most common Hawk failure — confirm the marker type, then move.
Summon Garuda is the fight’s most demanding mechanic. When Garuda appears and the room-wide AoE fires, every player has two simultaneous tasks: identify the safe zone from Garuda’s AoE and move into it, while also spreading away from other party members to prevent personal crystal AoE rings from overlapping. Executing both tasks simultaneously is the fight’s clearest skill check. The safe zones are visible from Garuda’s positioning — identify them before spreading so the movement toward safety does not accidentally cluster players together.
Ixali Aero III is unavoidable raidwide damage that must be healed through. Maintain healer resources particularly after Summon Garuda phases, as the combination of room-wide AoE and personal rings can create tight healing windows.
Failure Points
Misreading Hawk and responding incorrectly — spreading on a stack marker or stacking on a spread marker — is the most common individual failure. Overlapping crystal AoE rings during Summon Garuda by failing to spread far enough is the most common party-level failure. Both stem from the same root: confirm the marker type before committing to movement, and treat the Garuda safe zone and personal spread as two simultaneous responsibilities rather than sequential ones.
Difficulty Assessment
Xelphatol is a well-constructed patch 3.4 dungeon that introduces a different mechanical concept in each of its three boss encounters. Nuzal Hueloc teaches conditional add prioritization. Dotoli Ciloc introduces a pit-and-knockback system that makes positional discipline genuinely punishing if neglected. Tozol Huatotl closes the dungeon with a layered simultaneous-mechanic phase that requires the party to execute two things at once under visual pressure.
The dungeon emphasizes:
- Conditional kill priority management based on active arena state
- Knockback direction discipline against lethal arena boundaries
- Instant-cast tankbuster recognition and mitigation readiness
- Simultaneous safe zone navigation and personal AoE spread
Groups who take time to understand the conditional nature of Nuzal’s turret phase and establish consistent On High positioning habits on Dotoli will find the dungeon clean and manageable. Tozol’s Garuda phase is the closest the dungeon comes to demanding genuine multi-task execution — but it is clearly telegraphed and rewards players who read both elements of the mechanic before moving.
Previous Dungeon: Hullbreaker Isle (Hard) | Next Dungeon: The Great Gubal Library (Hard)
Guildmaster Notes
Xelphatol is not a place that was built to be entered. It is a place the Ixal built to endure — a stronghold high enough that the world below feels distant and almost abstract. There is a pride to its architecture that makes the fighting feel different from most dungeons. These are not monsters or aberrations. They are defenders, and the mountain they stand on means something to them.
Tozol Huatotl is the clearest expression of that conviction. Summoning Garuda herself as a final act of resistance is not desperation — it is devotion. The fight that follows carries that weight. Winning it does not feel like conquest so much as the closing of a door that was never meant to open. Xelphatol remains, after all of it, exactly what it was built to be: a place that does not yield easily.