Eden’s Promise: Litany (Savage) Guide | E10S Mechanics & Strategy
Duty Information
Expansion: Shadowbringers
Series: Eden
Tier: Eden’s Promise
Encounter: Eden's Promis: Litany (Savage)
Players: 8 (Tank / Tank / Healer / Healer / DPS / DPS / DPS / DPS)
Duty Finder Type: Raid (Savage)
Level: 80
Item Level: 505
Unlock Requirement: Where I Belong


Encounter Overview
Eden’s Promise: Litany (Savage) is a structured execution encounter centered on directional reads, role-based assignments, and controlled movement across repeated mechanic patterns. The Shadowkeeper builds on its normal-mode toolkit by layering clones, tethers, and sequential positioning checks that require consistency rather than improvisation.
The fight revolves around understanding how attacks resolve relative to shadows rather than the boss itself. Many mechanics appear simple in isolation, but quickly escalate when combined with role splits, clock positioning, and forced movement sequences.
Success in Litany Savage comes from stability. Fixed positions, clean partner assignments, and predictable movement paths turn chaotic overlaps into repeatable patterns. Raids that hesitate or reassign on the fly tend to lose control quickly.
For a full breakdown of raid difficulty progression, see the FFXIV raid rankings.
Arena Overview
The encounter takes place on a square arena surrounded by a lethal boundary. Any contact with the edge results in instant death, making knockback control and positioning discipline critical throughout the fight :contentReference[oaicite:0]{index=0}.
Most mechanics are resolved through relative positioning rather than long-distance movement. Players are expected to operate within assigned clock positions, light parties, and role groupings to maintain consistency across phases.
Several mechanics force players to deliberately face or orient attacks away from the group. The arena itself rarely limits movement directly—the danger comes from how players use the available space.
Mechanic Archive
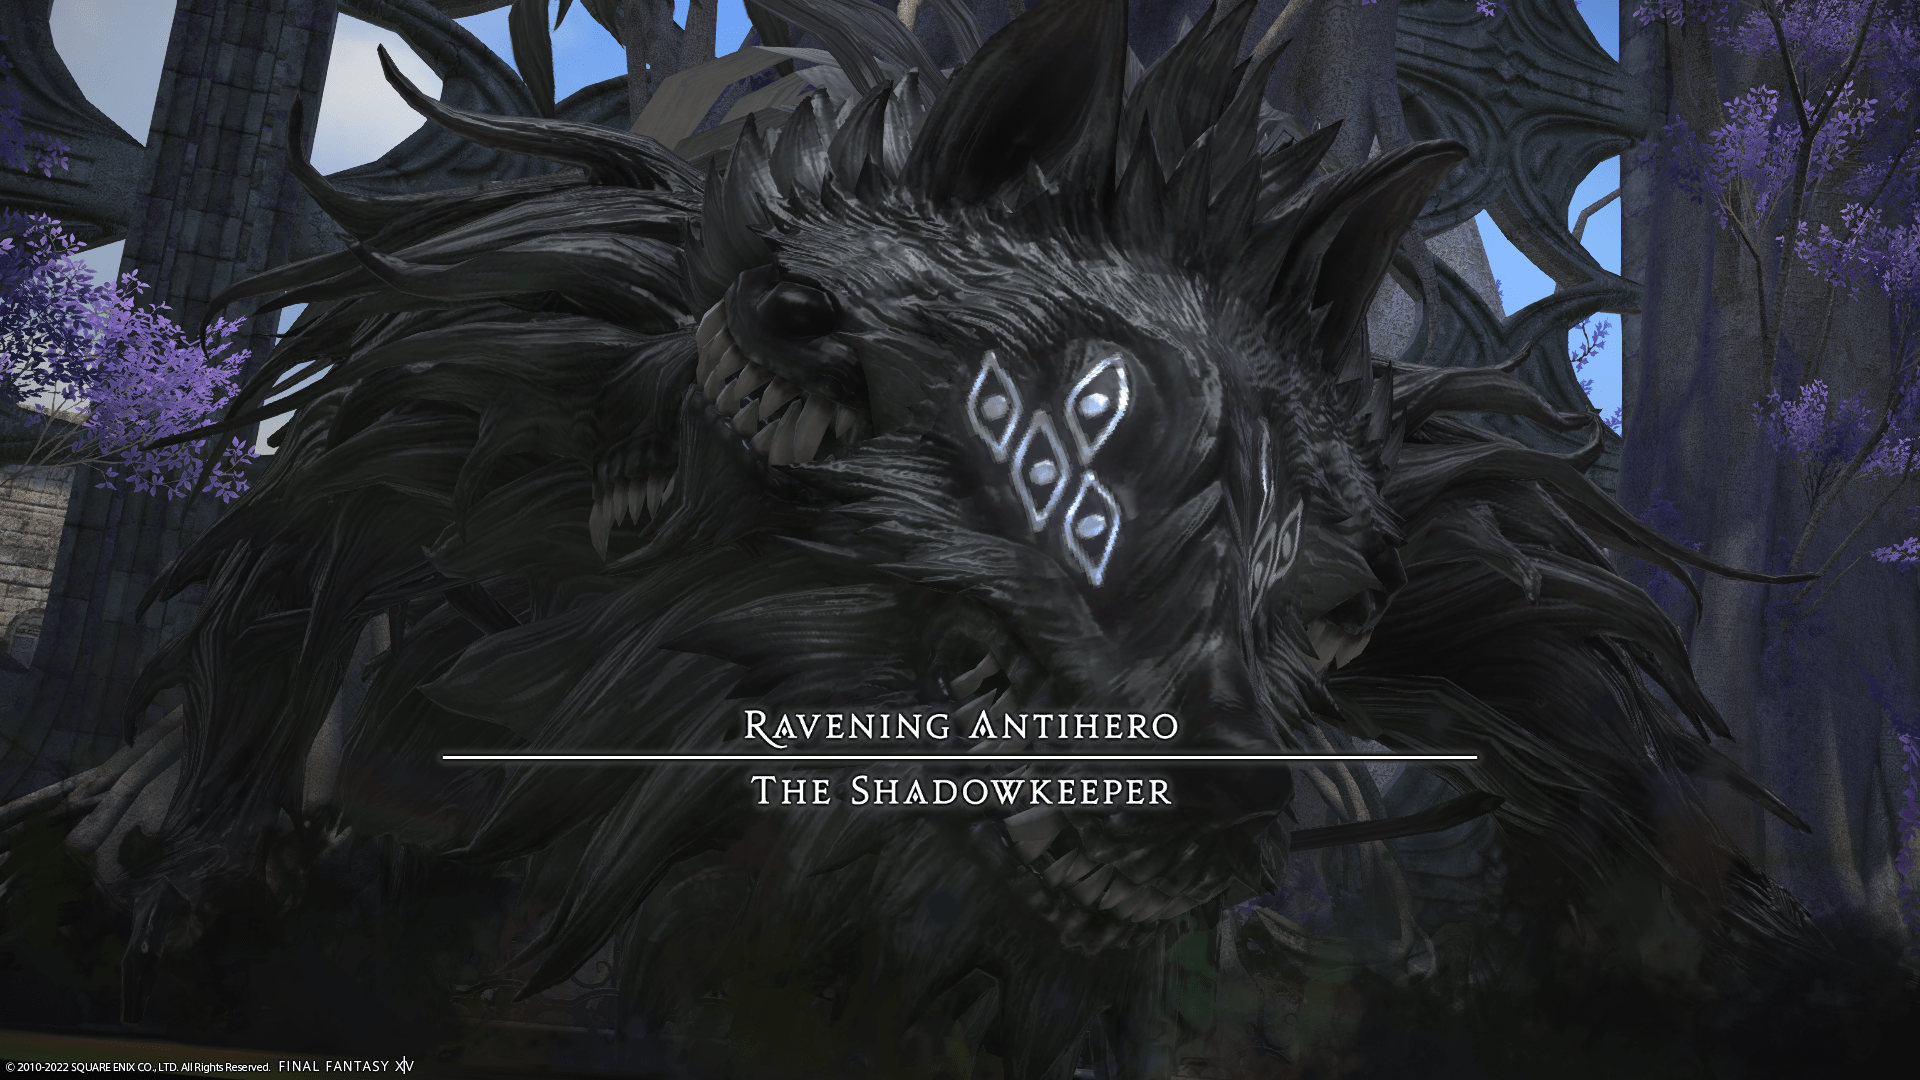
Ravening Antihero: The Shadowkeeper
The encounter cycles through multiple structured phases, repeatedly evolving a core set of mechanics: directional cleaves, shadow orientation, tether handling, and coordinated group positioning.
Deepshadow Nova
A raid-wide AoE that deals consistent magical damage. Frequently used as a transition or pressure point between major mechanics.
Implosion
The boss determines its attack direction based on both its animation and a spawned shadow. The attack originates from the shadow’s orientation but resolves from the boss’s hitbox.
This requires combining two reads: the boss (head vs tail) and the shadow position. Correct positioning depends on understanding both simultaneously.
Stand-Up
The boss transitions into sword form with a point-blank AoE. This signals the shift into a more structured, role-dependent phase.
Giga Slash
A directional cleave based on the boss’s weapon side combined with shadow positioning. Players must identify the unsafe side and orient accordingly.
This becomes the foundation for later mechanics that combine directional reads with player-created hazards.
Umbra Smash
A multi-hit tankbuster that applies stacking vulnerability debuffs. This is followed immediately by a secondary mechanic, requiring tanks to plan mitigation or swaps in advance.
Shadow’s Edge / Darkness Unleashed
Follow-up tank mechanics after Umbra Smash.
- Shadow’s Edge: A line cleave through the tank.
- Darkness Unleashed: A shared AoE requiring group stacking.
The raid must react based on which variant is used, while tanks manage survivability.
Shadowcleave
All players are targeted with cleaves and must move to assigned clock positions. Each player leaves behind a clone that will later tether to them.
This establishes the spatial structure for the upcoming Dual Spell mechanic.
Dual Spell
A triple-resolving stack mechanic tied to each player’s clone. Clone markers determine which hit a player must avoid.
This is a timing and assignment check. Players must know their responsibility before the mechanic begins rather than reacting mid-resolution.
Shadowkeeper (Clone Cleaves)
Player clones teleport behind their original positions and fire cleaves. Stacking the group tightly ensures all cleaves resolve in one location, simplifying movement.
Shadow Servant
Role groups are tethered and spawn shadows beneath them. Players must orient their shadows so that outgoing attacks fire away from the group.
Once released, players collapse toward the center to avoid all outgoing cleaves.
Distant Scream
A raid-wide AoE combined with knockback. Positioning must account for both the damage and the forced movement.
Umbral Orbs
Orbs spawn at cardinal positions and target the nearest player. Tanks and assigned groups must intercept the correct orbs.
This is a role assignment check layered with positioning discipline.
Spawn Shadow (Clone Tracking)
The boss summons multiple clones that move unpredictably before resolving a final attack. Only the tethered clone matters for determining the safe position.
Fade to Shadow
Puddles spawn and explode in sequence while an Implosion resolves simultaneously. Safe space is determined by both explosion timing and directional cleave orientation.
Voidgate
Meteor towers spawn that require specific player counts. These are combined with Shadow Servant, forcing players to orient shadows correctly before resolving tower assignments.
Pitch Bog
Players drop puddles that spawn clones if stepped on. Placement is critical, as these puddles are later used intentionally for positioning mechanics.
Shackled Apart / Shackled Together
Tether mechanics that require players to either maintain distance or stay close depending on the variant.
These often overlap with movement-heavy mechanics, forcing coordinated positioning between partners.
Voidgate Amplifier
An expanded tower mechanic requiring full raid coverage. Players must use previously placed puddles to generate clones and position them correctly before resolving overlapping AoEs.
Shadowy Eruption
Point-blank AoEs that must be dropped away from critical objects such as clones or towers.
Mini Phase Overlaps
The encounter compresses earlier mechanics into rapid sequences, combining knockback, orb soaking, tether management, and directional attacks.
Execution becomes the primary challenge rather than understanding.
Doom Arc (Enrage)
A long cast that wipes the raid if the boss is not defeated in time.
Encounter Flow
The encounter opens by teaching the relationship between the boss and its shadows through Implosion. Players learn to read both orientation and positioning simultaneously before transitioning into sword form.
In the early sword phase, mechanics such as Giga Slash, Umbra Smash, and Shadowcleave introduce structured positioning through clock assignments and role-based movement. These mechanics establish the foundation for all later overlaps.
The mid-fight shifts into heavier coordination with Shadow Servant, Dual Spell, and clone interactions. These mechanics require players to manage both their own positioning and the placement of their shadows.
Later phases combine movement, tether handling, and orb assignments through Distant Scream, Umbral Orbs, and Fade to Shadow. These sequences test whether the raid can maintain structure while repositioning under pressure.
The final sequences escalate into full overlap scenarios involving Voidgate, Pitch Bog, and tether mechanics. By this point, the encounter is no longer introducing new ideas—it is testing whether the raid can execute established patterns cleanly at speed.
Litany Savage rewards consistency over reaction. Groups that stabilize positioning early will find later phases significantly more manageable, while disorganized movement quickly compounds into unrecoverable errors.
[tavern_related_encounters tier=”edens-promise”]