P9N Kokytos Raid Guide – Pandaemonium Anabaseios (FFXIV)
Expansion: Endwalker
Raid Series: Pandaemonium
Raid Tier: Anabaseios
Encounter: P9N – Kokytos
Players: 8 (Tank / Tank / Healer / Healer / DPS / DPS / DPS / DPS)
Duty Finder Type: Raid (Normal)
Unlock Requirement: Complete P8N Hephaistos
See the full list here → All FFXIV Raid Unlock Requirements
← Back to Pandaemonium Anabaseios Raid Tier
Encounter Overview
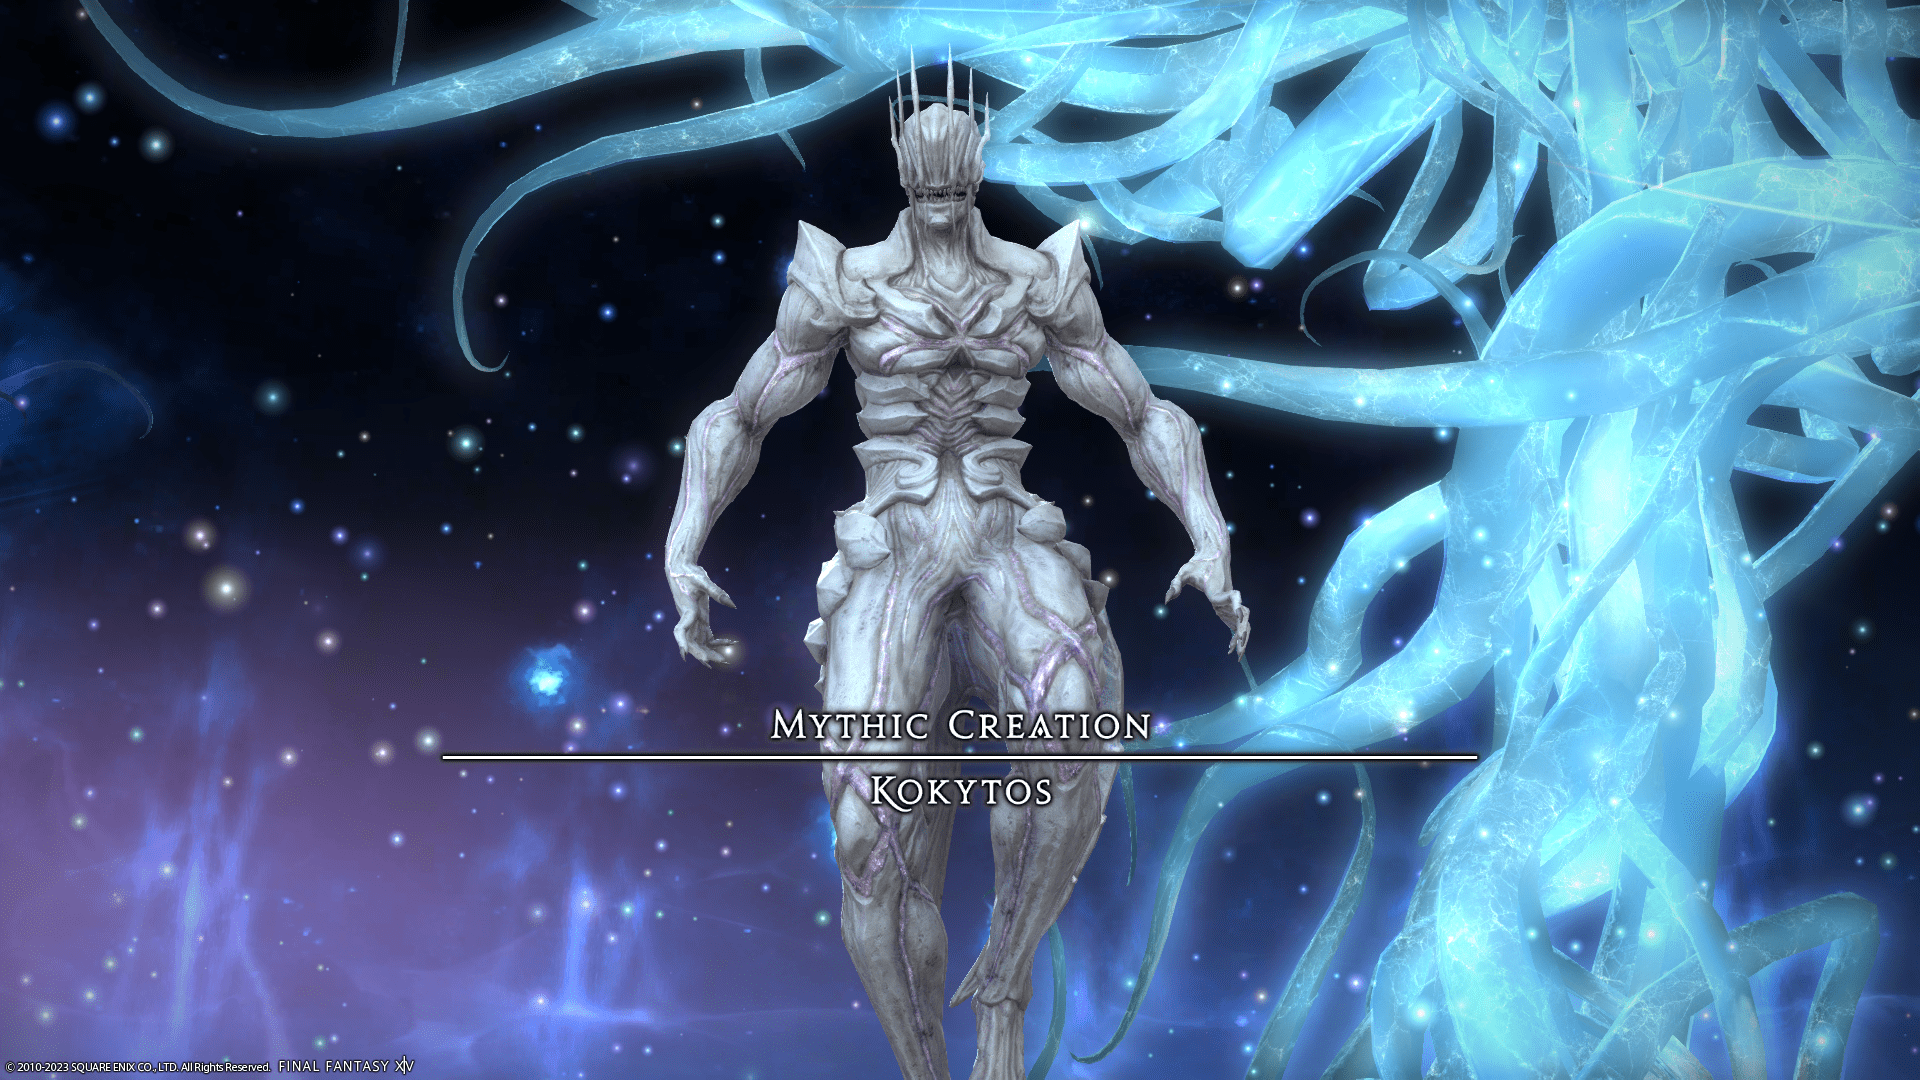
Kokytos is the first encounter of Pandaemonium: Anabaseios.
The fight is built around repeated phase changes, with the boss shifting into different combat styles that alter the arena pressure and required positioning. Each form introduces a different mechanic package, forcing players to react to changing spread, stack, knockback, and safe-zone patterns.
Key mechanics include:
• expanding spread markers
• shrinking donut AoEs
• knockback and line eruption mechanics
• puddle drops and spread knockbacks
• meteor hiding mechanics
• repeated phase transitions tied to boss color
The encounter repeats its core phase structure after the first cycle, making it heavily pattern-based once players recognize the boss forms.
Arena Overview
The fight takes place on a large circular arena.
Most danger comes from boss-centered AoEs, knockbacks, puddle placement, and temporary safe zones created by phase mechanics.
Several mechanics reward keeping the middle of the arena clean so players can preserve movement options for later patterns.
Mechanic Archive
Gluttony’s Augur
Raidwide magical damage.
Response
• mitigate and heal.
Ravening
Signals a phase transition.
The boss changes color to indicate which mechanic package comes next.
Possible colors include:
• icy blue
• red
• green
Response
• identify the phase color quickly
• prepare for the matching mechanic set.
Fire III
Four players receive spread markers.
The markers expand before resolving, making tight group positioning dangerous.
Response
• marked players move to the far edge of the arena
• keep the middle open for the rest of the party.
Blizzard III
Boss-centered donut AoE.
The donut shrinks before resolving.
Response
• start near the boss if needed
• adjust as the safe zone changes.
Dualspell
The boss combines Fire III and Blizzard III.
One element flashes, signaling which secondary effect will apply.
Possible effects include:
• expanding spread markers
• shrinking donut AoE
Response
• identify which spell is being empowered
• resolve spread and donut positioning together.
Global Spell
Raidwide damage that inflicts Bleeding.
Response
• mitigate and heal.
Iceflame Summoning
The boss drops two fire rocks and two ice rocks.
One element flashes and the matching rocks grow more dangerous.
Response
• identify which element is empowered
• move to the side of the opposite rocks.
Archaic Rockbreaker
Knockback from the center of the arena.
At the same time, lava lines travel outward from the center and stop at different distances, where they erupt in point-blank AoEs.
Response
• avoid the knockback center
• position where the knockback will not send you into a lava eruption.
Archaic Demolish
Two group stack markers appear.
Response
• split into two groups
• stack evenly to share damage.
Ascendant Fist
Heavy tankbuster.
Response
• tanks mitigate
• healers prepare recovery.
Front Combination
The boss uses either a large circular AoE or donut AoE first, then follows with a half-room cleave aimed toward the front.
Response
• resolve the first AoE
• move away from the front-facing cleave.
Rear Combination
The boss uses either a large circular AoE or donut AoE first, then follows with a half-room cleave aimed toward the rear.
Response
• resolve the first AoE
• move away from the rear-facing cleave.
Charybdis
Marked players drop puddle AoEs.
Standing in the puddles inflicts a damage-over-time effect.
Response
• drop puddles away from the party
• leave clear movement space for later mechanics.
Beastly Roar
Knockback from the center combined with spread markers.
This can become dangerous if puddles are already covering parts of the arena.
Knockback immunity works on this attack.
Response
• spread out before the knockback
• use knockback immunity if needed
• avoid getting launched into puddles.
Pulverizing Pounce
Group stack marker.
Response
• stack together and mitigate.
Gluttonous Rampage
Both tanks are tethered by tankbuster mechanics.
The tethers must be stretched until they turn purple.
At the same time, a proximity AoE resolves from the center of the arena.
Response
• tanks move away from the center and stretch their tethers
• the rest of the party moves to the opposite side of the arena.
Comet
Three proximity AoEs appear.
Players must first move to a safe side of the arena.
Afterward, one rock remains uncracked.
Response
• move to the safe side
• identify the surviving rock for the next mechanic.
Ecliptic Meteor
A meteor drops in the center of the arena.
Players must hide behind the uncracked rock to survive.
After the meteor resolves, the rock explodes in a point-blank AoE.
Response
• hide behind the intact rock
• move away from it immediately after the meteor lands.
Encounter Flow
The fight begins with Gluttony’s Augur before Kokytos transitions into one of several colored phases using Ravening.
In the Mage phase, the boss combines Fire III, Blizzard III, and Dualspell, forcing players to handle expanding spreads and changing donut safe zones at the same time. Later in the fight this phase adds Iceflame Summoning, creating additional positional checks based on which elemental rocks are empowered.
In the Fighter phase, the encounter shifts into knockback and positional pressure through Archaic Rockbreaker, followed by split group stacks from Archaic Demolish, tank pressure from Ascendant Fist, and directional cleave sequences through Front Combination and Rear Combination.
In the Behemoth phase, Kokytos introduces puddle placement through Charybdis, knockback spreads with Beastly Roar, stack damage from Pulverizing Pounce, and dual tankbuster tether handling through Gluttonous Rampage.
The phase ends with Comet and Ecliptic Meteor, requiring the group to first survive multiple proximity blasts and then hide behind the one intact rock before moving away from its final explosion.
After the first full cycle, the encounter begins repeating these phase structures with added overlap, making the fight increasingly about recognizing the boss form quickly and preserving clean positioning through each repeated pattern.
Related Encounters
| Order | Boss | Normal Guide | Savage Guide |
|---|---|---|---|
| 1 | Kokytos | P9N Guide | P9S Guide |
| 2 | Pandaemonium | P10N Guide | P10S Guide |
| 3 | Themis | P11N Guide | P11S Guide |
| 4 | Athena | P12N Guide | P12S Guide |
← Back to Pandaemonium Anabaseios
← Back to Endwalker Raid Archive
← Back to FFXIV Raid Archive