 Raid Guide – Pandaemonium Abyssos (FFXIV)
Expansion: Endwalker
Raid Series: Pandaemonium
Raid Tier: Abyssos
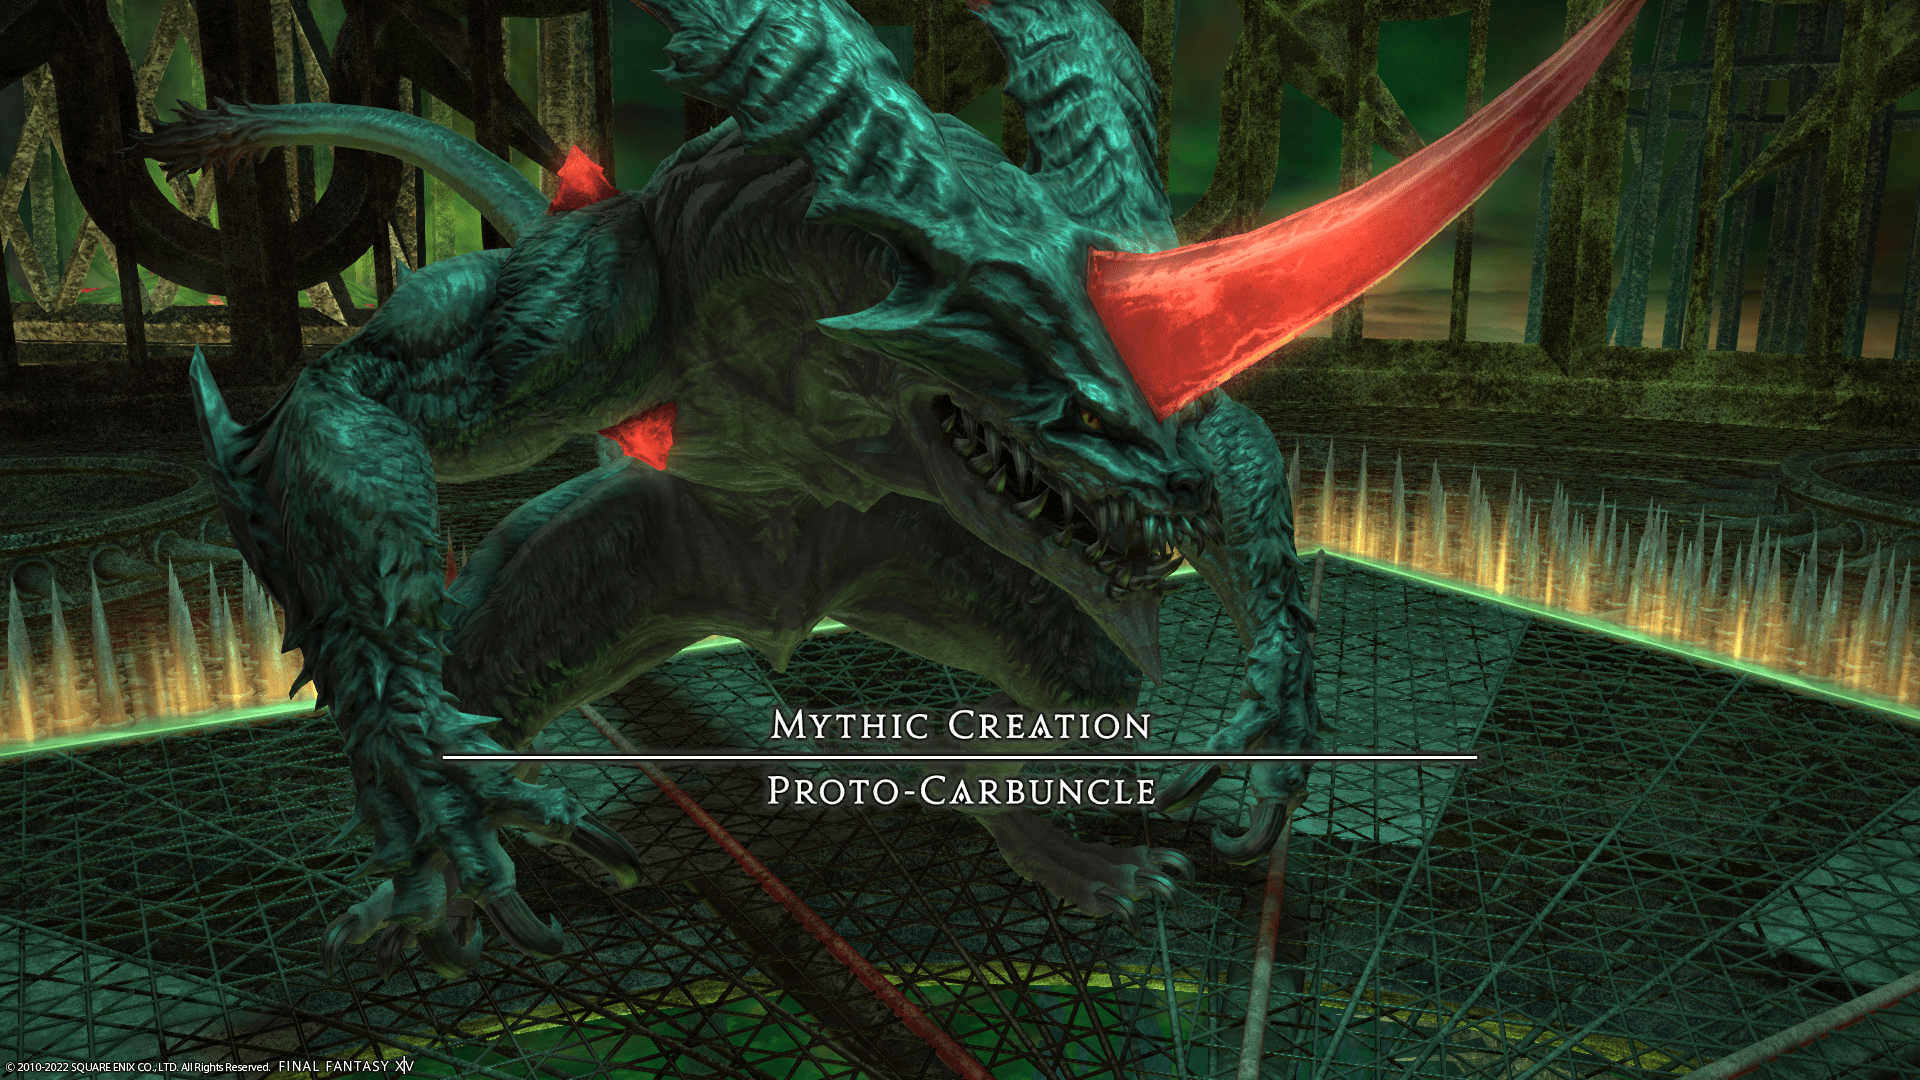
Encounter: P5N – Proto-Carbuncle
Players: 8 (Tank / Tank / Healer / Healer / DPS / DPS / DPS / DPS)
Duty Finder Type: Raid (Normal)
Unlock Requirement: Pandaemonium Abyssos Progression
See the full list here → All FFXIV Raid Unlock Requirements
← Back to Pandaemonium Abyssos Raid Tier
Encounter Overview
Proto-Carbuncle is the first encounter of Pandaemonium: Abyssos.
The fight revolves around arena manipulation via Ruby Glow, which divides the arena into halves or quadrants. When this happens, several attacks that normally affect a small area instead expand to fill entire sections of the arena.
Players must manage:
-
arena segmentation mechanics
-
expanding poison zones
-
sequential crystal explosions
-
stack and spread combinations
The encounter consists of two phases, with Phase 2 introducing poison mechanics and more complex Topaz Stone patterns.
The arena is surrounded by lethal spikes in Phase 1 and lethal poison in Phase 2.
Arena Overview
The arena is a square platform surrounded by lethal hazards.
Phase 1 hazard:
• spikes that instantly kill players touching the edge.
Phase 2 hazard:
• poisonous boundary that instantly kills players.
During the fight Ruby Glow creates glowing walls that divide the arena into halves or quadrants. These walls change how several abilities behave.
Mechanic Archive
Phase 1
Crunch
Light tankbuster.
Response
• mitigate and heal.
Sonic Howl
Raid-wide damage.
Response
• mitigate and heal.
Ruby Glow
Heavy raidwide damage that also divides the arena with glowing walls.
Possible layouts:
• diagonal half-arena split
• cross-shaped quadrant split
When an ability hits a wall, the attack spreads across the entire arena segment rather than its normal area.
Players must move into safe segments accordingly.
Searing Ray
Proto-Carbuncle jumps to a corner and prepares a massive frontal AoE covering roughly 180°.
Normal Resolution
• move behind the boss.
Ruby Glow Resolution
If Ruby Glow is active, the attack fills the entire segment containing the boss.
• move to the opposite segment of the arena.
Topaz Stones (Phase 1)
Crystals fall onto the arena and explode in small circular AoEs.
Response
• avoid the telegraphed circles.
Topaz Stones (Quadrant Variant)
Used after Ruby Glow divides the arena into quadrants.
Exploding crystals appear in multiple quadrants.
Response
• identify the safe quadrant(s) and move there.
Acidic Slaver
Weak raidwide attack that transitions the encounter into Phase 2.
Players are briefly stunned while the arena changes.
Phase 2
The arena becomes slightly larger and is now surrounded by lethal poison.
Proto-Carbuncle gains additional poison mechanics.
Toxic Crunch
Heavy tankbuster replacing Crunch.
Applies an uncleansable Poison debuff.
Response
• mitigate and heal
• tank swap if needed.
Venom Squall
Three-part mechanic.
Sequence:
-
ground AoEs under players
-
AoE markers on every player
-
stack marker
Response
• stack to bait ground AoEs
• spread for player AoEs
• regroup for the stack.
Topaz Stones (Poison Variant)
Four stones spawn in the center of each quadrant.
Three create expanding poison circles.
One creates only a small explosion.
Response
• move to the quadrant with the normal explosion marker.
Topaz Stones (Sequential Variant)
Exploding stones appear and detonate in the order they spawn.
Response
• rotate between quadrants as explosions resolve.
Topaz Stones (Half Arena Variant)
Ruby Glow divides the arena into halves.
One half contains a poison stone and the other an exploding stone.
Response
• stand in the poison-stone half
• stay far enough away to avoid the poison.
Searing Ray follows immediately afterward.
Topaz Stones + Venom Squall
Ruby Glow divides the arena into quadrants.
Two quadrants receive exploding stones, one receives a poison stone, leaving one safe quadrant.
Immediately followed by Venom Squall.
Response
• move to the safe quadrant
• resolve the stack/spread sequence.
Starving Stampede
Proto-Carbuncle becomes untargetable.
Markers appear:
• one in the center
• four around the edges.
A red marker travels between them, indicating the boss’s jump order.
Each jump creates a large circular AoE covering roughly a quarter of the arena.
Players hit become stunned, and stunned players are consumed and instantly killed.
Response
• stand near the fourth edge marker in the sequence
• after the first jump, move to the first marker’s location
• avoid the center until the final jump.
Mechanic Loop
After the final Topaz Stones variation, the boss repeats mechanics until defeated.
Starving Stampede only occurs once.
Related Encounters
| Order | Boss | Normal Guide | Savage Guide |
|---|---|---|---|
| 1 | Proto-Carbuncle | P5N Guide | P5S Guide |
| 2 | Hegemone | P6N Guide | P6S Guide |
| 3 | Agdistis | P7N Guide | P7S Guide |
| 4 | Hephaistos | P8N Guide | P8S Guide |
← Back to Pandaemonium Abyssos
← Back to Endwalker Raid Archive
← Back to FFXIV Raid Archive