Sohr Khai Dungeon Guide (FFXIV Heavensward) – Boss Mechanics & Strategy
Duty Information
Expansion: Heavensward
Encounter: Sohr Khai
Players: 4 Players (1 Tank, 1 Healer, 2 DPS)
Duty Finder Type: Dungeon
Level: 60
Unlock Requirement: Winning Over the Wyrm
Common Failure Points
- Failing to knock Moogle corpses out of Moglin’s revival circles in time, allowing full-health resurrections.
- Letting Captain Mogsun reach Moglin and tether to him, granting the boss invincibility.
- Standing near intact walls during Poqhiraj’s Charge and being knocked into an electrified pool.
- Placing Cloud Call markers near undamaged walls, accelerating unintended wall destruction and shrinking the safe corridor.
- Moving unnecessarily during Hraesvelgr’s Diamond Storm and sliding into a red AoE circle.


Dungeon Overview
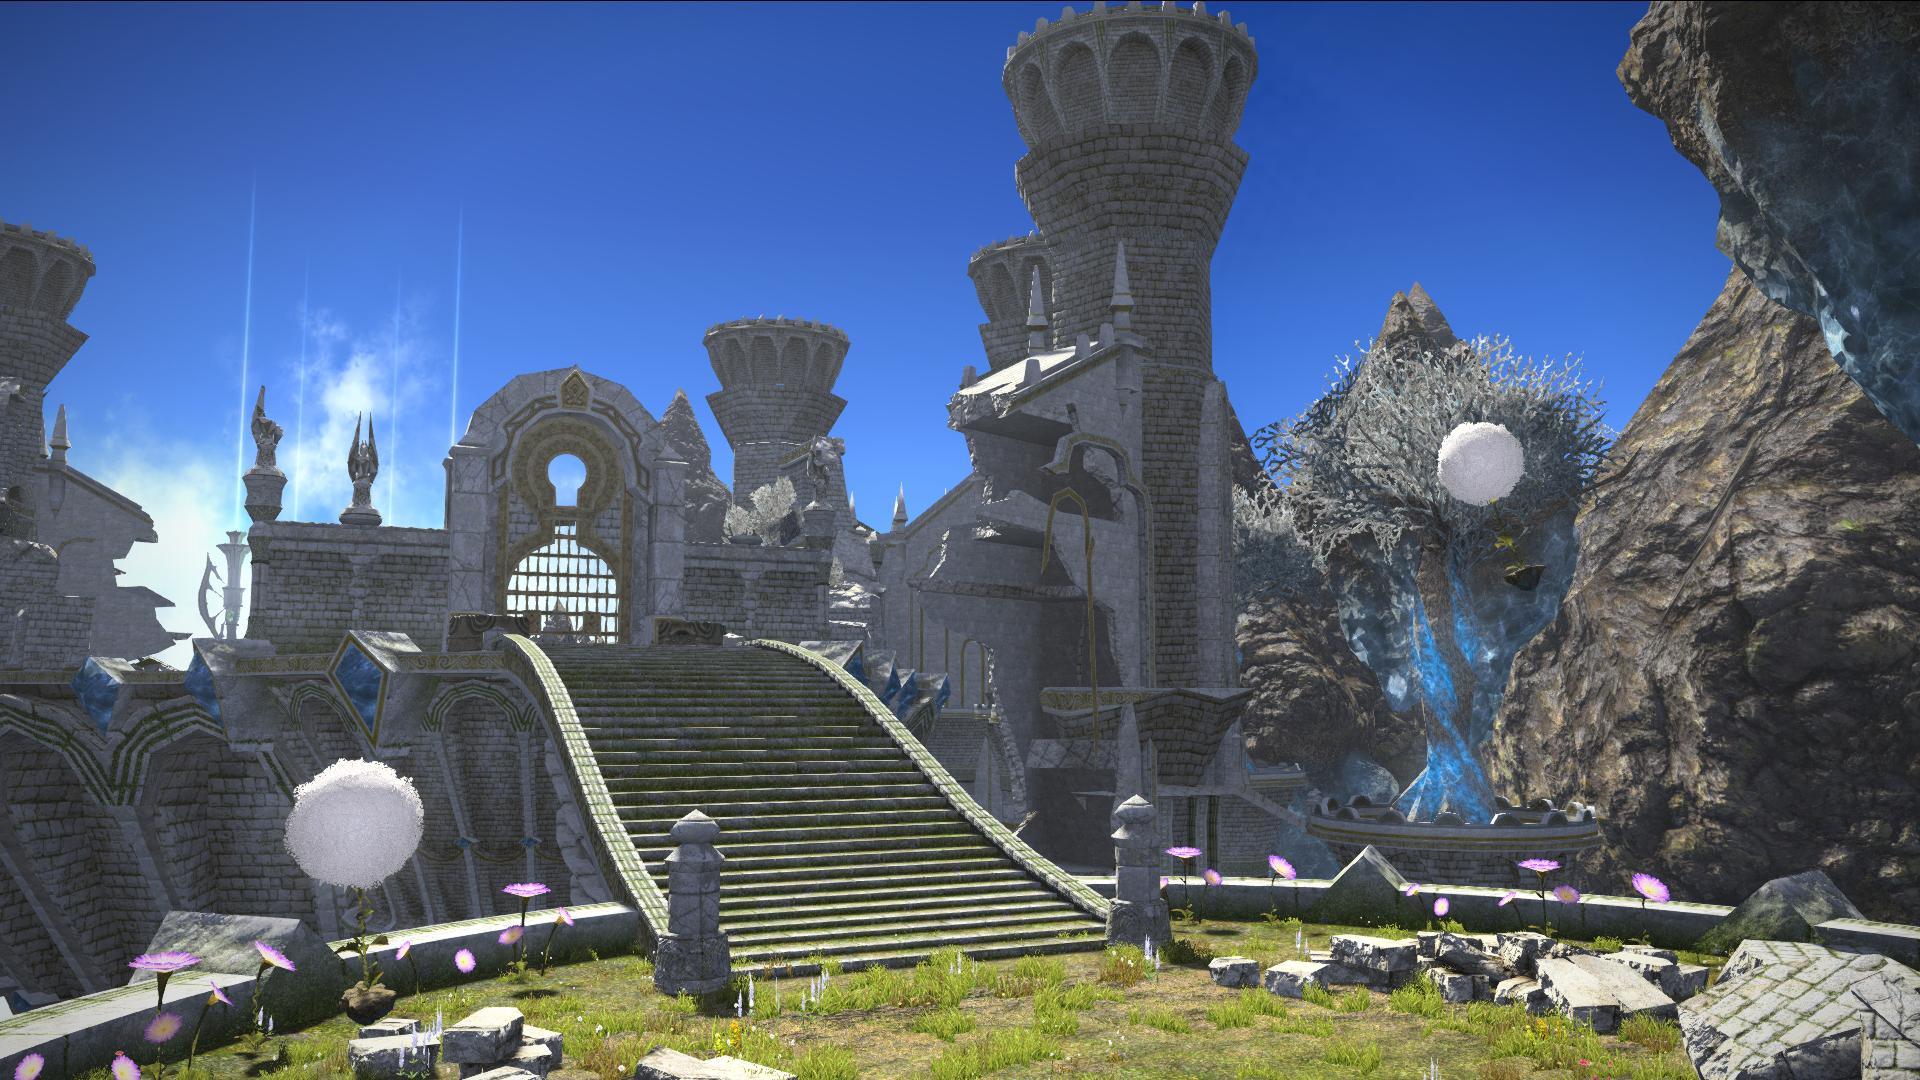
Sohr Khai is a level 60 dungeon introduced in patch 3.3 with Heavensward, set within the abandoned mountain roost of Hraesvelgr. It is one of the patch 3.3 optional dungeons and features three mechanically distinct encounters that each demand a different kind of spatial awareness from the party.
Chieftain Moglin is a moogle add-management fight that introduces a corpse-displacement mechanic requiring active intervention to prevent resurrections. Poqhiraj is a corridor fight where the arena itself degrades over the course of the encounter — walls are destroyed by attacks, electrified pools are exposed, and the available safe space shrinks progressively. Hraesvelgr is the dungeon’s climax, a large-scale dragon fight that combines directional cleaves, stack markers, a line dive, and a floor-freeze sliding mechanic that requires careful movement discipline.
With the addition of Duty Support in patch 6.3, Sohr Khai received changes to progression and the Hraesvelgr encounter was simplified to a single circular pedestal. The dungeon is accessible to solo players alongside Aymeric, Alphinaud, and a Temple Banneret.
Need the unlock path? See All FFXIV Dungeon Unlock Requirements.
Duty Support
Sohr Khai supports the Duty Support system introduced in patch 6.3. Players can enter the dungeon solo accompanied by the following NPC companions:
- Aymeric (Gladiator / Lord Commander) — Tank or DPS
- Alphinaud (Academician) — Healer or DPS
- Temple Banneret (Banneret) — DPS
Dungeon Objectives
- Overcome Unsevered Despair
- Overcome Unstifled Prayer
- Defeat Hraesvelgr
Boss Encounters
Chieftain Moglin
Key Mechanics
- Resurrecting Moogles — Moogles of various classes spawn throughout the fight and must be killed. When they die, Moglin periodically drops purple revival circles on their corpses. If a corpse remains inside the circle when it resolves, the Moogle resurrects at full health. Attack corpses to knock them out of the circles before the cast completes. Aim corpses toward the center of the arena rather than the edge — edge corpses are significantly harder to move again if another revival circle appears on them.
- Captain Mogsun — A priority kill target. If Mogsun is alive and within range of Moglin, he tethers to him and grants him invincibility. Kill Mogsun immediately whenever he is present. The revival circle mechanic also applies to his corpse.
- Holy — Moglin casts unavoidable raidwide AoE damage. Heal through it.
Strategy Notes
Chieftain Moglin is an add management fight where the key challenge is not killing the adds — it is preventing them from coming back. The revival circle mechanic is straightforward in concept but requires active attention across the whole arena: when Moglin drops circles on corpses, every available party member should immediately attack the nearest corpse to knock it clear before the cast completes.
Aim knocked corpses toward the center of the arena. Corpses pushed to the edge become difficult to displace again on subsequent revival attempts, creating a compounding problem if Moglin targets the same corpse multiple times. Keep the arena center as the default displacement direction for every knockback.
Captain Mogsun is the fight’s clearest priority target. The moment he appears, switch to him and kill him before he can close the distance to Moglin and apply the invincibility tether. An invincible Moglin wastes significant uptime and extends the fight unnecessarily. His corpse is also subject to revival circles, so treat him the same as any other Moogle after he dies.
Outside of the add phase and corpse management, the fight is a standard tank-and-spank. The Holy raidwide simply needs to be healed through.
Failure Points
Letting revival circles complete on corpses — particularly on Captain Mogsun — is the primary source of extended fight duration and avoidable damage. Failing to kill Mogsun before he tethers to Moglin wastes uptime that could otherwise be spent on the boss. Both are resolved by treating adds and corpse displacement as the fight’s highest priorities throughout.
Poqhiraj
Key Mechanics
- Destructible Walls — The walls lining both sides of the corridor can be knocked down in sections by Poqhiraj’s attacks. Destroyed wall sections expose electrified pools behind them. Standing in a pool applies a heavy damage-per-tick DoT that cannot be dispelled. The corridor’s safe width shrinks as more walls are destroyed.
- Jump — Poqhiraj becomes untargetable and prepares to land at one end of the corridor using a proximity damage indicator. Run to the opposite end of the corridor to minimize damage.
- Charge — After landing, Poqhiraj charges the full length of the corridor. Unavoidable, with a knockback effect. Players near the center are knocked into the air and take increased damage. Players near the sides are knocked away from the center. Stand against a wall so the knockback pushes you into the wall rather than into an electrified pool. If no walls remain or you cannot reach one, stand in the center — being knocked airborne is significantly less dangerous than landing in a pool.
- Quasar — An unmarked line AoE with a visible cast time. This attack is a primary cause of wall destruction when it fires at an angle. Stack directly behind Poqhiraj to pull the line AoE straight down the center of the corridor, avoiding the walls entirely. Alternatively, aim it down the center if positioned there.
- Cloud Call — Marks a random player with a purple marker. When the marker disappears, a thundercloud spawns above that player and pulses heavy damage, applies Vulnerability Up, and destroys adjacent walls. The cloud’s damage radius is slightly narrower than the corridor width. Place the cloud against a wall that has already been destroyed to prevent further structural damage. Tanks should move away from the cloud to avoid accumulating Vulnerability stacks. Later in the fight, place clouds near already-destroyed wall sections whenever possible.
Strategy Notes
Poqhiraj is the most positionally complex fight in the dungeon. The arena degrades over time as walls are destroyed, and the decisions the party makes about where to aim Quasar and where to drop Cloud Call markers directly determine how much safe space they have for the remainder of the encounter.
The default positioning for the entire party should be the center of the corridor unless a specific mechanic requires otherwise. Central positioning during Quasar aims the line AoE straight down the platform, protecting the walls. It also gives the most options during Charge — a wall is reachable from the center in either direction, and the center itself is a viable fallback if no walls are accessible.
Cloud Call placement is the fight’s most consequential individual decision. Early in the fight, place clouds against a wall section midway down the corridor — this allows room to run past the cloud during Jump without being struck. As the fight progresses and walls are destroyed by other mechanics, always direct Cloud Call markers to already-destroyed sections to avoid further reducing the available safe corridor.
During Charge, the priority is always to have a wall at your back. The knockback sends side-positioned players into the wall — a safe outcome. Being knocked into a pool is lethal due to the undispellable DoT. If every wall is gone, the center becomes the correct position since airborne knockup damage is manageable compared to pool exposure.
Failure Points
Poor Quasar positioning that clips walls repeatedly and poor Cloud Call placement that destroys undamaged walls are the two habits that make the back half of this fight significantly more dangerous than necessary. A corridor with few remaining walls leaves almost no margin during Charge. Establish center positioning early, direct Quasar straight, and place clouds on already-damaged sections.
Hraesvelgr
Key Mechanics
- Wyrmclaw — Tankbuster. Use mitigation accordingly.
- Hallowed Wings — One of Hraesvelgr’s wings glows to indicate a cleave on either his right or left side. Move to the opposite side before the cast resolves.
- Holy Storm — Unavoidable party-wide raidwide damage. Heal through it.
- Hallowed Dive — Hraesvelgr leaves the arena and performs a line AoE across the center of the platform. Simultaneously, two moving circle AoEs spawn along the edges. Move to the center to avoid the edge circles after Hraesvelgr has crossed.
- Akh Morn — Multi-hit stack marker. The entire party must stack on the marked player for the duration.
- Diamond Storm — Hraesvelgr freezes the arena floor. While frozen, any player who moves will slide in the direction of their movement, continuing until they reach the arena boundary or an obstacle. Stay still unless you are standing on a red AoE circle — only move to slide off an AoE.
- Frigid Dive — Used while the arena is frozen. Hraesvelgr performs a line AoE across the center, identical to Hallowed Dive. Red AoE circles appear on the ground simultaneously. Only slide if currently standing on a red circle — slide to safety, then stop moving immediately.
- Holy Breath — Places purple AoE circles on every player simultaneously. Spread out to prevent overlap.
Strategy Notes
Hraesvelgr is a fight with a clear rhythm — directional cleave reading, stack phases, and dive sequences — interrupted periodically by Diamond Storm, which introduces a floor-slide mechanic that demands complete movement discipline.
Hallowed Wings is a straightforward read: watch which wing glows, move to the opposite side before the cast completes. Establish the habit of watching Hraesvelgr’s wings rather than waiting for a cast bar to finish — early movement is always safer than a last-second reposition.
During Hallowed Dive, the line AoE across the center means the edges are initially safe — but the moving circles that spawn along the edges require players to shift back toward the center after the dive passes. Read the dive first, then adjust for the edge circles.
Diamond Storm is the fight’s most distinctive mechanic. The moment the floor freezes, everyone should stop moving entirely and hold their position. Unnecessary movement on a frozen floor sends players sliding across the arena into AoE circles or boundary edges. The only correct reason to move during a frozen floor is to slide off a red AoE circle that has appeared directly under your feet. If you are not standing on a circle, do not move. After sliding clear of a circle, stop immediately and hold position again until the freeze ends.
Frigid Dive follows the same pattern as Hallowed Dive but occurs while the floor is still frozen. The line AoE and edge circles function identically, but any movement to avoid them carries the slide risk. Plan repositioning carefully — a small input on a frozen floor travels further than intended.
Akh Morn requires the full party to stack tightly for its multi-hit sequence. Spread immediately on Holy Breath since its simultaneous circle AoEs will overlap if players are too close together.
Failure Points
The most common deaths on Hraesvelgr come from unnecessary movement during Diamond Storm — players who drift or adjust their position on a frozen floor slide out of safe zones and into red circles or arena edges. The second most common failure is being caught mid-arena during Hallowed Dive without accounting for the edge circles that follow. Stay still on ice, read both elements of the dive sequence, and stack early for Akh Morn.
Difficulty Assessment
Sohr Khai is a well-paced patch 3.3 dungeon that introduces three mechanically distinct fights, each asking something different from the party. Moglin’s corpse-displacement system rewards attentiveness and arena positioning. Poqhiraj’s degrading corridor rewards deliberate, center-focused play and careful ability placement. Hraesvelgr combines multiple attack types into a demanding but readable fight, with Diamond Storm serving as its central skill check.
The dungeon emphasizes:
- Active corpse management and add prioritization
- Arena preservation through deliberate ability placement
- Multi-mechanic corridor positioning under progressive constraint
- Movement discipline on a frozen floor mechanic
Groups who take time to understand what each mechanic is asking of them — rather than reacting instinctively — will find Sohr Khai a satisfying and well-constructed run. The dungeon consistently rewards players who think a step ahead of the current attack rather than just surviving the present one.
Previous Dungeon: The Lost City of Amdapor (Hard) | Next Dungeon: Hullbreaker Isle (Hard)
Guildmaster Notes
Sohr Khai is a place built around the weight of absence. Hraesvelgr’s roost stands empty not because it was abandoned, but because what it held was lost — and the dragon who remained made his grief into a home. Every enemy in this dungeon is a reflection of that grief in some form: moogles who refused to stop protecting something that no longer needs them, a warhorse whose purpose has outlasted its context, and finally the great wyrm himself, who has held on long past the point where holding on makes sense.
Defeating Hraesvelgr does not feel like conquest. It feels like permission — the kind that has to be earned rather than taken. The stillness of the roost after the fight does not lift. It deepens, in the way that silence deepens when something that has been waiting a very long time finally rests.