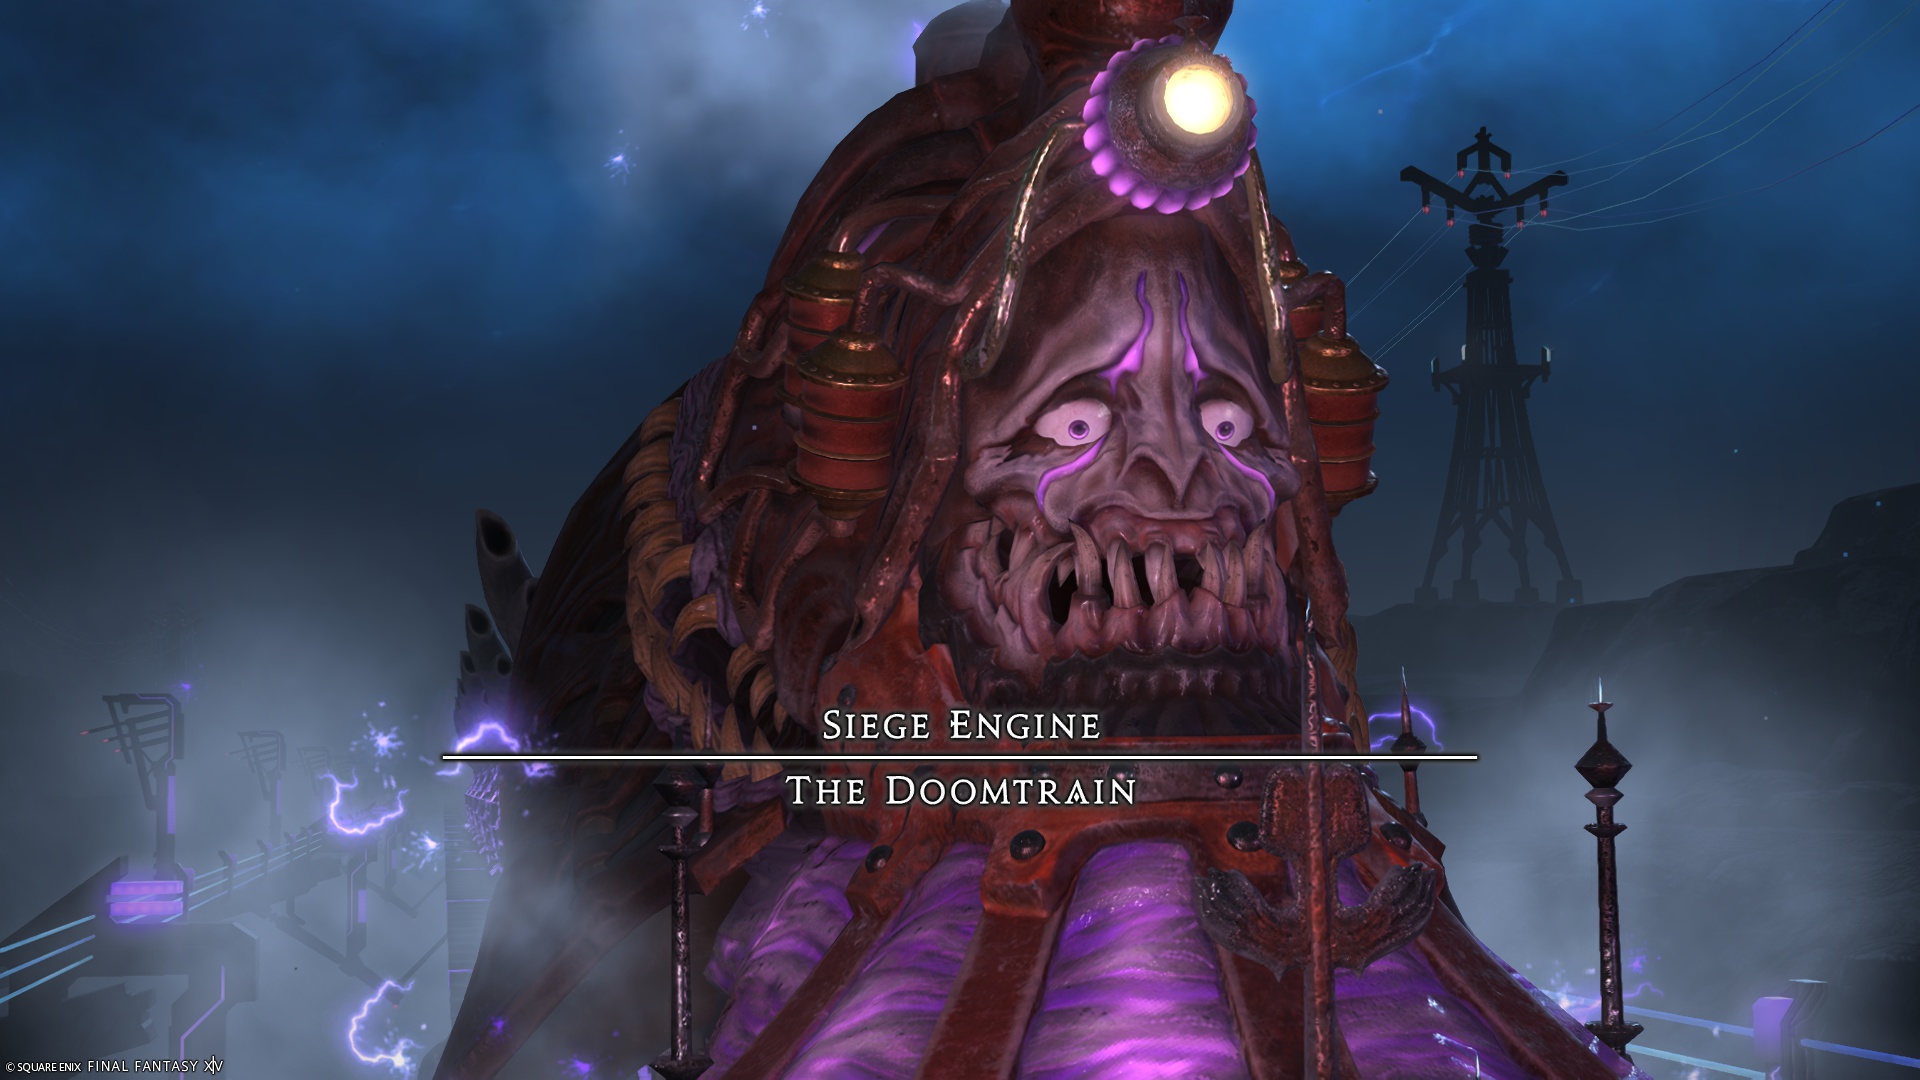
Hell on Rails Extreme Guide: Doomtrain Mechanics and Strategy
Duty Information
Expansion: Dawntrail
Encounter: Hell on Rails (Extreme)
Players: 8 (Tank / Tank / Healer / Healer / DPS / DPS / DPS / DPS)
Duty Finder Type: Trial
Level: 100
Item Level: 760
Unlock Requirement: Where We Call Home
Encounter Overview
Hell on Rails (Extreme) is the level 100 Dawntrail trial against Doomtrain, turning the normal encounter into a tightly structured execution fight built around train car progression, role assignments, and repeated spread-versus-pair checks. This version adds significantly more coordination pressure through Dead Man’s Overdraught, turret combinations, elevation mechanics, and heavy mitigation sequences.
Compared to the normal version of Hell on Rails, this encounter is far less forgiving and heavily rewards pre-assigned positions. Most wipes come from resolving mechanics out of order, especially when players try to think about Express, Vacuum, Overdraught, and Overboost all at once instead of processing them step by step.


For a broader difficulty comparison across the game, see the FFXIV Trial Rankings.
Arena Overview
The fight progresses across six train cars, each with different terrain, obstacles, elevation changes, and teleporter usage. Some cars use boxes as line-of-sight blockers, while others rely on upper and lower platforms that must be swapped between quickly based on visual tells.
The most important mental model for this fight is that each car teaches or combines a specific mechanic family. Early cars establish Overdraught and Express or Vacuum patterns, middle cars test elevation and add-phase execution, and later cars stack multiple mechanic families into longer sequences that punish hesitation.
Mechanic Archive
Dead Man’s Overdraught
Doomtrain spawns either four or eight floating orbs, storing the delayed Plasma mechanic that resolves after another attack sequence. Four orbs means Plasma, which is resolved in pairs. Eight orbs means Hyperexplosive Plasma, which is resolved individually as a full spread.
As soon as the orbs appear, lock in whether the upcoming Overboost resolution is pair or spread. Do not wait until the end of the sequence to remember it. This mechanic is the foundation for multiple later combinations, so recognizing it early simplifies everything that follows.
Overboost
This is the practical resolution of Dead Man’s Overdraught. Depending on the stored orb count, players either spread to individual positions or split into assigned pairs.
Resolve every setup mechanic first, then execute Overboost last. In most sequences the correct order is turret or terrain mechanic, then Express or Vacuum, then Overboost. Trying to pre-spread too early usually causes deaths before the actual Plasma hit.
Dead Man’s Express
Doomtrain spawns Levin Signals, then performs a platform-wide knockback before the signals fire Plasma Beams down specific columns.
Read elevation first. A beam on the upper row does not threaten the lower row, and vice versa. Stand where the knockback will leave you in a safe column, or negate the knockback with immunity if your group prefers consistency over movement.
Dead Man’s Windpipe
Doomtrain draws players inward and then blasts the front rows with Dead Man’s Blastpipe.
Use obstacles whenever available instead of trusting raw movement. Vacuum is usually the better place to spend knockback or draw-in immunity because failing the pull tends to be harder to recover than failing Express.
Lightning Burst
A double tankbuster on both tanks.
Tanks should separate cleanly and mitigate early. This mechanic often arrives during busier sequencing, so tanks should move decisively instead of waiting for the hitbox to feel crowded.
Turret Crossing
Turrets appear at the sides of the platform and fire line AoEs across specific rows.
Resolve the turret attack first and use boxes as hard cover. Do not drift out too early to prepare for the next mechanic, because the turret beam always resolves before the following Express or Vacuum sequence.
Runaway Train
The add-phase transition raidwide that shifts the party into the circular intermission arena.
Treat this as a reset. Re-center mentally and be ready for a much cleaner DPS-and-survival check rather than trying to carry over train-car positioning habits.
Aetherial Ray
A large cleaving tankbuster from the Ghost Train during the add phase.
Tanks should face this cleanly away from the party and use mitigation even if the field looks uncluttered. The real danger here is clipping others while they are already dodging add cones.
Aetherosote
A point-blank AoE on non-tanks during the add phase.
Non-tanks should stay disciplined with spacing and not drift into each other while focusing the central target. This is one of those mechanics that looks harmless until two players overlap while moving greedily.
Aetherochar
A healer-targeted AoE that must be shared by multiple players during the add phase.
Collapse cleanly and then separate again. The sound cue matters here, but the bigger win is simply knowing ahead of time that two “chugs” means a shared hit instead of a personal explosion.
Shockwave
An uncasted raidwide indicated by the boss spawning arms.
Heal quickly but do not overreact. This usually serves as a bridge into the next positional sequence, so recovery should be efficient rather than stationary.
Third Rail
Delayed puddles appear under player positions after Doomtrain snaps its fingers.
Drop them with intention, then move immediately into the newly opened space. Avoid placing them near teleporters or required future safe lanes, especially in the later cars where room is already constrained.
Headlight
A full hit on the upper platform, indicated by an orange glow at Doomtrain’s forehead.
Orange means lower safe. Commit early and use the teleporter before the last second. This is a recognition mechanic, not a sprint mechanic.
Thunderous Breath
A full hit on the lower platform, indicated by a blue glow at Doomtrain’s mouth.
Blue means upper safe. If two elevation hits happen in sequence, remember the first color and already be thinking about the second swap. Most deaths here come from solving the first hit and forgetting the follow-up.
Arcane Revelation
A massive diamond-pattern AoE sequence that explodes multiple times while Hyperconductive Plasma targets one healer and one tank.
Track the moving safe spot, not the current explosion. This mechanic is much easier when players think one step ahead and pre-position for where the next safe point will stop rather than reacting to where the circle is right now.
Psychokinesis
A spread-heavy sequence involving Flash Thunder baiting, personal circle AoEs, tank pressure, and a later tower plus repeated splitting.
Spread wide at the edges first, then use the space created by earlier placements to collapse safely into the middle or toward the back route. This sequence punishes players who do not think about the escape path to the warp until it is too late.
Magic Circle Deployment
A repeated mitigation-heavy sequence where the party resolves circle damage and tank or party splitting while handling upper/lower swaps.
This is primarily a mitigation and assignment mechanic. Position early, trust the plan, and rotate defensive responsibility cleanly. A stable mitigation order is stronger than trying to improvise healing through all three hits.
Derailment Siege
A multi-hit party stack that escalates in number of hits as the fight progresses.
Stack tightly and mitigate across the full sequence, not just the opening hit. The later versions are much more dangerous, so treat every cast as a serious healing checkpoint.
Derail
Doomtrain destroys the current platform. Early casts require taking the rear teleporter to safety, while the final cast serves as enrage.
Know your route before the stack even resolves. Players die here not because the teleporter is hidden, but because they wait to choose a path until the floor is already disappearing.
Encounter Flow
Cars 1 and 2
The fight opens by teaching the core relationship between Dead Man’s Overdraught and Dead Man’s Express or Dead Man’s Windpipe. Car 1 is essentially your first test of remembering whether the stored Plasma is pair or spread while surviving the movement mechanic that comes before it. Car 2 builds on that by adding Turret Crossing, forcing the party to respect line-of-sight cover before thinking about the Express or Vacuum follow-up.
This early section is where the fight’s central habit should be built: resolve mechanics in order. Turret first, then Express or Vacuum, then Overboost. If your group keeps trying to jump ahead to pair spots or spread positions too early, this is where consistency breaks.
Car 3 and Add Phase
The next section shifts away from train-lane logic and into the add phase through Runaway Train. Here the encounter briefly becomes a cleaner raid test built around Aetherial Ray, Aetherosote, and Aetherochar. Tanks need to control directional cleaves properly while the rest of the party avoids overlapping personal or shared damage.
This is less mechanically confusing than the train cars, but it still punishes sloppy spacing. Once the add dies and the party returns, the encounter begins leaning harder into uncasted tells and mitigation checks.
Cars 4 and 5
These cars introduce the fight’s elevation and pattern-heavy core. Headlight and Thunderous Breath demand fast upper-versus-lower reads, while Arcane Revelation and Psychokinesis test whether the party can maintain spacing and still route toward future safe zones. The field starts feeling smaller here because mistakes in puddle placement, teleporter timing, or mitigation sequencing all compound into each other.
Magic Circle Deployment becomes the major stabilization check in this stretch. This is where assignment discipline matters most. If the party reaches these cars with a clear plan for groups, mitigation order, and teleporter movement, the fight becomes much more manageable.
Car 6
The final car is the real synthesis phase. The encounter combines Dead Man’s Overdraught, Turret Crossing, Headlight or Thunderous Breath, Psychokinesis, Dead Man’s Express or Dead Man’s Windpipe, Arcane Revelation, Third Rail, and repeated tank pressure into one long closing sequence. The danger here is not any single mechanic, but the mental fatigue of solving each one late.
The cleanest clears happen when the party treats this as a repeat of known patterns instead of a new puzzle. Keep solving in order, trust the established assignments, and preserve calm for the final Derailment Siege into Derail. If the boss is still alive when the last Derail resolves, the fight ends there.