Storm’s Crown Trial Guide: Barbariccia Mechanics
Duty Information
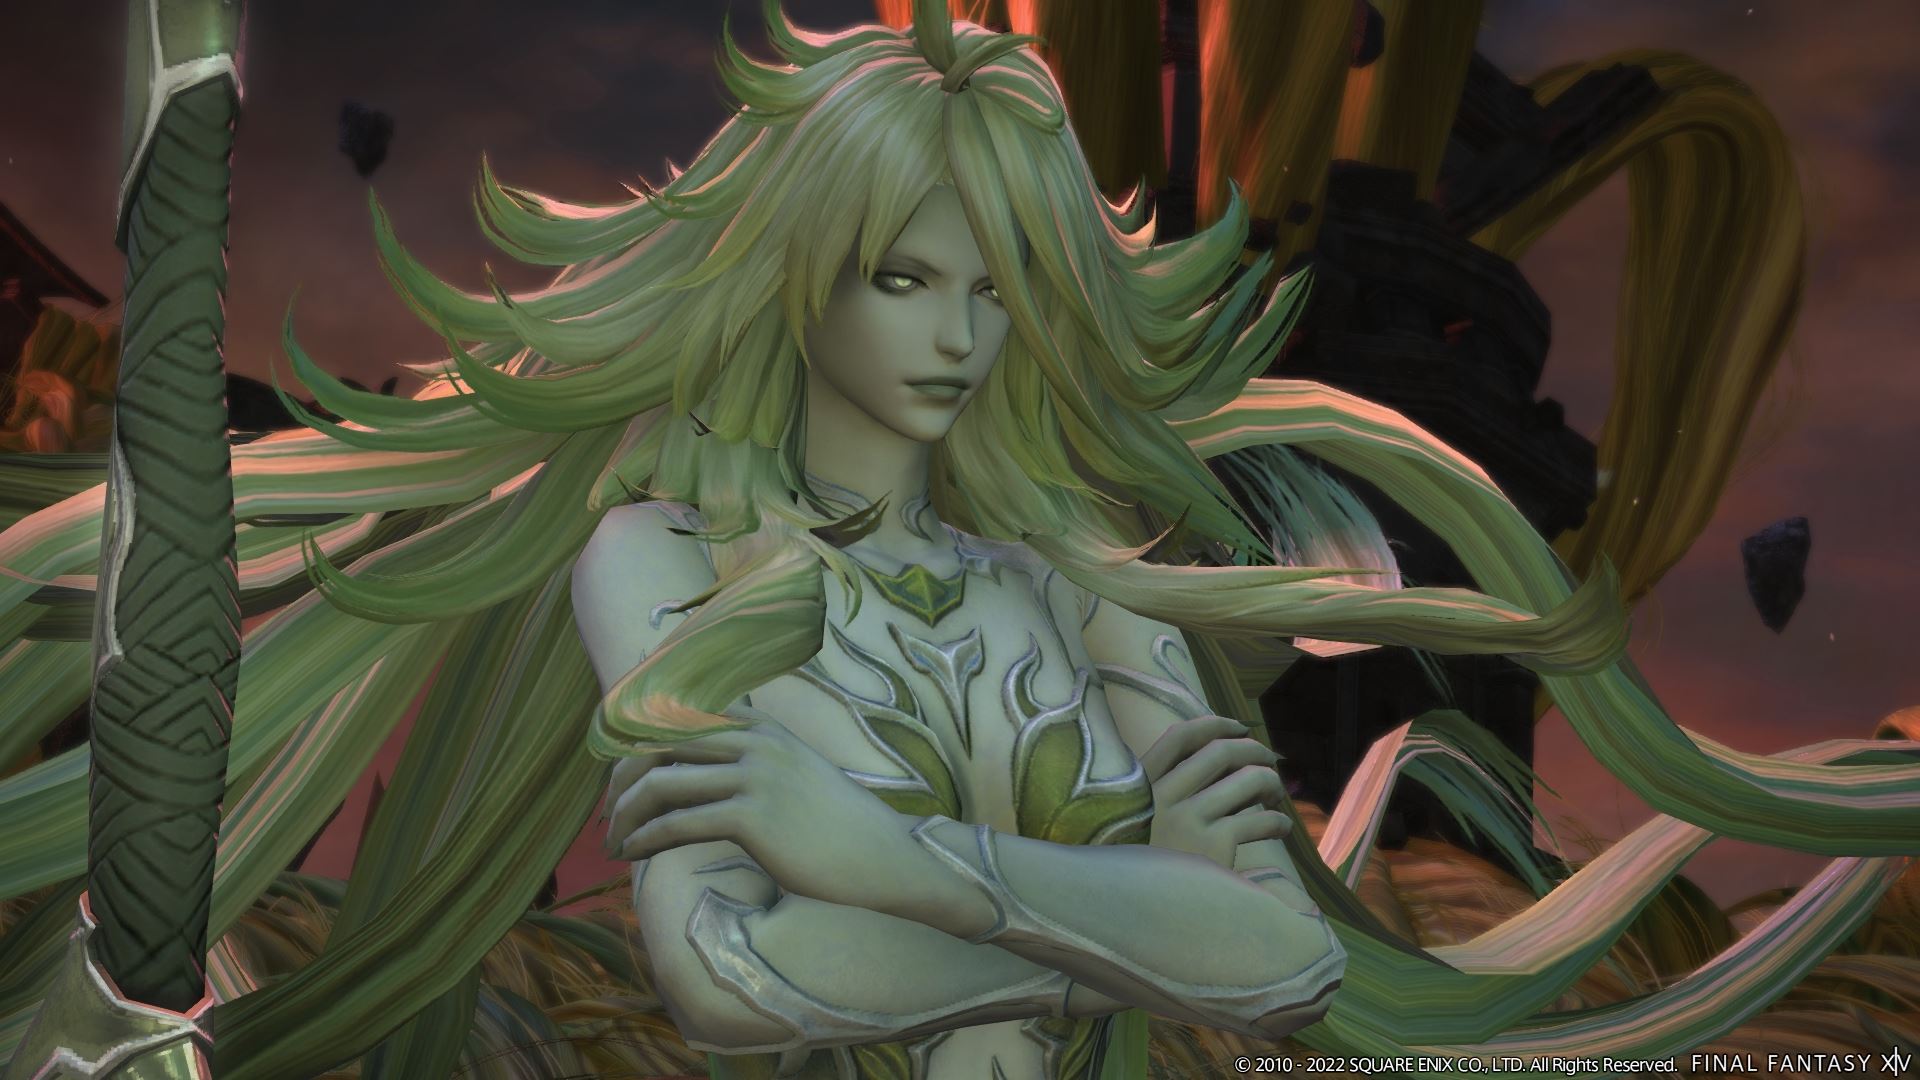
Expansion: Endwalker
Encounter: Storm's Crown
Players: 8 (Tank / Tank / Healer / Healer / DPS / DPS / DPS / DPS)
Duty Finder Type: Trial
Level: 90
Unlock Requirement: The Wind Rises


Encounter Overview
Storm’s Crown is the Endwalker trial encounter against Barbariccia, the Empress of the Winds. This fight is fast, movement-heavy, and far more demanding than its early presentation suggests. While the opening phase teaches the core patterns in a readable way, the second half turns the encounter into a rapid execution test built around knockbacks, lane pressure, tether management, clone charges, and overlapping AoEs.
The encounter rewards calm positioning and quick recognition. Barbariccia repeatedly asks the party to identify whether the danger is under her, away from her, behind her sword, or along incoming clone lines, then resolve that movement while handling spreads, stacks, tankbusters, or restricted mobility. Once the wind border appears in phase two, mistakes become much more punishing because drifting into the edge adds heavy damage and a dangerous Windburn debuff.
Looking for where this fight lands compared to the rest of the expansion? Check the FFXIV Trial Rankings for broader progression and difficulty context.
Arena Overview
The first phase takes place on an open circular platform with relatively generous movement space. During phase two, that freedom disappears as a wind barrier surrounds the arena. Contact with the outer edge deals damage and applies Windburn, which makes every knockback, tether, and movement-restricted mechanic significantly more threatening.
The arena functions less like a puzzle board and more like a pressure chamber. Safe zones shift quickly between center, mid, and edge positions, while clone charges and moving AoEs cut across the platform. Players should think of the arena in lanes during clone sequences and in rings during donut, point-blank, and Tornado Chain patterns.
Mechanic Archive
Void Aero IV
Barbariccia’s standard raidwide attack. This sets the rhythm for healing checks throughout the encounter, especially before or after movement-heavy sequences. Shielding before repeated raid damage windows helps stabilize the party for the mechanics that follow.
Savage Barbery
This attack defines Barbariccia’s opening pattern recognition. If the red blades arc overhead, she prepares a long line AoE through the platform. If the blades circle around her, she uses a donut AoE instead. Read the sword shape first, resolve the immediate safe zone, then track where the sword will be thrown because the follow-up always matters.
Hair Raid
After throwing her sword, Barbariccia tethers to it, leaps in, and cleaves a large cone toward the arena. The safe zone is behind the sword, not simply away from the boss. This is a good example of the encounter punishing lazy movement: players who only dodge the first part of Savage Barbery without pre-positioning for Hair Raid often get clipped.
Void Aero III
A split tankbuster that should be handled cleanly by both tanks with mitigation. Tanks need to stand together for the shared hit, while everyone else stays clear of the impact area. Party members drifting too close can die outright, so this is a positioning check for the whole raid, not just the tanks.
Teasing Tangles
Large AoEs appear on the ground, then each player becomes tethered to a hair lock inside one of those zones and gains Tangled. Movement becomes restricted, and trying to leave the assigned space causes a snap-back plus damage. The correct mindset here is controlled micro-movement. Do not panic or overrun the tether limit. Stay inside your allowed area and solve the next mechanic with minimal steps.
Secret Breeze
Two waves of overlapping conal AoEs fire in sequence while players remain tethered by Teasing Tangles. The safe play is to stand between the first cones, then slide into the space they just vacated for the second wave. Because movement is slowed, pre-positioning matters more than reaction speed. Start near a lane you can comfortably shift through rather than waiting until the last second.
Hair Spray
Spread markers appear on a tank, a healer, and two DPS. This usually punishes stacked positioning after another mechanic. Players should fan out quickly without cutting off lanes needed for other mechanics. Tanks should be especially careful not to overlap the group if this lands near a tankbuster or movement sequence.
Deadly Twist
A stack marker on a random player. Collapse promptly and leave cleanly once it resolves, because Barbariccia often pairs this with another positional demand. Greedy lingering after the stack is a common way to lose people to the next mechanic.
Void Aero
Barbariccia marks each player’s previous position with a wide AoE. Keep moving once the markers appear and avoid doubling back into where you started. This mechanic is simple on paper but dangerous when layered with spreads, clone lines, or tether restrictions.
Curling Iron
This transition attack applies an unavoidable knockback and stuns the party with Down for the Count, leading into phase two. Knockback immunity does not help here, so the focus is simply making sure the group is stable before the transition and ready for heavy incoming damage on re-entry.
Catabasis
Barbariccia re-enters in transformed form and slams the arena for heavy raidwide damage. Healers should treat this as the real start of phase two and prepare recovery immediately, because the next sequence begins quickly and leaves little room for delayed healing.
Blow Away
Clones fire straight-line attacks based on the direction they face, followed by additional ground pressure and random AoEs. This is a lane-reading mechanic first and a dodge mechanic second. Identify safe lanes early, move decisively, and avoid wasting movement, because follow-up random AoEs can punish people who are already out of position.
Brutal Rush
Clone charges cut across the arena from edge to edge, usually in fast succession. Treat these like temporary walls that reshape the platform. Stand in the safe lane between charges and be ready to shift once, not repeatedly. Overmoving here tends to walk players into the second pass.
Boulder
A large targeted AoE dropped at a player’s location. The marked player should place it cleanly away from the stack point and from future movement lanes. This is especially important in phase two where space is already compressed by the wind border and other active mechanics.
Boulder Break
A heavy tankbuster on both tanks in large AoEs. Tanks must separate from the group and use mitigation. Non-tanks should respect the range immediately. This mechanic often arrives during hectic moments, so tanks should move early instead of trying to squeeze extra uptime.
Knuckle Drum
A multi-hit raidwide sequence with escalating damage. This is one of the main healing stress points of the encounter. Mitigation should be layered rather than dumped all at once, and healers should plan ahead if another mechanic follows immediately after.
Bold Boulder
A targeted heavy hit on a tank followed by lighter party damage from falling rubble. The tank should mitigate the direct impact, while healers prepare to stabilize the party afterward. This is less mechanically complex than Boulder Break, but it adds pressure when combined with movement checks.
Trample
A stack marker followed by Barbariccia jumping onto the target. Resolve it tightly and then reposition quickly. Like Deadly Twist, the real danger is often the mechanic that comes immediately after it.
Tornado Chain
A two-part ground pattern with a large central AoE followed by a donut around it. Start near the outside safe area, then rotate inward after the first detonation. In tethered sequences, hug the inner edge of your allowed space so you can cross into safety with the shortest possible movement.
Tousle
Slow-moving AoEs drift outward from the center. Contact launches players upward and can easily cause a wipe when combined with the phase-two wind border or stacked Vulnerability Up. The best approach is patience and route discipline. Pick a path and move through it cleanly rather than weaving erratically.
Touchdown
A large knockback marker appears before Barbariccia leaps in. During the Teasing Tangles version of this sequence, players must stand near the edge of their tether zone without actually crossing it so the knockback does not throw them into the arena border. This is one of the fight’s defining execution checks and heavily punishes poor spatial awareness.
Impact
A lighter central knockback paired with arena control mechanics. It rarely kills on its own, but it becomes dangerous when players forget the border, active AoEs, or the limits of their tether zone.
Dry Blows
A raidwide followed by randomly spawning AoEs around the arena. This is mostly a composure check late in sequences. Recover from the raid damage first, then keep your movement compact so you do not run into a random detonation.
Encounter Flow
Phase One
Barbariccia opens with Void Aero IV before immediately establishing the core rhythm of the encounter through Savage Barbery and Hair Raid. The first responsibility here is reading her weapon pattern correctly. Resolve whether the opening hit is a line or donut AoE, then move with intention toward the eventual safe spot behind the thrown sword. This section rewards players who solve both mechanics together instead of treating them as separate dodges.
After the first Hair Raid, both tanks take Void Aero III. Tanks should already be prepared with mitigation and should avoid dragging the cleave over the party. Once the opening sequence repeats with the alternate Savage Barbery pattern, Barbariccia starts layering in her control mechanics and the fight becomes more interesting.
Teasing Tangles introduces restricted movement, which is the first major test of discipline. Once tethered, each player must stay inside their assigned area while resolving Secret Breeze. The safest method is to pre-position in a lane that allows a short sidestep between wave one and wave two. The party then collapses for Deadly Twist, resets, and repeats earlier mechanics with slightly more pressure, including spread markers during later Hair Raid patterns.
At roughly seventy percent, Barbariccia uses Curling Iron to force the transition. The knockback is guaranteed, so the goal is simply entering phase two healthy and organized.
Phase Two
Phase two begins with Catabasis, a heavy raidwide that sets the tone for the rest of the fight. From here onward, the arena gains its wind border, and mistakes become far more expensive. The early sequences revolve around clone line pressure, curved safe zones, and fast repositioning. Players should think in lanes, identify the safe channel early, and move only as much as the pattern requires.
One of the central combinations in this phase is the pairing of stack mechanics with ground markers such as Boulder or tank pressure like Boulder Break. These moments punish indecision. Stack quickly, then separate immediately. Tanks should move early to create safe room for the party, especially when clone charges or lingering AoEs are still resolving.
Knuckle Drum repeatedly tests healing throughput between movement sets, while Tousle, Tornado Chain, and Blow Away squeeze the arena from multiple angles. Players who survive this phase consistently are usually the ones who stop trying to react to every effect individually and instead recognize the broader pattern: safe lane first, group obligation second, personal marker last.
The most memorable execution check comes when Teasing Tangles returns alongside Touchdown. Because movement is restricted, players must deliberately stand near the edge of their tethered area so the knockback lands them safely without carrying them into the wind wall. Later repeats add Tousle and Tornado Chain while the party is still constrained, turning simple movement into a genuine control test. Once the group handles these layered sequences cleanly, the remaining repetitions become a matter of consistency rather than discovery.
[tavern_related_encounters]