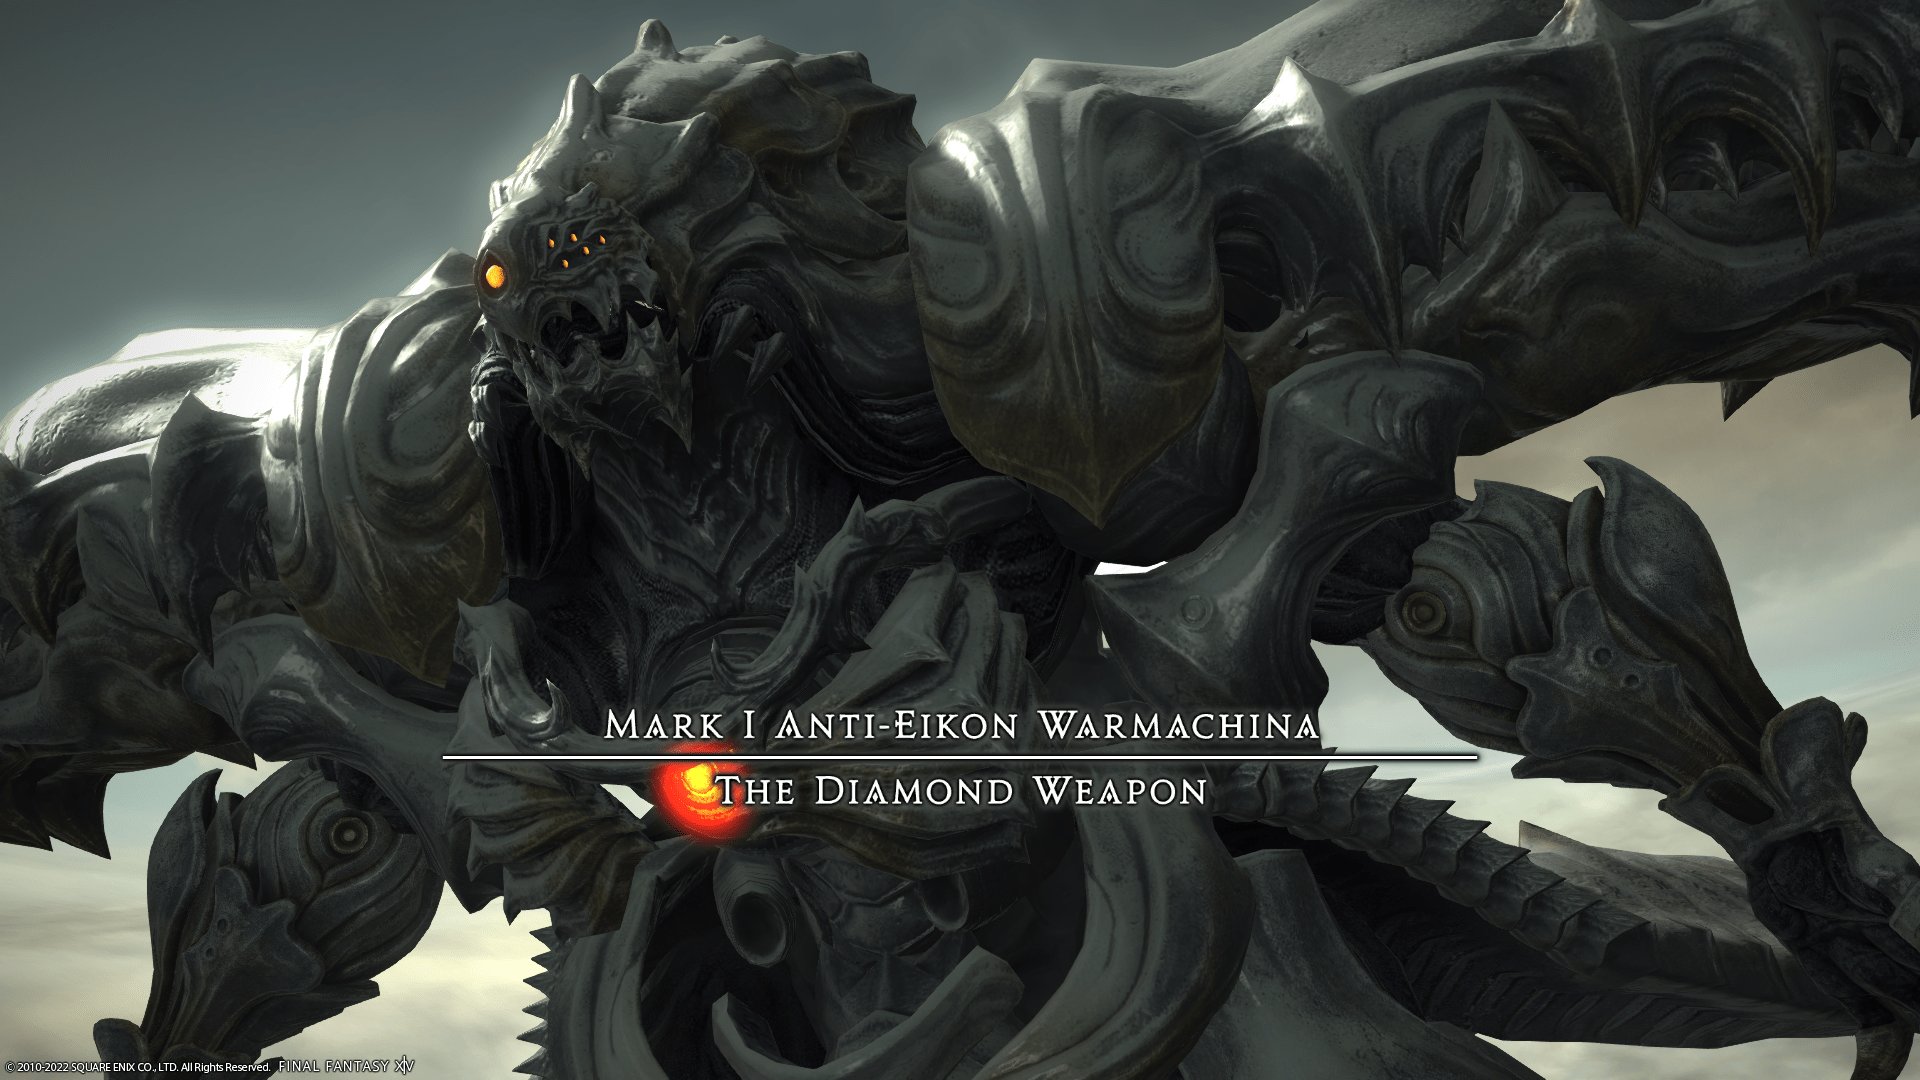
The Cloud Deck (Extreme) Guide – Diamond Weapon Mechanics & Strategy
Duty Information
Expansion: Shadowbringers
Encounter: The Cloud Deck (Extreme)
Players: 8 (Tank / Tank / Healer / Healer / DPS / DPS / DPS / DPS)
Duty Finder Type: Trial
Level: 80
Item Level: 510
Unlock Requirement: Weapon of Choice


Encounter Overview
The Cloud Deck (Extreme) is a high-mobility, platform-based encounter that revolves around split-party coordination, teleport timing, and layered mechanic resolution across two arenas. Players must constantly evaluate positioning, platform safety, and debuff windows to survive overlapping mechanics.
The fight emphasizes structured movement and role discipline, with mechanics frequently forcing players to divide into light parties and execute mirrored responsibilities across platforms. :contentReference[oaicite:0]{index=0}
For difficulty comparisons, see the FFXIV Trial Rankings.
Arena Overview
The encounter takes place across two floating platforms connected by teleport pads. Falling from either platform results in death, making knockback control and positioning critical throughout the fight.
Teleporters allow players to swap platforms but apply a temporary lockout debuff, preventing immediate reuse. Proper rotation between groups is required to handle raidwide damage and platform-targeted mechanics.
Mechanic Archive
Diamond Rain
Raidwide damage based on number of players on a platform.
Micro-strategy:
- Split into two light parties
- Rotate platforms between casts
- Never stack full party on one side
Adamant Purge
Platform cleave + follow-up (stack or spread).
Execution:
- Move to safe platform immediately
- Read boss glow:
- Chest → stack
- Shoulders → spread
Photon Burst
Tank flare markers.
Execution:
- Tanks go corners
- Party moves opposite side
- Mitigate + heal immediately after
Articulated Bits
Tether + knockback mechanic.
Micro-strategy:
- Stretch tether (turn purple)
- Use knockback to reposition between platforms
- Stand at edge for controlled landing
Airship’s Bane
Destroys a platform.
Execution: Immediate platform swap—no hesitation.
Outrage
Heavy raidwide damage.
Execution: Mitigate + top before next mechanic.
Auri Arts
Zig-zag and directional charge attacks.
Micro-strategy:
- Use platform triangles as safe anchors
- Identify boss facing early
- Commit to position—don’t over-adjust
Auri Doomstead
Tankbuster with debuff.
Execution: Tank swap every cast.
Vertical Cleave
Knockback slam.
Execution:
- Stand near impact point to minimize knockback
- Or use knockback immunity
Diamond Shrapnel
Chasing AoE markers.
Execution:
- Bait away from group
- Teleport after placement
Adamant Sphere
Meteor soak mechanic.
Execution:
- One player per circle
- Maintain spacing from lasers
Phase 3 Mechanics
Flood Ray
Sequential conal attacks on players.
Micro-strategy:
- Split by marker (even vs odd)
- Bait cones to corners
- Rotate positions after each hit
Bits + Adamant Purge
Combined laser + platform mechanic.
Execution:
- Wait for lasers → then teleport
- Resolve stack/spread safely after
Bits + Diamond Shrapnel
Chasing AoEs + lasers.
Execution:
- Bait markers on unsafe side
- Teleport to safe platform after drop
Encounter Flow
Phase 1 – Platform Discipline
The encounter opens with strict light party splitting and platform rotation.
Core loop:
- Diamond Rain → platform swap
- Adamant Purge → safe platform + resolve stack/spread
- Tank mechanics → isolate damage
Key skill: Managing teleport timing without overlapping debuffs.
Phase 2 – Movement Complexity
The boss sheds armor and introduces layered movement mechanics.
Players must now handle:
- Knockback repositioning (Bits)
- Platform destruction
- Directional movement patterns
Failure point: Misreading safe zones or mistiming knockbacks.
Phase 3 – Precision Execution
The final phase combines all prior mechanics with stricter positioning requirements.
Flood Ray introduces sequencing discipline, forcing players to rotate positions cleanly.
Combined mechanics now require:
- Correct platform swaps
- Clean baiting of AoEs
- Accurate spacing under pressure
Key success factor:
Commitment to assigned positions. Most wipes occur from hesitation or overlap.
The encounter ends with a Flood Ray enrage if DPS is insufficient.
[tavern_related_encounters]