Seat of Sacrifice (Extreme) Guide – Warrior of Light Mechanics & LB Strategy
Duty Information
Expansion: Shadowbringers
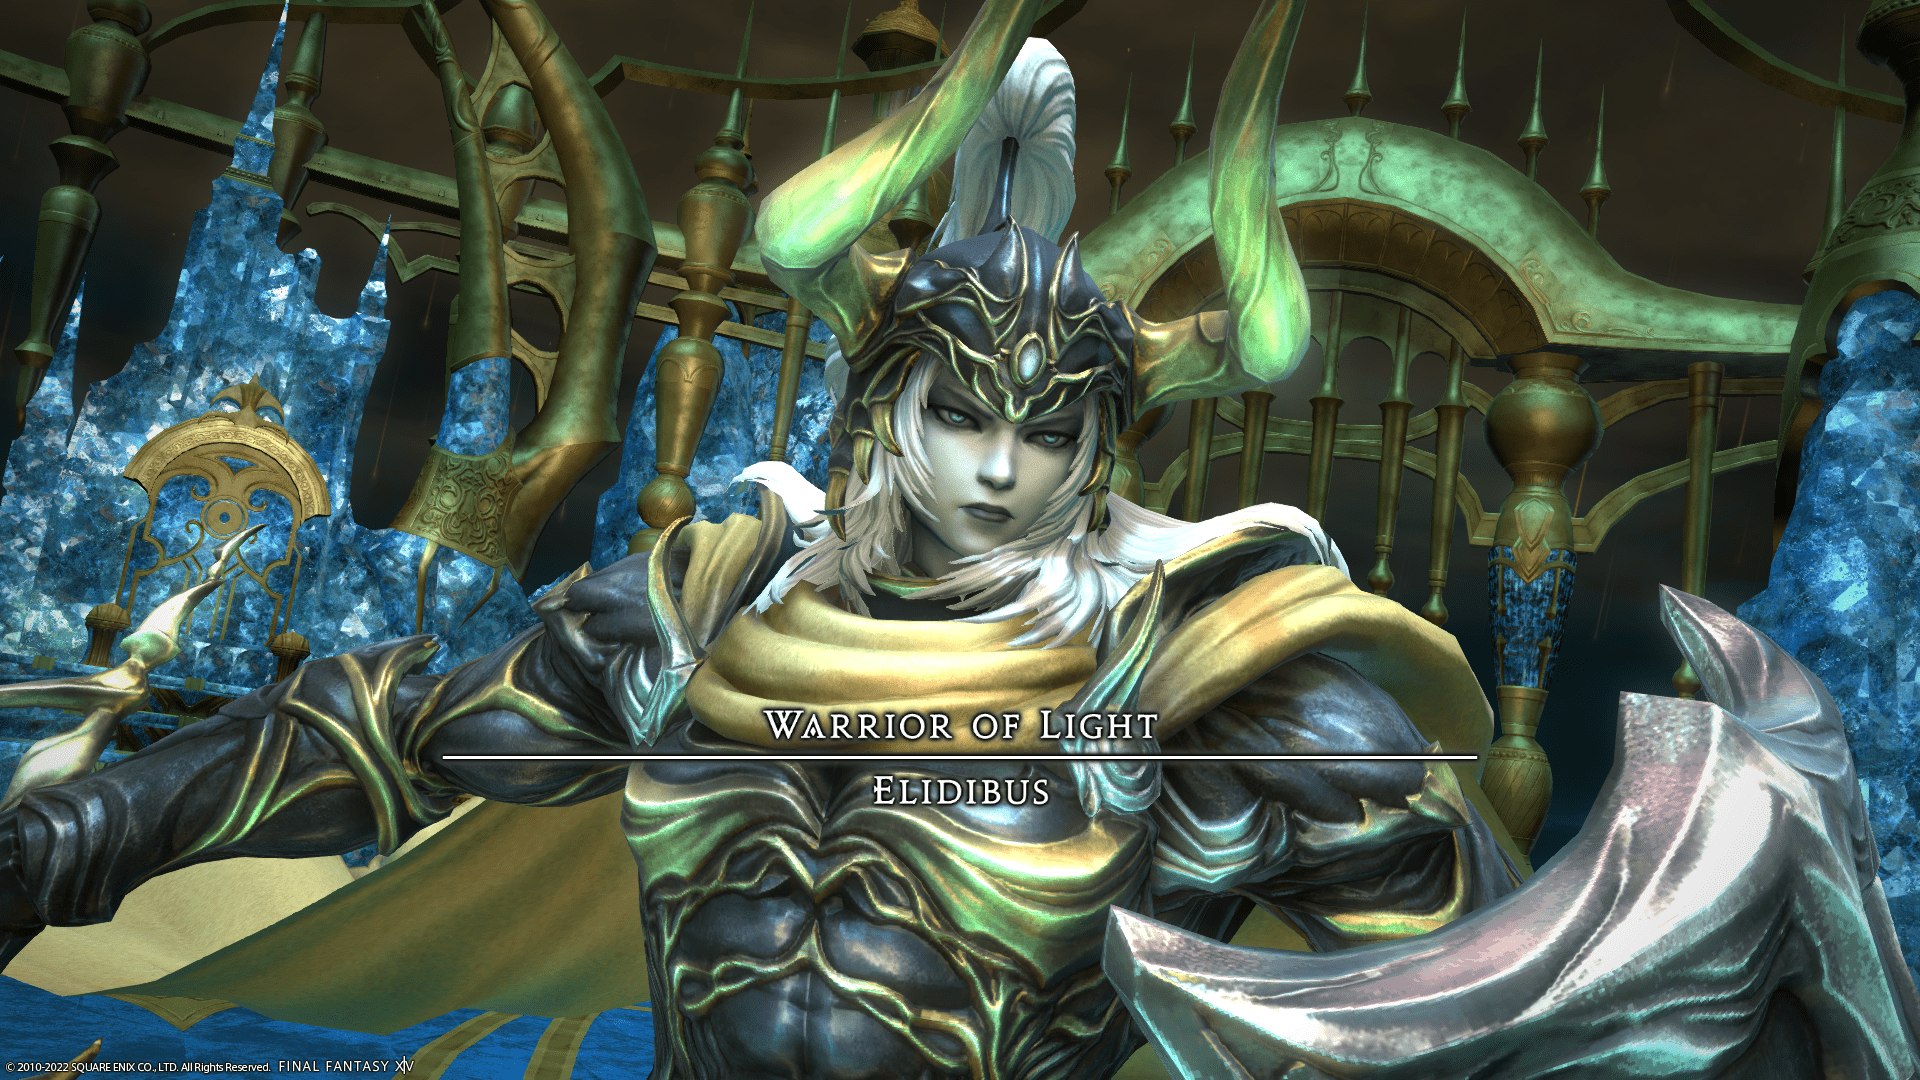
Encounter: The Seat of Sacrifice (Extreme)
Players: 8 (Tank / Tank / Healer / Healer / DPS / DPS / DPS / DPS)
Duty Finder Type: Trial
Level: 80
Item Level: 480
Unlock Requirement: Minstrel from Another Mother


Encounter Overview
The Seat of Sacrifice (Extreme) is a high-execution trial centered around structured positioning, partner-based mechanics, and layered Limit Break phases. The fight demands consistency and awareness, with many mechanics chaining together in rapid succession.
The encounter revolves around Elidibus using varying Limit Break levels, forcing the raid to adapt positioning and execution based on incoming patterns. Clean role assignments and partner systems are essential to avoid overlap damage and survive repeated mechanic combinations.
For difficulty comparisons, see the FFXIV Trial Rankings.
Arena Overview
The arena is circular with shrinking boundaries early in the fight. Space management becomes increasingly important as mechanics stack, especially during Limit Break phases and add sequences.
Most mechanics rely on clock positioning and partner assignments, making pre-fight organization critical for consistency.
Mechanic Archive
Terror Unleashed
HP reduction to 1 + healing check.
Execution: Immediate group healing required. Any delay results in deaths.
To The Limit
Boss charges LB (1–3 levels).
Execution: Identify level early—each LB tier requires different positioning.
Solemn Confiteor → Absolute Stone III
Stack bait → spread cleaves.
Micro-strategy:
- Stack under boss to bait circles
- Move immediately to clock spots
- Pre-position before cleaves resolve
Limit Break 3 (Meteor Spread)
Meteor drops on role groups.
Execution: Partner pairs move to assigned corners to avoid overlap.
Limit Break 2 (Line Stack)
Healer-targeted line stacks.
Execution: Split into two groups (4/4), each soaking one healer.
Limit Break 1 (Role Spread)
Targets random roles.
Execution:
- Tanks north
- DPS south
- Healers east/west
Imbued Saber
Element-based movement check.
Micro-strategy:
- Stone = spread
- Holy = stack
- Fire = stop moving
- Blizzard = keep moving
Imbued Coruscance
Sword AoE + element combo.
Execution: Read sword type first (in/out), then resolve element mechanic.
Sword of Light
Triangle AoE pattern.
Execution: Identify missing edge → move immediately.
The Bitter End
Tankbuster.
Execution: Tank swap + mitigation.
Summon Wyrm
Bahamut positioning + gaze.
Micro-strategy:
- Move opposite Bahamut
- Gaze player steps slightly out
- Keep uptime safely
Add Phase Mechanics
Spectral Adds
Multiple role-based mechanics overlap.
Execution system:
- Tanks split DRK/WAR adds
- DPS spread for flares
- Pairs handle healer stacks
- Meteor towers soaked in assigned rotations
Bahamut Tethers
Directional breath attacks.
Execution: Assign players to corners → aim tethers outward.
Ultimate Crossover
Massive raidwide.
Execution: Tank LB3 mandatory.
Quintuplecast
Memory-based mechanic chain.
Execution: Memorize sequence → pre-move, don’t react late.
Specter Combos
Randomized mini-phases.
Execution: Recognize combo quickly → default to assigned positions.
Encounter Flow
Phase 1 – System Setup
The fight begins by establishing positioning discipline through clock spots and partner assignments.
Solemn Confiteor → Absolute Stone III teaches the core loop:
- Bait together
- Spread cleanly
Limit Break mechanics begin layering:
- LB3 → spread pairs
- LB2 → split groups
- LB1 → role positioning
At the same time, Imbued Saber introduces movement-based decision making under pressure.
Add Phase – Coordination Check
This phase tests full group coordination under heavy overlap.
Key execution points:
- Tanks control positioning
- DPS manage flare spacing
- Healers coordinate stacks
- Everyone handles towers and tethers simultaneously
The phase ends with Ultimate Crossover, requiring a Tank LB3 and clean mitigation.
Phase 3 – Adaptive Execution
The final phase introduces randomized specter combinations with increased speed and overlap.
Core loop:
- Imbued mechanic setup
- Specter mini-phase
- Resolve stored mechanics
New pressure comes from:
- Quintuplecast memory checks
- Faster Sword of Light patterns
- Overlapping stack/spread mechanics
Key success factor:
Trust your assigned positions. Players who hesitate or improvise will cause overlaps and wipes.
The fight ends with a hard enrage via Ultimate Crossover if execution is not clean.
[tavern_related_encounters]