The Cloud Deck Guide (FFXIV) – Diamond Weapon Mechanics
Duty Information
Expansion: Shadowbringers
Encounter: The Cloud Deck
Players: 8 (Tank / Tank / Healer / Healer / DPS / DPS / DPS / DPS)
Duty Finder Type: Trial
Level: 80
Item Level: 495
Unlock Requirement: Duty in the Sky with Diamond


Encounter Overview
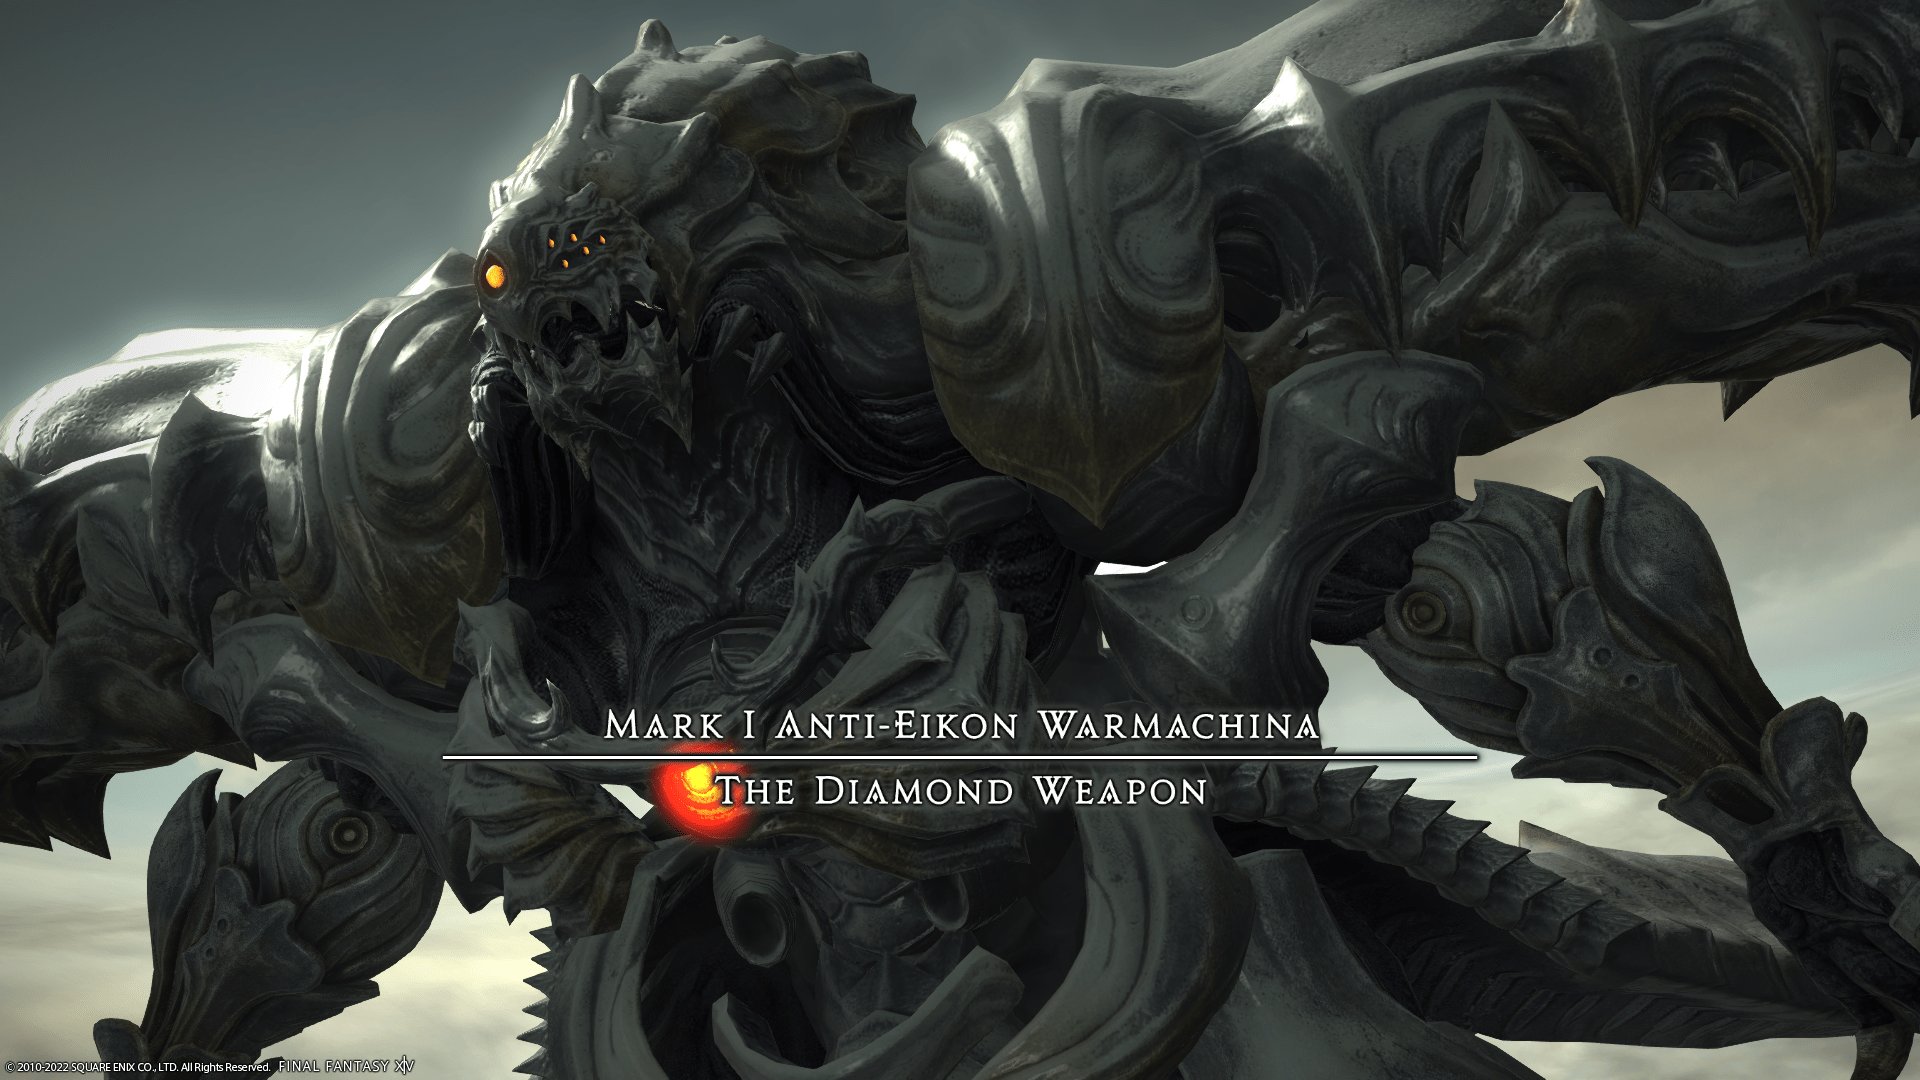
The Cloud Deck is a level 80 trial featuring the Mark I Anti-Eikon Warmachina, the Diamond Weapon. The encounter is built around split-platform movement, forced teleporter usage, ship-specific mechanics, and repeated knockback checks that punish poor positioning instantly.
Unlike most trials, The Cloud Deck asks the party to think in terms of platform control as much as boss mechanics. Players must constantly track which ship is safe, when to teleport, and how knockbacks interact with narrow ship geometry. The fight becomes significantly more demanding once Diamond Weapon regains access to earlier mechanics while both ships and teleporter pads are active again.
For broader encounter context, see the FFXIV Trial Rankings.
Arena Overview
The encounter uses two separate ships connected by four teleporter pads. In the opening and final phase, both ships are active and players may need to teleport between them to survive one-shot mechanics or spread out dangerous markers.
During the middle phase, one ship is temporarily destroyed and the entire party is forced onto the remaining platform. The biggest arena danger throughout the fight is not the edge itself, but knockback mechanics that can send players off the ship if they are even slightly out of position.
Mechanic Archive
Diamond Rain
An unavoidable raidwide AoE that sets the healing pace of the encounter. Healers should recover the party quickly because many following mechanics involve movement, splits, or forced teleports that make delayed healing awkward.
Adamant Purge
A one-shot attack telegraphed by one of Diamond Weapon’s hands glowing. The glowing side is unsafe, and players must teleport to the opposite side to avoid instant death. The most important habit here is reacting to the glow immediately rather than waiting for the cast to nearly finish.
Attack
Diamond Weapon’s basic tank auto pattern comes as line attacks. Tanks should avoid overlapping these lines on each other or through the party, since stacked damage makes later recovery harder than it needs to be.
Photon Burst
A proximity-based tank hit. Tanks should separate from the group before it resolves so the splash damage does not catch other players. This is less about raw mitigation and more about disciplined spacing.
Diamond Flash
A line stack marker aimed at a random player, telegraphed by a yellow glow in the boss’s chest. The party should line up cleanly to share it, ideally without drifting into tank lines or toward teleporter pads unnecessarily.
Code Chi-Xi-Sigma
This transition move sheds Diamond Weapon’s armor and begins the second phase. Players should use the downtime to reset positioning and identify which ship is about to become unsafe first.
Auri Cyclone
A large blue knockback circle placed on one ship immediately after the phase transition. Players on that ship must either stand right at the edge of the circle without entering it or use knockback immunity. The safest approach for most groups is to pre-commit to the edge of the marker rather than trying to react at the last second.
Airship’s Bane
Temporarily destroys one ship. Everyone must evacuate before it resolves, because remaining on the doomed ship results in guaranteed death. Treat this as an immediate relocation check, not something to delay for uptime.
Outrage
A heavy raidwide attack used during the one-ship phase. Healers should treat it seriously, especially because it often comes with limited room and immediate follow-up mechanics.
Auri Doomstead
A tankbuster used during the middle phase. Tanks should mitigate proactively since healer movement is often restricted on the narrow ship.
Auri Arts – Side Pattern
Blue spheres appear outside the ship, telegraphed by zig-zag indicators, followed by a cleave that covers one side of the platform. Players should identify the safe side early and move there cleanly. Getting clipped not only hurts but also applies Vulnerability Up, making later mistakes much more likely to kill.
Auri Arts – Center Pattern
The middle of the ship is targeted first, then followed by a circular AoE. The clean solution is to move to a side lane for the line portion and then remain aware of the circular follow-up instead of reflexively drifting back inward too soon.
Vertical Cleave
A side-originating attack that also applies knockback. Players should line up with the correct corner of the ship so the push sends them safely along the deck rather than into the void. This is one of the fight’s easiest mechanics to understand and one of the most common to fail because of lazy positioning.
Diamond Shrapnel
Targets two players and sends five rapid explosions after them. Marked players should immediately teleport or relocate away from the group and each other so the chase sequence does not carpet the party’s movement space. Do not kite through meteor soaks or shared safe zones.
Articulated Bits
Ten mechanical hands spawn, five facing each ship, and fire line attacks across the deck. Players should move to the opposite side of the ship they are standing on. This mechanic can overlap with Adamant Purge, so players must solve both the ship-side attack and the boss-side one-shot together.
Adamant Sphere
Four meteor circles appear, two on each ship, and each must be soaked by one player. The simplest execution is to assign pairs or light party-style splits beforehand so everyone knows which ship and which circle they own without hesitation.
Homing Lasers
All players receive spread circles. On the split ships, everyone should spread with intention rather than randomly, since poor spacing can trap teammates against knockback angles or teleporter pads.
Encounter Flow
Phase 1 – Dual Ships
The fight opens with both ships active and the teleporter pads available. The main learning goals here are reading Adamant Purge correctly, keeping tank line attacks separated, and stacking properly for Diamond Flash. The mechanics themselves are not complex, but they train the group to use the ship layout correctly and move decisively between sides.
The biggest wipe cause in the opener is hesitation on Adamant Purge. Players who wait too long to teleport often die instantly, and those who overstack around pads can create unnecessary damage overlap from Diamond Flash or tank-targeted mechanics.
Phase 2 – One-Ship Sequence
After Code Chi-Xi-Sigma, the fight condenses into a much narrower one-ship phase. Auri Cyclone teaches the party to respect knockback geometry, then Airship’s Bane removes one ship entirely and forces everyone onto the survivor.
From there, Diamond Weapon cycles Outrage, Auri Doomstead, Auri Arts, and Vertical Cleave. The core challenge here is that almost every major mechanic either threatens to knock players off or constrains them to very small safe areas. This section is less about fast reactions and more about exact placement.
Phase 3 – Dual Ships Return
After another Auri Arts sequence, Diamond Weapon regains its armor, the second ship returns, and the teleporter pads become active again. The fight now mixes Phase 1 mechanics with new split-ship assignments, making this the true execution phase.
Diamond Shrapnel forces two players to separate cleanly, Articulated Bits creates line attacks on both ships, Adamant Sphere demands four soakers across the arena split, and Homing Lasers punishes lazy spread positions. Players need to think one mechanic ahead here—especially when Adamant Purge and ship-side attacks overlap—because reactive movement alone is usually too slow.
The fight continues looping these established mechanics until Diamond Weapon is defeated. Clean ship assignments, quick teleporter discipline, and safe knockback positioning are what keep this encounter under control.
[tavern_related_encounters]