Holminster Switch Dungeon Guide – FFXIV Shadowbringers
Duty Information
Expansion: Shadowbringers
Encounter: Hominster Switch
Players: 4 Players (1 Tank, 1 Healer, 2 DPS)
Duty Finder Type: Dungeon
Level: 71
Unlock Requirement: The Lightwardens


Encounter Overview
Holminster Switch is a level 71 dungeon that marks a major jump in encounter complexity compared to previous expansions. Mechanics become faster, more layered, and less forgiving, requiring stronger positioning and awareness from all players.
Each boss emphasizes pattern recognition and movement precision, with overlapping AoEs and targeted mechanics that punish hesitation or poor positioning.
Looking for difficulty rankings? See the Shadowbringers Dungeon Rankings.
Arena Overview
- Forgiven Dissonance Arena: structured AoE puzzle with shrinking safe zones
- Tesleen Arena: open arena focused on player-targeted movement mechanics
- Philia Arena: large arena with layered attacks and rotating AoE sequences
The final encounter places heavy emphasis on movement sequencing and awareness under pressure.
Boss Mechanics
Dungeon Mechanics
Pattern Recognition — Many mechanics require reading sequences rather than reacting to a single AoE.
Targeted Movement — Players are frequently targeted individually and must position carefully to avoid clipping others.
Layered AoEs — Multiple mechanics overlap, requiring planned movement instead of panic reactions.
Forgiven Dissonance
The Path of Light — Raidwide damage.
Pillory — Tankbuster.
Brazen Bull — Orb adds create cross-shaped AoEs, leaving limited safe zones.
Thumbscrew — Line AoE toward the safe zone.
Wooden Horse — Large cone aimed toward the center.
Strategy: Identify the safe zone created by Brazen Bull first, then adjust positioning for Thumbscrew and Wooden Horse in sequence. Movement here is ordered—don’t rush. Stand in the safe space, sidestep the line AoE, then reposition for the cone. Clean execution makes this fight trivial; panic movement causes unnecessary damage.
Tesleen, the Forgiven
The Tickler — Tankbuster.
Scold’s Bridle — Raidwide damage.
Fevered Flagellation — Sequential charges based on markers above players.
Exorcise — Stack marker combined with spread AoEs that leave puddles.
Strategy: Position in a loose diamond around the boss to resolve Fevered Flagellation cleanly without clipping teammates. For Exorcise, stack together first, then immediately spread to avoid overlapping puddles. This fight rewards clean spacing—players who stay too close or too far out of position create avoidable damage.
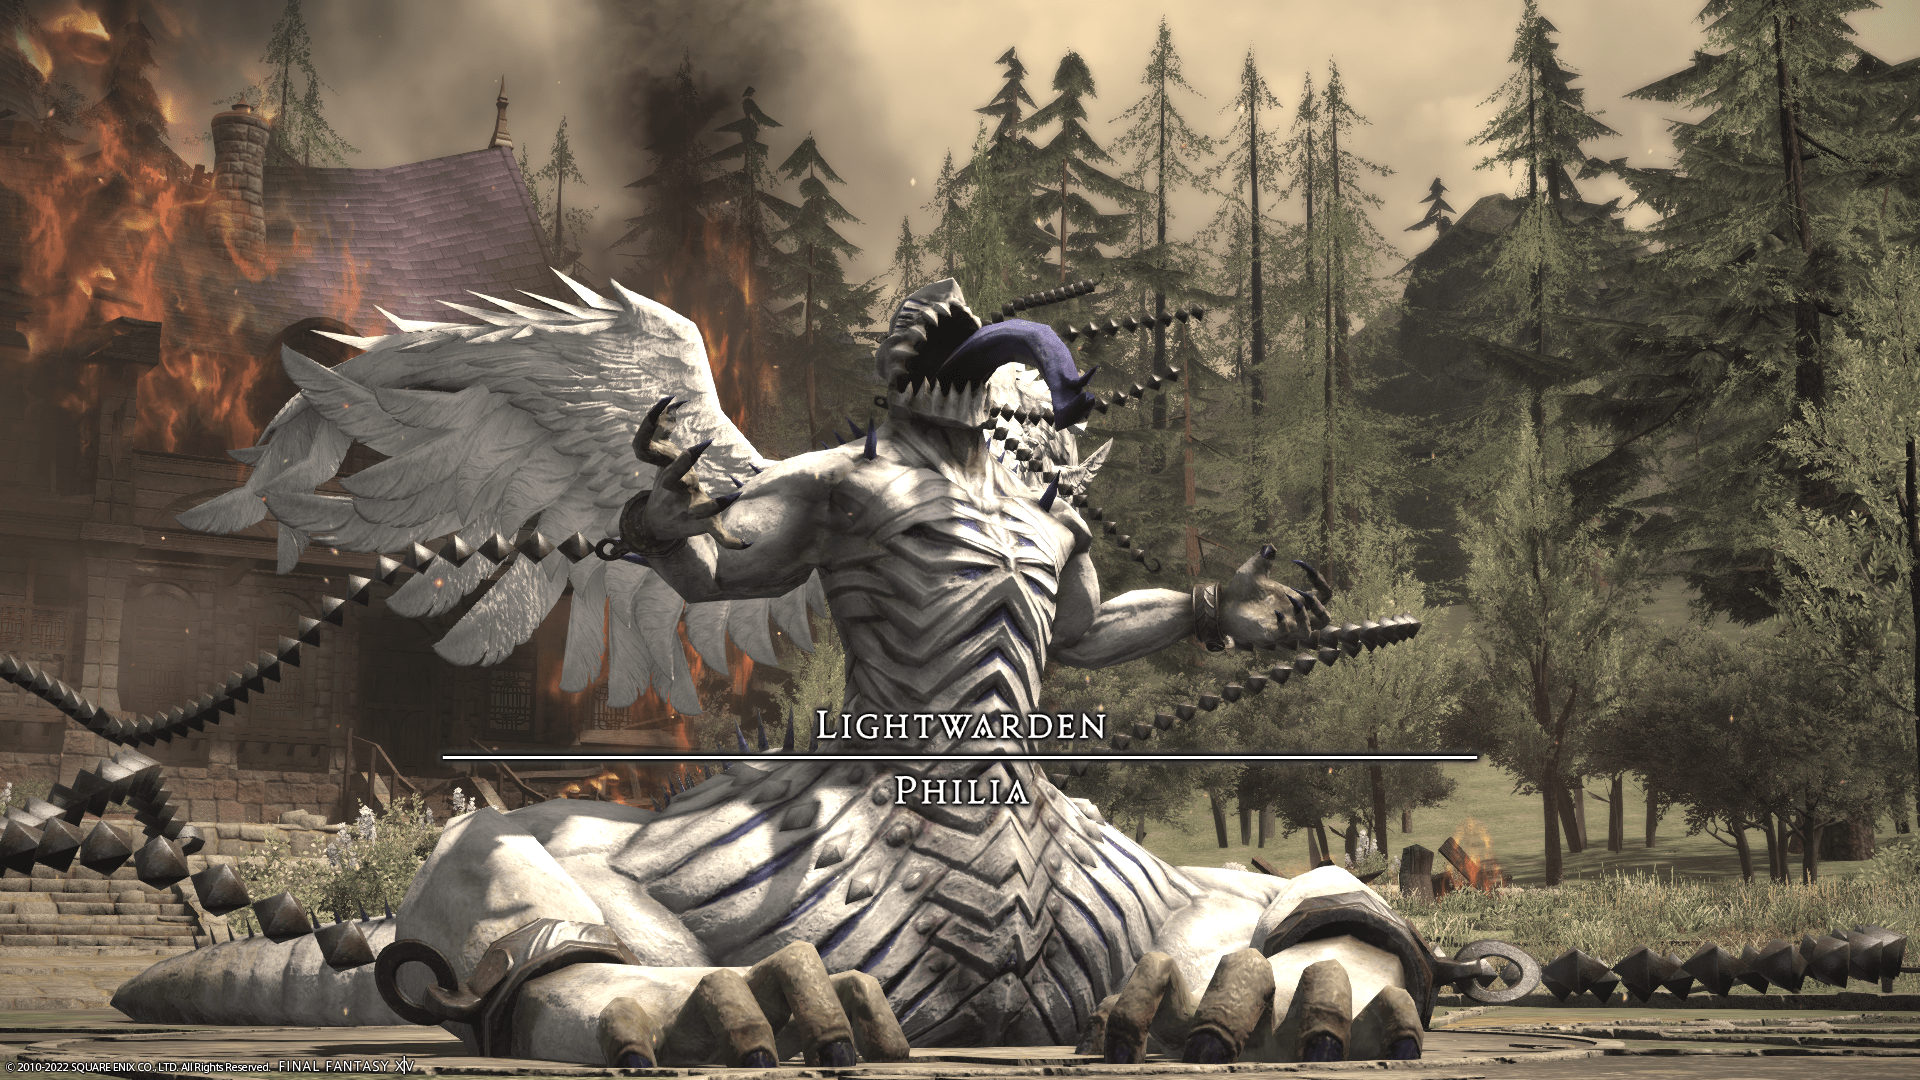
Lightwarden: Philia
Scavenger’s Daughter — Raidwide damage.
Headcrusher — Tankbuster.
Pendulum — Dual proximity markers (tank + center).
Chain Down — Traps a player; must destroy the chain.
Aethersup — Massive cone aimed at trapped player.
Left / Right Knout — Wide cleave based on boss arm.
Taphephobia — Player-targeted AoEs.
Into the Light — Line stack marker.
Fierce Beating — Rotating sequence of AoEs around the arena.
Strategy: Immediately free any chained player before Aethersup resolves—this is the highest priority mechanic. Watch Philia’s arms to determine safe sides for Left/Right Knout. During Fierce Beating, move with the rotation rather than against it, staying just ahead of incoming AoEs. Stack tightly for Into the Light, then spread quickly afterward. This fight is a full movement and awareness check.
Encounter Flow
Holminster Switch progresses through increasingly demanding mechanical layers.
Forgiven Dissonance introduces structured movement patterns, requiring players to resolve mechanics in sequence.
Tesleen builds on this by adding player-targeted mechanics that require controlled spacing and positioning.
Philia combines both concepts into a layered encounter with movement sequencing, add priority, and reactive positioning.
This dungeon marks the beginning of modern dungeon design in FFXIV, where clean execution and awareness matter more than raw throughput.
Previous: The Ghimlyt Dark | Next: Dohn Mheg