FFXIV Antitower Guide (Heavensward Dungeon) – Bosses & Mechanics
Duty Information
Expansion: Heavensward
Encounter: The Antitower
Players: 4 Players (1 Tank, 1 Healer, 2 DPS)
Duty Finder Type: Dungeon
Level: 60
Unlock Requirement: The Word of the Mother
Quick clear tip: Most wipes in The Antitower come from ignoring transformations and line-of-sight mechanics—this guide shows exactly how to handle both cleanly.


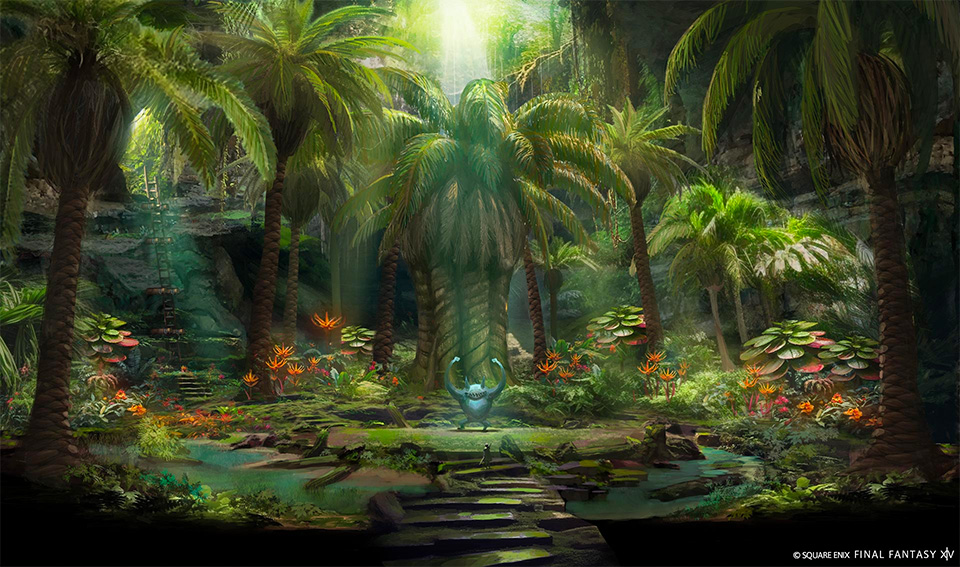
Encounter Overview
The Antitower is a level 60 Heavensward dungeon in FFXIV featuring transformation mechanics, line-of-sight puzzles, and unique boss encounters.
While the dungeon is visually whimsical, its bosses still punish inattentive groups with damage downs, confusion, and repeated party-wide pressure.
The overall difficulty is moderate, but the encounters ask players to solve mechanics correctly rather than simply powering through them. The second and third bosses in particular reward clean positioning and quick recognition of what the arena wants from you.
Looking for difficulty rankings? See the Heavensward Dungeon Rankings.
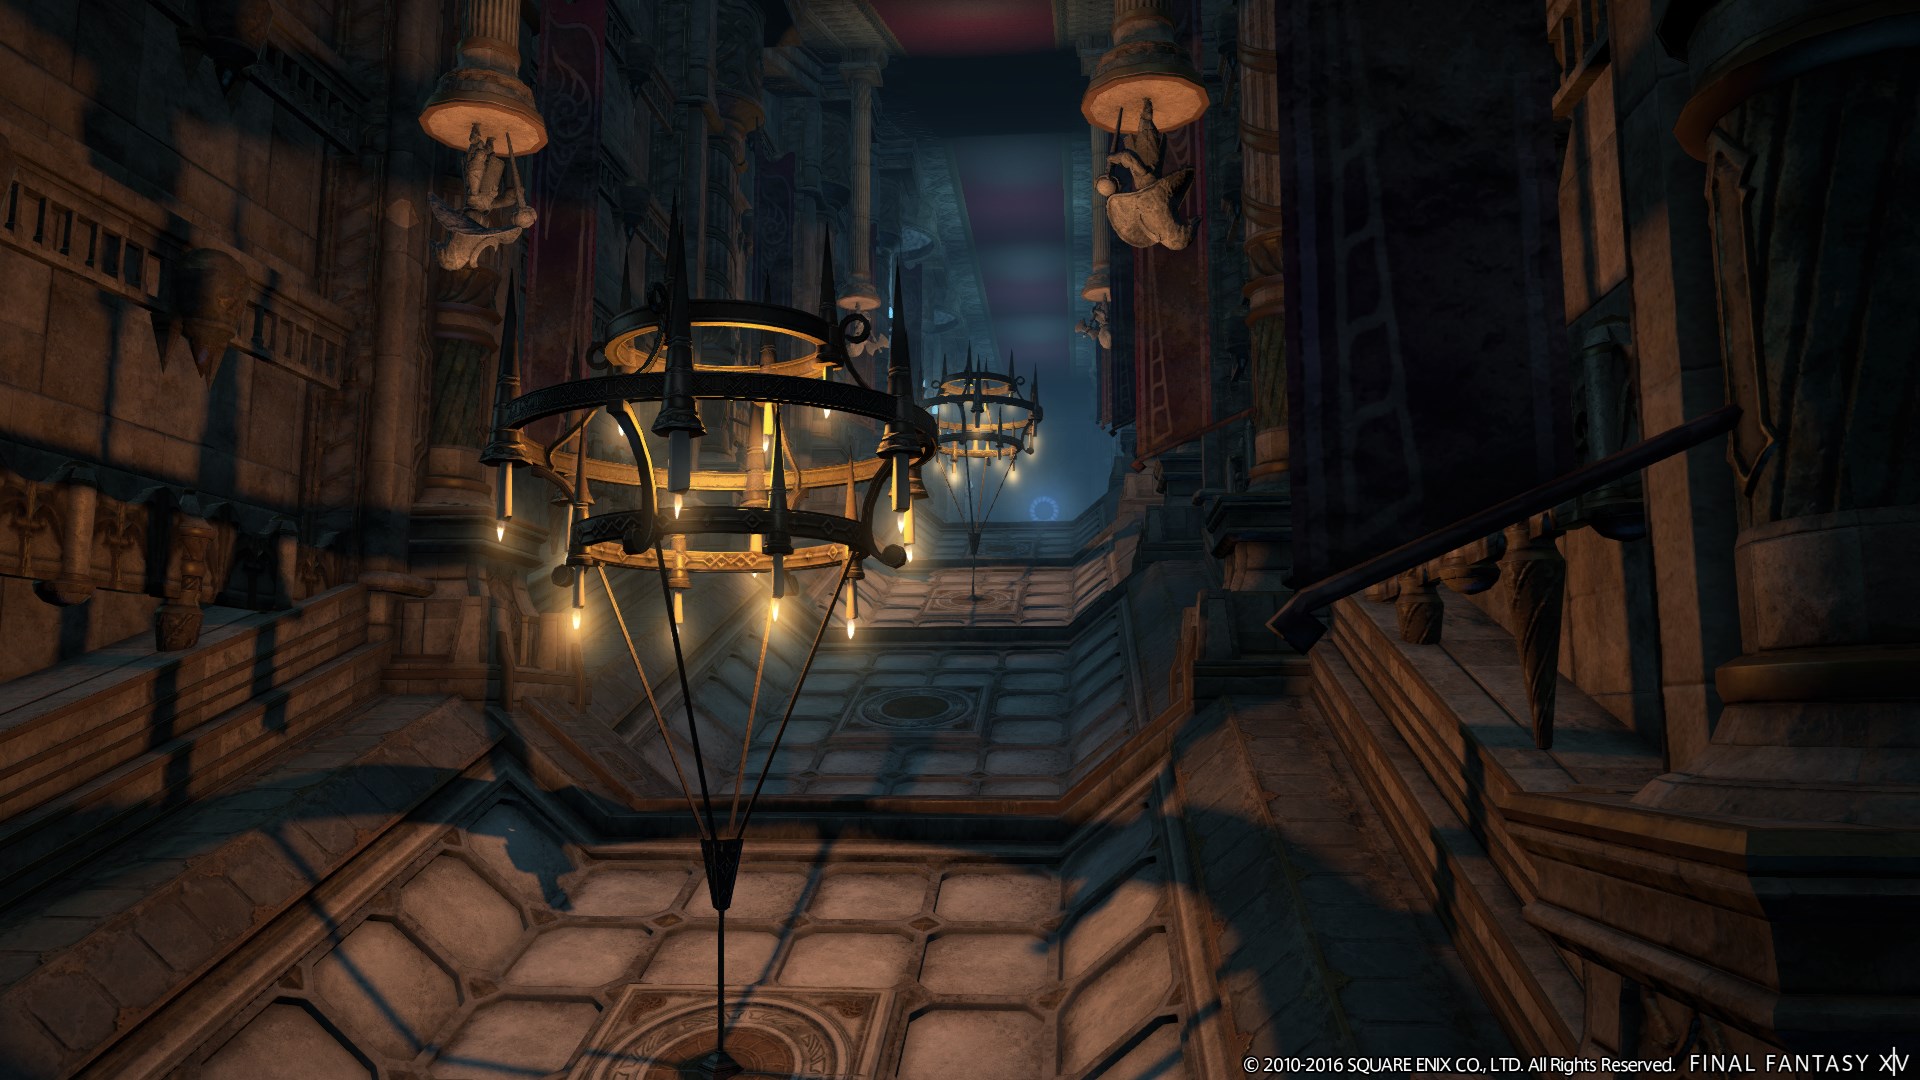
Arena Overview
The Antitower uses several distinct arena types:
- Zuro Roggo: open arena with frontal denial and add-based interruption phase
- Ziggy: wall-safe arena with falling rocks that become temporary line-of-sight tools
- Calcabrina: shifting vulnerability arena with directional safe-side pressure and player transformation mechanics
These encounters are less about speed and more about reading the room correctly. Positioning early makes nearly every mechanic simpler.
Mechanic Archive
Dungeon Mechanics
Transformation Mechanics — Two separate bosses alter player states in meaningful ways. Zuro Roggo temporarily turns players into frogs, while Calcabrina transforms players into dolls. In both cases, the party must react quickly rather than assuming the phase will resolve on its own.
Line-of-Sight Checks — Ziggy’s aimed attacks and falling rocks create a clear line-of-sight mechanic. If players fail to use the rocks properly, the fight becomes unnecessarily punishing.
Direction and Facing Matter — The first boss uses a persistent frontal denial tool, while the final boss includes both gaze-style behavior and protected-side punishments.
Zuro Roggo
Water Bomb — Circle AoEs placed under two players, followed by spawned bubbles that explode in point-blank AoEs and inflict Damage Down.
Odious Croak — Persistent frontal conal AoE with no castbar.
Frog Song — Transforms the healer and one DPS into frogs while the boss deals light persistent damage and spawns additional Water Bomb telegraphs.
Toy Hammer — Tankbuster that inflicts Concussion, which can be removed with Esuna.
Strategy: Keep the boss faced away at all times so Odious Croak only threatens the tank. When Water Bombs appear, move early and do not drift back into the spawned bubbles. During Frog Song, immediately swap to the Poroggo Choirtoads to end the phase faster. Letting the frogs simply wait out the debuff adds unnecessary pressure and slows the fight.
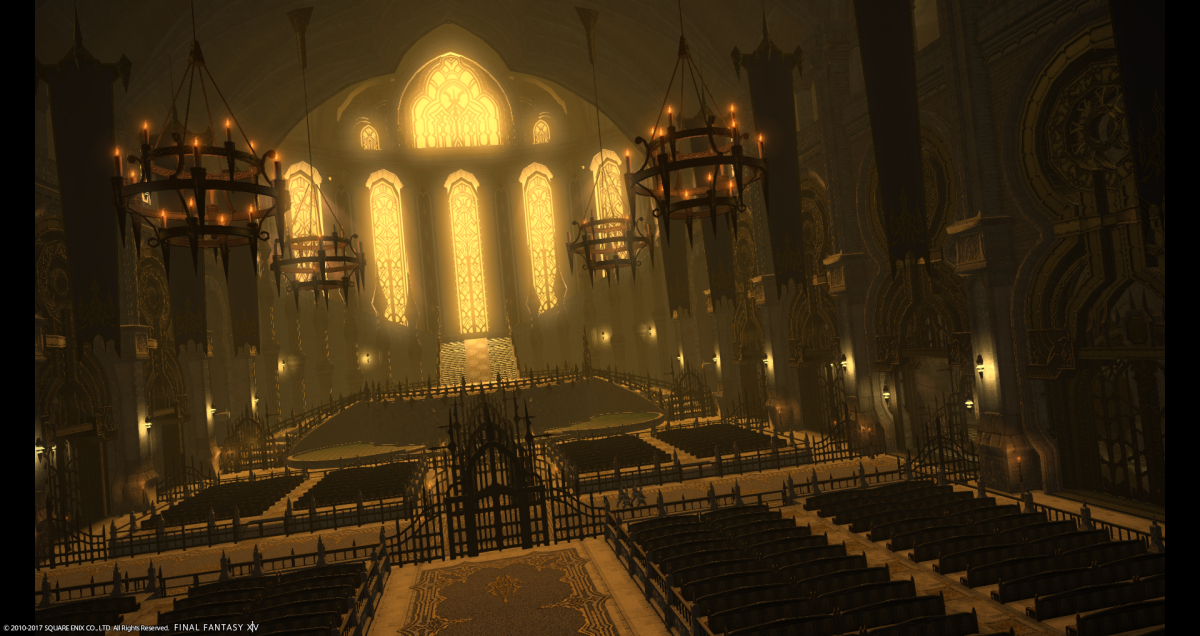
Ziggy
Gyrating Glare — Raidwide magical damage.
Mystic Light — Four falling Stardust rocks create point-blank AoEs, leaving four small safe pockets near the walls.
Jittering Glare — Frontal cone on a random player.
Jittering Jounce — Targeted line attack that must be blocked by hiding behind a rock. The impacted rock then explodes in a large point-blank AoE.
Jittering Jab — Tankbuster.
Strategy: The rocks are both hazard and solution. First, use the wall safe pockets to avoid Mystic Light. Then remember where the surviving rocks land, because they become your cover for Jittering Jounce. The targeted player should move behind a rock cleanly, while the rest of the party stays clear of the follow-up explosion radius. This fight gets much cleaner when the group treats the arena setup as preparation instead of panic movement.
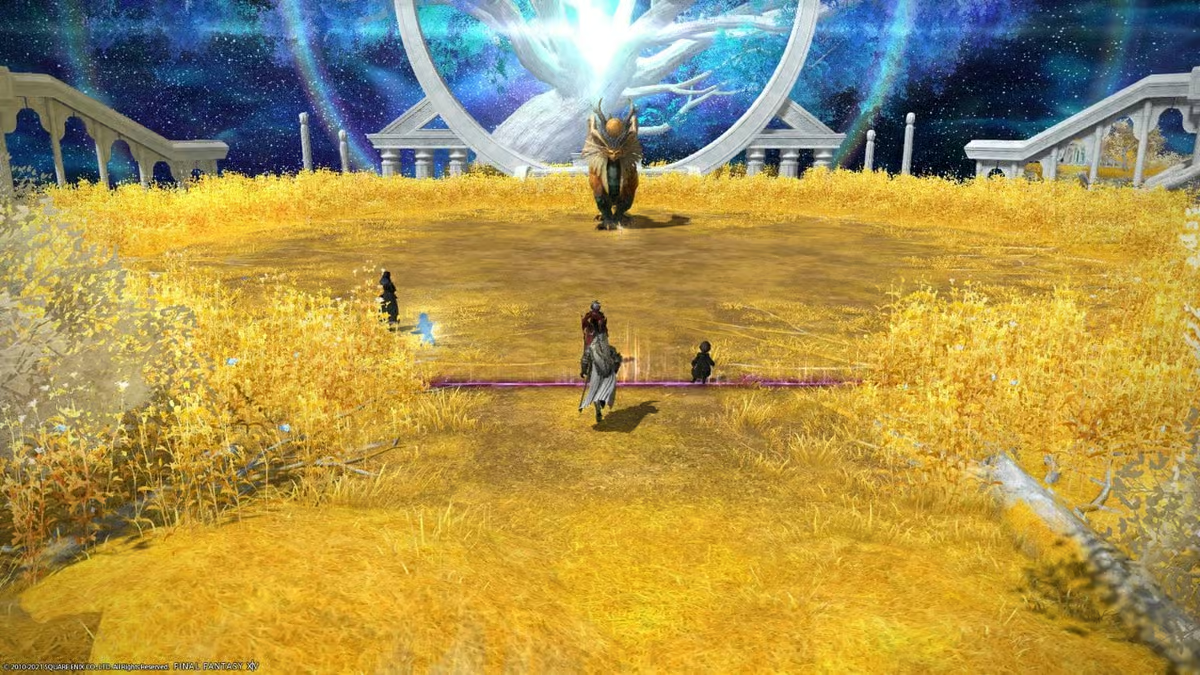
Calcabrina
Heat Gaze — The six smaller dolls use conal and donut AoEs before merging.
Terrifying Glance — Red-eye marker on a player followed by an untelegraphed frontal cone that inflicts Confusion if hit. Looking away avoids it.
Knockout — Tankbuster.
Brace — Summons three purple barriers and leaves one side open. The boss is only safely attackable from the open side.
Dollhouse — Transforms two players into dolls and applies a bleed. The transformed players must be defeated to free them.
Slapstick — Continuous magical party-wide damage during Dollhouse.
Strategy: In the opening phase, dodge the small-doll patterns cleanly and avoid taking unnecessary chip damage before the real fight begins. Once Calcabrina forms, respect Terrifying Glance immediately — turning away is far safer than trying to greed casts. During Brace, reposition to the open side instead of tunneling the boss from the wrong angle. When Dollhouse begins, swap instantly to the transformed players. This is the main pressure point of the encounter because Slapstick keeps the healer busy while the bleed ticks on the trapped players.
Encounter Flow
The Antitower progresses through three very different mechanic styles.
Zuro Roggo serves as the disruption fight. It teaches the party to respect frontals, spread correctly, and react to a temporary add phase instead of blindly staying on the boss.
Ziggy shifts the dungeon into a more deliberate arena puzzle. Players first survive the falling rock pattern, then immediately reuse that setup as cover against the boss’s aimed shots.
Calcabrina closes the run with the most layered encounter. The fight blends gaze awareness, directional vulnerability, player transformation, and sustained party damage into a more demanding final check than the dungeon’s playful appearance suggests.
Across the full run, The Antitower rewards players who stay controlled and solve each mechanic cleanly instead of rushing through telegraphs.
Continue the Heavensward Dungeon Archive
-
Heavensward Dungeons
View all Heavensward dungeons -
Relic Weapon Progression
See the Heavensward relic weapon guide -
Heavensward Trial Archive
Browse all Heavensward trials