The Dead Ends Dungeon Guide (FFXIV Endwalker) – Boss Mechanics & Strategy
Duty Information
Expansion: Endwalker
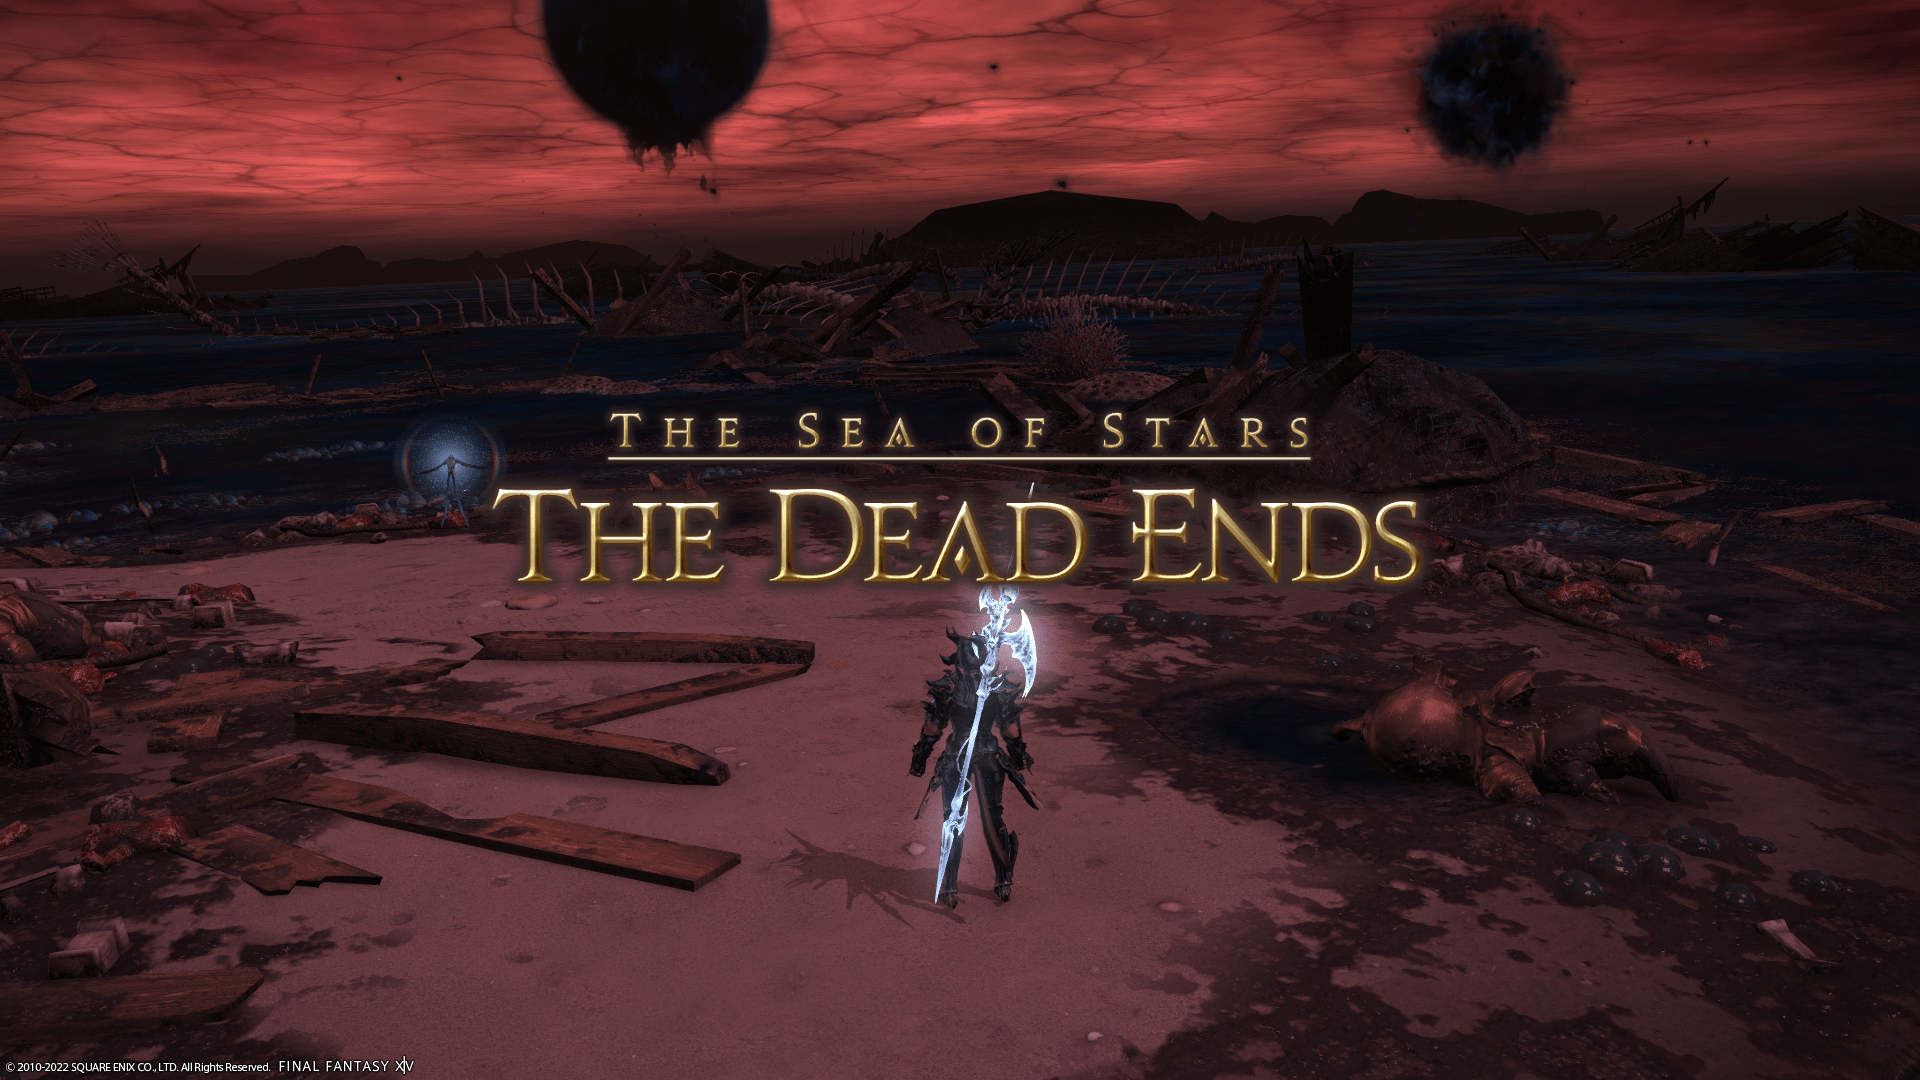
Encounter: The Dead Ends
Players: 4 Players (1 Tank, 1 Healer, 2 DPS)
Duty Finder Type: Dungeon
Level: 90
Unlock Requirement: Endwalker
Common Failure Points
- Failing to cleanse Necrosis after being hit by Miasmata or Wave of Nausea during Caustic Grebuloff.
- Not stacking when Craven Companionship expires, triggering Hysteria.
- Misreading No Future AoE spawn direction and moving into an unsafe zone during Peacekeeper.
- Failing to position within the narrow cone safe zones during Order To Fire combined with Peacefire.
- Misreading butterfly facing direction during Ra-la’s Lifesbreath and taking Doom.
- Standing on the wrong side during Lifesbreath’s second cast when Loving Embrace is active.


Dungeon Overview
The Dead Ends is the level 90 capstone dungeon of Endwalker’s main scenario sequence. It is mechanically dense, visually heavy, and carries significant narrative weight as the final dungeon before the expansion’s conclusion. Each encounter escalates in complexity, culminating in a final fight against Ra-la that combines butterfly positioning, directional cleaves, and timed zone management into one of the most layered encounters in the expansion.
The dungeon introduces several unique debuff interactions — including Necrosis, which requires active cleansing, and Doom, which requires healers to top players to full health — that add pressure beyond standard mechanical execution. Players should also be aware that the ground in the Pestilent Sands and Grebuloff Pillars areas contains puddles that apply Toxicosis, a potent poison dealing approximately 10,000 damage per second until stepped out of.
Like the preceding Endwalker dungeons, every failed mechanic applies a two-minute stacking Vulnerability Up debuff.
Looking for difficulty rankings? See the Endwalker Dungeon Rankings.
Dungeon Objectives
- Meet the sixth end
- Leave the sixth end behind
- Meet the eighth end
- Leave the eighth end behind
- Meet the seventeenth end
- Leave the seventeenth end behind
Walkthrough Highlights
Debuffs Demand Active Management
The Dead Ends is one of the few dungeons where healers must actively track and respond to debuffs mid-encounter. Necrosis will kill players if not cleansed, and Doom requires a full heal to recover. Passive healing is not enough — healers need to stay ahead of the debuff timers throughout.
The Ground Is Dangerous Before the Fight Starts
The Toxicosis puddles in the dungeon’s traversal sections deal approximately 10,000 damage per second. These are not boss mechanics — they are environmental hazards present during pulls and between encounters. Stay on clear ground at all times.
Need the unlock path? See All FFXIV Dungeon Unlock Requirements.
Boss Encounters
Caustic Grebuloff
Key Mechanics
Pox Flail — Tankbuster.
Blighted Water — Stack marker. Stack together to share damage.
Miasmata — Raidwide AoE that spawns additional AoE circles that drift across the arena in the direction of the wind. Players hit receive Necrosis, a lethal debuff that must be cleansed with Esuna or The Warden’s Paean before the timer expires.
Cough Up — Drops three sets of AoEs on each player. Spread to avoid overlap. After the AoEs resolve, players receive a red arrow and the Craven Companionship debuff. Players must be stacked when the debuff expires or they receive Hysteria for several seconds.
Wave of Nausea — Telegraphed donut AoE around the boss. Players hit receive Necrosis.
Befoulment — Targeted AoE circles on players. Spread to avoid overlap.
Strategy Notes
Healer awareness is the defining skill of this fight. Both Miasmata and Wave of Nausea apply Necrosis on contact — a debuff that will kill any player whose timer expires without a cleanse. Healers must identify who has been hit and cleanse immediately, prioritizing Necrosis above everything else.
For Miasmata, the drifting AoE circles move with the wind direction — track their trajectory and position to avoid their path rather than reacting to where they currently are.
Cough Up has a two-part resolution. Spread for the initial AoE drops, then restack before Craven Companionship expires. Players who spread correctly but forget to restack will inflict Hysteria on themselves, losing character control at a critical moment.
Wave of Nausea is a donut AoE — stand close to the boss to avoid it. Players who instinctively move away from a large AoE animation will walk directly into the damage zone.
Failure Points
The most common failure is Necrosis going uncleansed — either because the healer missed the application or prioritized other actions. The second most common failure is players forgetting to restack after Cough Up spreads, triggering Hysteria at the worst possible time. Wave of Nausea catches players who move away from the boss rather than staying close.
Peacekeeper
Key Mechanics
Elimination — Tankbuster. Fires a wide beam that will hit and likely kill other players if they are too close. All non-tanks must stand clear.
Decimation — Raidwide AoE that covers the outer arena in fire. Contact inflicts Burns.
Electromagnetic Repellant — Creates a damage field within the boss’s hitbox. Standing inside inflicts Electrocution and continuous damage. Always paired with Peacefire.
Order To Fire — Spawns turrets around the boss that fire line AoEs directly outward, converging at the hitbox edge. Narrow cone safe zones exist between lines between the hitbox and arena edge. Often paired with a targeted spread AoE.
No Future — Spawns targeting circles that cover the entire arena in sequence. Two patterns:
- Spawning from center outward — stand at the point where the first AoEs overlap, as the next set spawns outward from there and will not reach that spot.
- Spawning from edge inward — identify the safe space and move into it before it closes.
The boss’s hitbox is never safe. Each successive cast rotates the pattern so previously safe areas become targeted — adjust positioning each time. Fires two sets of circles on first cast, three sets on all subsequent casts.
Peacefire — Rotating AoE circles around the boss. Rotate with the circles to stay safe. Always cast alongside Electromagnetic Repellant, forcing players into the rotation path. Can also overlap with Order To Fire, requiring players to find a position both ahead of the rotating circles and within a cone safe zone simultaneously.
Eclipsing Exhaust — Spawns AoE circles around the arena edge with several gaps, then triggers a telegraphed knockback from center. Position to be knocked into a gap.
Strategy Notes
This is the most mechanically layered fight in the dungeon. The core challenge is that Peacekeeper consistently combines mechanics — Peacefire with Electromagnetic Repellant, Order To Fire with spread AoEs, and Peacefire with Order To Fire simultaneously — requiring players to resolve multiple constraints at once.
For No Future, read the spawn direction immediately. Center-outward spawns allow players to stand at the first overlap point safely. Edge-inward spawns require moving into the identified safe zone before it disappears. The pattern rotates each cast — do not hold a position between casts.
When Peacefire and Order To Fire overlap, find a cone safe zone first, then rotate within it to stay ahead of the Peacefire circles. The rotation and the safe zone must both be satisfied simultaneously — commit to a gap early and move with it.
For Eclipsing Exhaust, identify the gaps in the edge circles before the knockback fires and angle position to land in one. Knockback resistance skills can be used to stay in place but waste the opportunity to safely reach the edge.
Failure Points
No Future is the most consistent wipe source, particularly from the second cast onward when three circle sets fire and the pattern has rotated. Players who hold a previously safe position without adjusting will be caught. The combined Peacefire and Order To Fire cast is the second most common failure point — players who solve one constraint and ignore the other will be hit by the one they neglected.
The Last Mercy: Ra-la
Key Mechanics
Pity — Tankbuster.
Warm Glow — Raidwide damage.
Prance — Boss jumps four times, dropping golden circular zones that grow then explode in spawn order. Move into one of the last two circles spawned, then move into the space left by the first circle after it explodes.
Lifesbreath — Boss jumps to the arena edge and fires a line AoE through the center. A line of butterflies then spawns in the same location, each facing one half of the arena in alternating pairs. After a short delay, each butterfly fires a line AoE in the direction it faces. Stand behind a butterfly facing away from you to avoid. Players can move through the butterfly line before it fires. Players hit receive Doom — healers must top them to full health before the timer expires or they die. The second cast adds Loving Embrace, making one half of the arena unsafe. Loving Embrace fires slightly after the butterflies, allowing melee players to briefly swap sides if needed.
Benevolence — Stack marker. Stack together to share damage.
Loving Embrace — Boss raises a glowing wing and cleaves that entire side of the arena from the center outward. Move to the opposite side.
Still Embrace — Targeted AoE circles on players. Spread to avoid overlap.
Strategy Notes
Prance is the first positioning check. Four zones drop and explode in order — the key is to stand in one of the last two zones spawned, which will not have exploded yet, then immediately move into the space vacated by the first explosion. Pre-positioning in the correct zone before the sequence begins is cleaner than trying to move between explosions reactively.
Lifesbreath is the defining mechanic of this fight. When the butterflies spawn, read the facing direction of each one immediately. Each butterfly faces either left or right — stand behind one that faces away from your current position so its line AoE fires in the opposite direction. Players can pass through the butterfly line before it fires, so repositioning is possible if the initial read is wrong, but time is limited.
Doom from a Lifesbreath hit is a healer emergency. The debuff kills on expiry unless the affected player is healed to full health. Healers must prioritize this above all other actions when it is applied.
On the second cast of Lifesbreath, Loving Embrace fires after the butterfly line AoEs resolve. Identify which side is safe from Loving Embrace before the butterflies fire and position on that side, or be ready to cross immediately after the butterflies resolve. Loving Embrace fires slightly delayed, giving melee players a brief window to swap if needed.
Failure Points
Misreading butterfly facing direction during Lifesbreath is the most common failure, particularly under visual pressure from the simultaneous line AoE in the center. The second cast compounds this by adding Loving Embrace — players who correctly read the butterflies but forget to account for the cleave direction are caught immediately after resolving the first mechanic. Doom going unhealed is the third consistent failure point and falls entirely on healer awareness.
Difficulty Assessment
The Dead Ends is one of the hardest dungeons in Endwalker, befitting its position as the capstone of the main scenario dungeon sequence. Every encounter introduces mechanics that demand active management rather than passive avoidance — debuff cleansing, doom recovery, and pattern reading under sustained pressure combine to create a dungeon where individual responsibility is at its highest.
The dungeon emphasizes:
- active debuff tracking and cleansing under pressure
- multi-constraint mechanic resolution during Peacekeeper
- butterfly positioning and facing direction reading during Ra-la
- healer awareness and prioritization throughout all three encounters
Groups with strong healer fundamentals and clean mechanical execution will find The Dead Ends a rewarding and narratively resonant conclusion to the dungeon sequence. Groups that play passively or lose track of debuff timers will find it unforgiving from the first encounter to the last.
Previous: The Aitiascope | Next: Another Time, Another Place
Guildmaster Notes
The Dead Ends is not a dungeon that lets you forget where you are. Every encounter carries the weight of what Endwalker has been building toward — a world at the edge of everything, populated by the last remnants of what was.
Caustic Grebuloff is decay. Peacekeeper is purpose without mercy. Ra-la is something harder to name — the last expression of a kindness that the world can no longer sustain.
By the time this dungeon ends, the expansion’s final act is already in motion. The Dead Ends does not ask you to mourn. It simply shows you what is left, and lets you decide what that means.