Cutter’s Cry Dungeon Guide – FFXIV A Realm Reborn
Duty Information
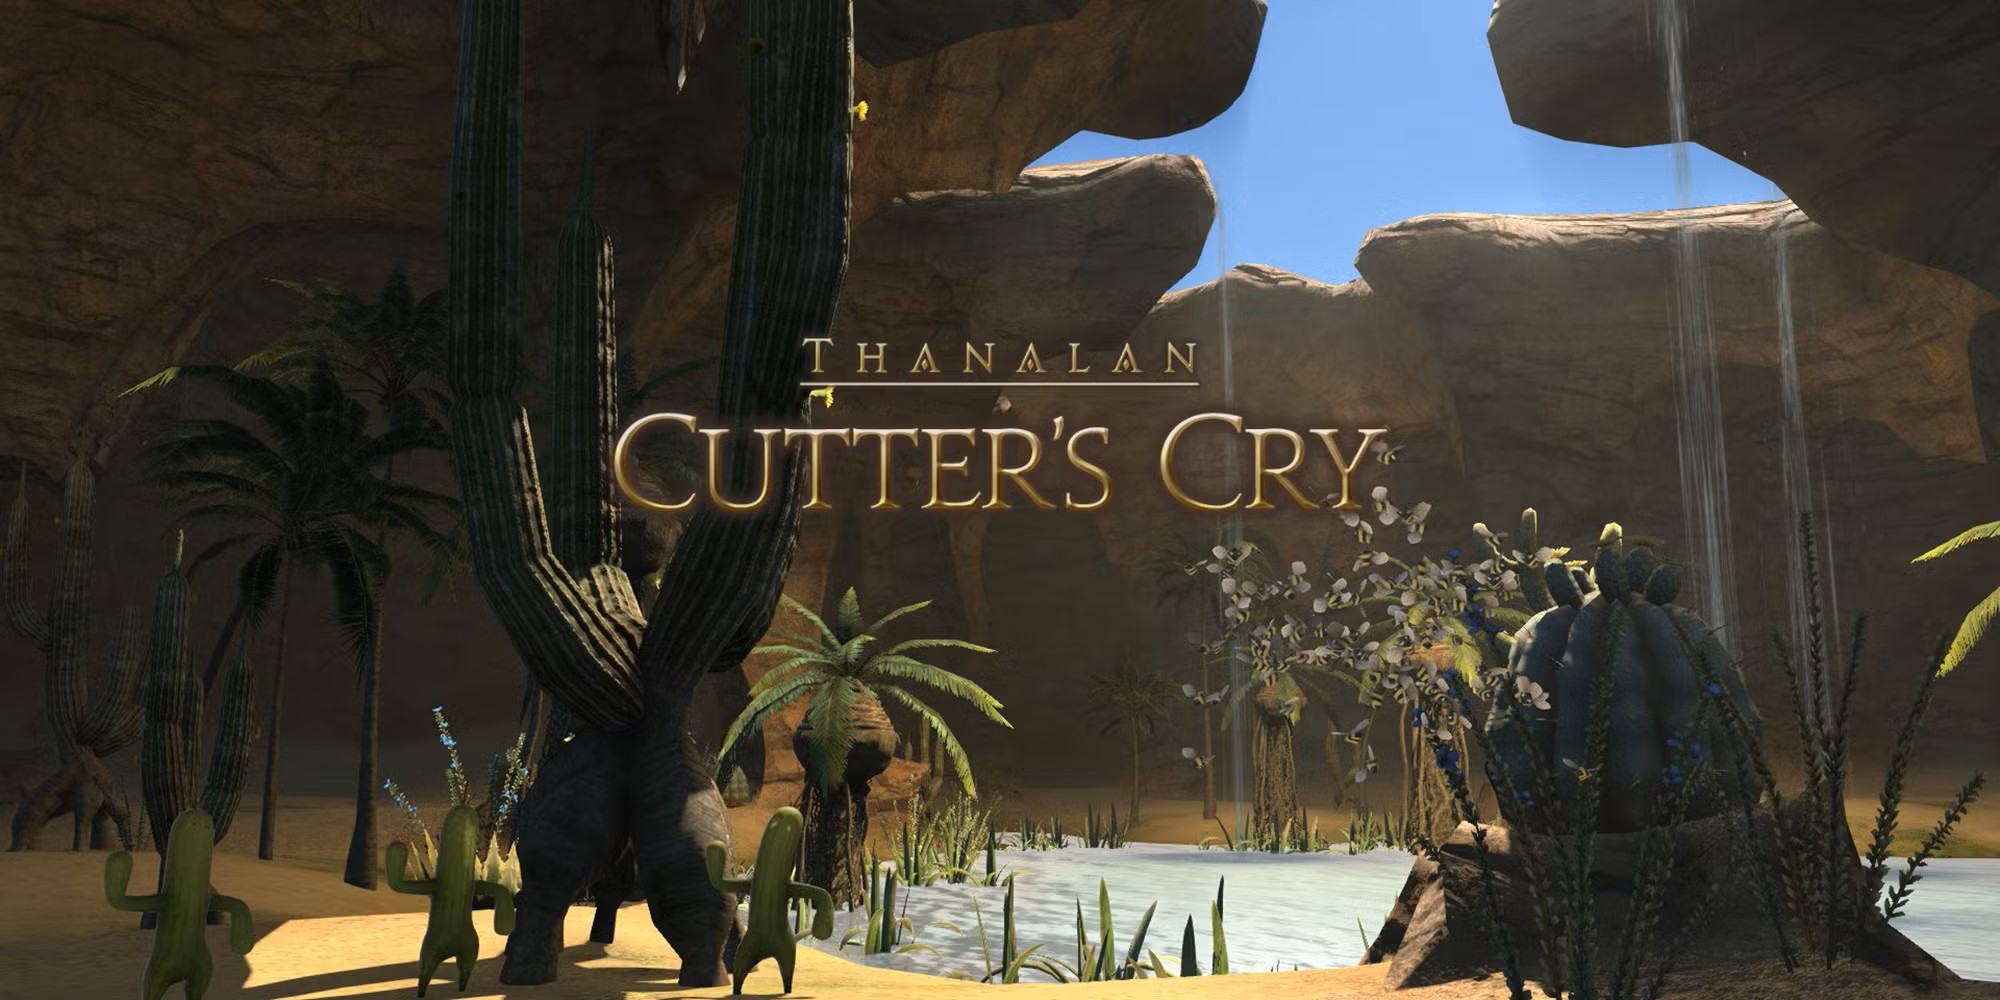
Expansion: A Realm Reborn
Encounter: Cutter's Cry
Players: 4 Players (1 Tank, 1 Healer, 2 DPS)
Duty Finder Type: Dungeon
Level: 38
Unlock Requirement: Dishonor Before Death
Common Failure Points
- Letting Myrmidon Marshal buff the first boss for too long.
- Grouping too tightly during the Giant Tunnel Worm burrow phase and getting clipped by the same emergence.
- Misreading Ram’s Voice and Dragon’s Voice on Chimera.
- Leaving Lion’s Breath aimed toward the party.


← Back to A Realm Reborn Dungeon Rankings
Dungeon Overview
Cutter’s Cry drops the party into a dry, hostile cavern system filled with ants, shifting sands, and one of the most memorable early ARR final bosses. The route is more straightforward than Qarn, but the dungeon’s boss mechanics are noticeably more demanding, especially for groups that are still learning to read cast names instead of relying only on orange telegraphs.
The first half of the duty teaches target priority and spatial awareness, while the final Chimera encounter becomes a real recognition check. This is one of the first leveling dungeons in A Realm Reborn where bad reactions can cause repeated wipes even if the trash itself is manageable.
Compared to the earlier ARR dungeons, Cutter’s Cry puts more responsibility on the tank to face enemies correctly and more responsibility on the whole party to move with confidence during boss-specific mechanics.
Dungeon Objectives
- Slay all the enemies
- Slay all the enemies
- Clear the Feeding Pit
- Clear the Sunken Antechamber
- Defeat the Chimera
Walkthrough Highlights
Shifting Sands Progression
The layout is fairly direct, but progression is tied to clearing enemies and activating Shifting Sands in key rooms. In the first two rooms, the party must defeat the required enemy groups before the sand gate can be used to continue.
Before the first boss, take the left path at the intersection. The right path is a dead end that only contains extra enemies and no worthwhile reward.
Middle Section
Between the first and second bosses, the same progression logic continues. Defeating enough enemies in a room will cause the next Shifting Sands point to appear.
Before the final boss, two side branches contain treasure coffers. Many groups skip these and head directly to Chimera.
Need the unlock path? See All FFXIV Dungeon Unlock Requirements.
Boss Encounters
Myrmidon Princess
Key Mechanics
Stone II — Telegraph circle AoE on a player’s location.
Mandible Bite — Telegraph frontal cone.
Silence — Single-target silence effect that can be interrupted.
Trap Jaws — Multi-hit melee attack on the tank.
Add Waves — The boss periodically summons Myrmidon Soldiers, Myrmidon Guards, and eventually a Myrmidon Marshal.
Formic Pheromones — Used by the Marshal to give the Princess a Vulnerability Down buff while tethered.
Strategy Notes
This fight is mostly about handling adds in the right order. The Myrmidon Marshal is the real priority whenever it appears, since its tether reduces the boss’s incoming damage and drags the encounter out.
The tank should keep the Princess turned away from the group so Mandible Bite only threatens the front. DPS can then clean up the lesser ant adds while staying clear of Stone II circles.
Failure Points
Most problems here come from letting the Marshal live too long or letting frontal cones hit multiple party members.
Giant Tunnel Worm
Key Mechanics
Sandstorm — Frontal attack for light damage.
Sand Cyclone — Targets a random player and applies a damage-over-time effect.
Sand Pillar — Hits players standing on a sand trap while the boss is burrowed.
Earthbreak — The worm erupts from the ground and deals heavy damage nearby.
Bottomless Desert — Whirlwind effect that pulls players inward while the worm is underground.
Sludge — Heavy single-target DoT that should be removed quickly.
Strategy Notes
When the worm submerges, the safest approach is for players to spread out slightly so one emergence does not clip multiple people at once. After Bottomless Desert pulls the party inward, everyone should move away from the center immediately so the follow-up eruption does not catch them.
Healers should watch for Sludge in particular, since it creates much more pressure than the lighter background damage from Sandstorm and Sand Cyclone.
Failure Points
This boss usually destabilizes groups when players remain stacked during burrow patterns or fail to reposition after the pull-in effect.
Chimera
Key Mechanics
Lion’s Breath — Untelegraphed frontal cleave. The tank should always keep the boss faced away from the party.
The Ram’s Breath — Conal attack on the Chimera’s right side that deals ice damage and inflicts Heavy.
The Dragon’s Breath — Conal attack on the Chimera’s left side that deals thunder damage and inflicts Paralysis.
The Dragon’s Voice — Donut-shaped AoE with no ground telegraph. Players must move in close to avoid it.
The Ram’s Voice — Point-blank AoE with no ground telegraph. Players must move away from the boss to avoid it.
Cacophony — Marks one player with a projectile that explodes on contact and inflicts Paralysis.
Lightning Storm — Telegraph circle AoEs on two random players.
Strategy Notes
This is one of the classic ARR recognition fights. The party needs to react to the cast name and visual tell rather than waiting for orange indicators. As a simple memory tool: Dragon = in, Ram = out.
Non-tanks can avoid most frontal trouble by staying near the rear of the boss. The tank, meanwhile, should be prepared to sidestep the side breaths while still keeping Lion’s Breath aimed away from the group.
If targeted by Cacophony, move cleanly so the projectile does not detonate inside the party. Healers should remove Paralysis when possible if someone gets clipped by thunder-based attacks.
Failure Points
Most wipes in Cutter’s Cry happen here, and they almost always come from misreading Ram’s Voice or Dragon’s Voice. Once the group handles that correctly, the rest of the fight becomes much more stable.
Notable Enemies
- Myrmidon Sentry
- Sand Bat
- Quicksand Basilisk
- Shrapnel
- Myrmidon Soldier
- Myrmidon Guard
- Myrmidon Marshal
- Sandstorm
- Sandshell
- Sabotender Desertor
- Canyon Condor
- Slipsand
- Arkose Golem
- Schorl Doblyn
- Spriggan Crier
- Cacophony
Difficulty Assessment
Cutter’s Cry is one of the clearest mechanical step-ups in the ARR leveling sequence. The dungeon itself is not especially complex to navigate, but its bosses punish poor reactions much harder than the duties immediately before it.
The dungeon emphasizes:
- target priority during add waves
- clean positioning against frontals and burrow attacks
- debuff awareness and cleansing
- cast-bar recognition instead of telegraph-only movement
Chimera is the defining encounter and the main reason Cutter’s Cry holds a stronger wipe profile than many other ARR leveling dungeons in its range.
Continue the A Realm Reborn Dungeon Archive
-
A Realm Reborn Dungeons
View all A Realm Reborn dungeons -
Relic Weapon Progression
See the A Realm Reborn relic weapon guide -
A Realm Reborn Trial Archive
Browse all A Realm Reborn trials
Previous Dungeon: The Sunken Temple of Qarn | Next Dungeon: The Stone Vigil
Guildmaster Notes
Cutter’s Cry feels less like a dungeon and more like something that has been carved out of the earth by hunger.
The tunnels are dry, hostile, and strangely alive with the movement of things that do not belong near the surface. By the time the party reaches the Chimera, the place has already made its intentions clear.
Some caverns are meant to be explored. Cutter’s Cry feels like one that was meant to keep swallowing.