Windward Wilds Trial Guide: Guardian Arkveld Mechanics and Strategy
Duty Information
Expansion: Dawntrail
Encounter: The Windward Wilds
Players: 8 (Tank / Tank / Healer / Healer / DPS / DPS / DPS / DPS)
Duty Finder Type: Trial
Level: 100
Item Level: 725
Unlock Requirement: The White Wanderer


Encounter Overview
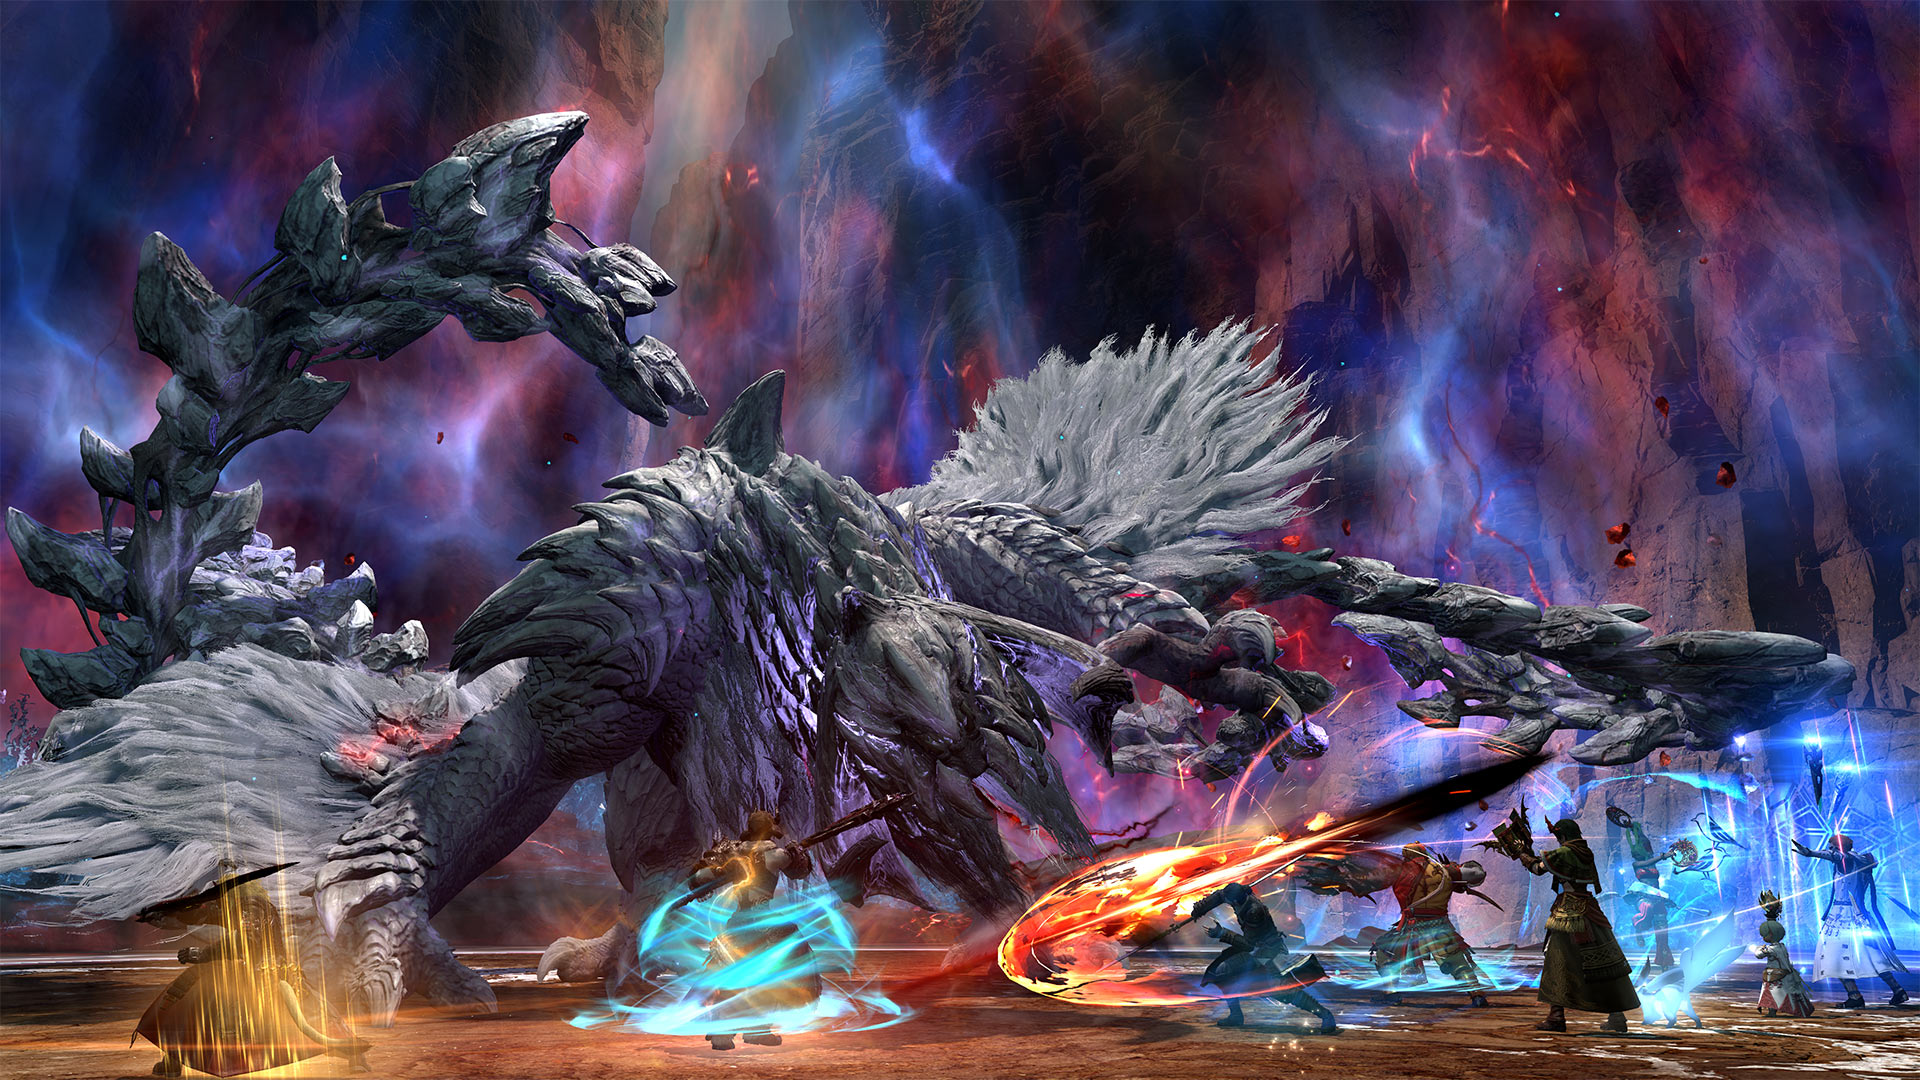
The Windward Wilds is a level 100 Dawntrail crossover trial featuring Guardian Arkveld, the White Wraith. This encounter is built around animation-based attacks, cascading AoEs, and repeated movement sequences that require strong positioning discipline and pattern recognition.
Compared to encounters like The Ageless Necropolis, this fight is less about memorizing sequences and more about reading the boss in real time. Most wipes occur when players misread animations or fail to handle overlapping exaflare patterns cleanly.
For a full comparison across all trials, see the FFXIV Trial Rankings.
Arena Overview
The fight takes place on a circular arena surrounded by a persistent damaging field. Falling or being knocked into the edge is fatal.
Much of the encounter revolves around controlling space—especially around towers, crystal formations, and exaflare paths. Players should maintain loose formation with clear lanes for movement.
Mechanic Archive
Animation-Based Cleaves
Arkveld uses visual tells instead of cast bars.
Watch claw and body movement—not the ground. Early reads are required to position correctly.
- Cleave: Wide line AoE on one side — safe on opposite flank
- Half-room cleave: Body tilt indicates safe half
- Rear line AoE: Tail attack — avoid standing directly behind
Charge + Ground Crack AoEs
The boss charges across the arena, followed by AoEs based on crack color.
Micro-strategy:
- White cracks: move to sides
- Red cracks: move center
Commit early—late movement leaves no safe space.
Cascading Line AoEs
Line AoEs that expand outward in waves.
Start near the first safe lane and move with the wave. Do not try to outrun the pattern.
Multi-Charge + Donut Waves
Three sequential charges followed by expanding AoEs.
Track the final charge location and pre-position—safe zones are determined by where the sequence ends.
Stack Marker
Standard stack mechanic.
Stack tightly and resolve quickly—this often overlaps with other mechanics.
Towers + Baited AoEs
Six towers spawn alongside baited AoEs on players.
Micro-strategy:
- Bait AoEs away from towers first
- Then move into assigned towers
Rushing towers early will block safe space.
Crystal Formations
Towers leave behind crystals that affect later mechanics.
Note crystal positions—they determine safe zones during exaflares.
Exaflares (Core Mechanic)
Moving AoEs spawn from center and interact with crystals.
Micro-strategy:
- Start at edge of first exaflare
- Step into safe space after it passes
- Move with the pattern, not against it
Critical tip: Larger crystals create larger explosions—give them extra space.
Spread Markers (During Exaflares)
Players receive spread AoEs during later exaflare waves.
Maintain assigned spread positions while moving—panic spreading causes overlap deaths.
Multi-hit Raidwide
Three consecutive hits with increasing pressure.
Mitigate across the sequence and heal after the final hit—not during.
Roar
Raidwide attack when boss is at arena edge.
Micro-strategy: Treat as a reset—reposition immediately after.
Rotating Line AoE
A rotating line attack followed by spread markers.
Move behind the rotation early, then spread immediately—delays cause overlap.
Encounter Flow
Opening Phase
The fight begins with animation-based cleaves and charge mechanics. Players must quickly adapt to reading visual cues rather than cast bars.
Cascading AoEs and charge sequences establish movement discipline. Players should minimize unnecessary repositioning.
Mid Phase (Towers + Exaflares)
Towers and baited AoEs introduce positioning control. Players must create safe space before resolving towers.
Exaflares form the primary execution check. Players must move with the pattern while maintaining spread positioning.
Late Phase
The fight repeats earlier mechanics with faster overlaps and added pressure from raidwide damage.
Success comes from consistency—reading animations early, maintaining positioning discipline, and avoiding panic movement.