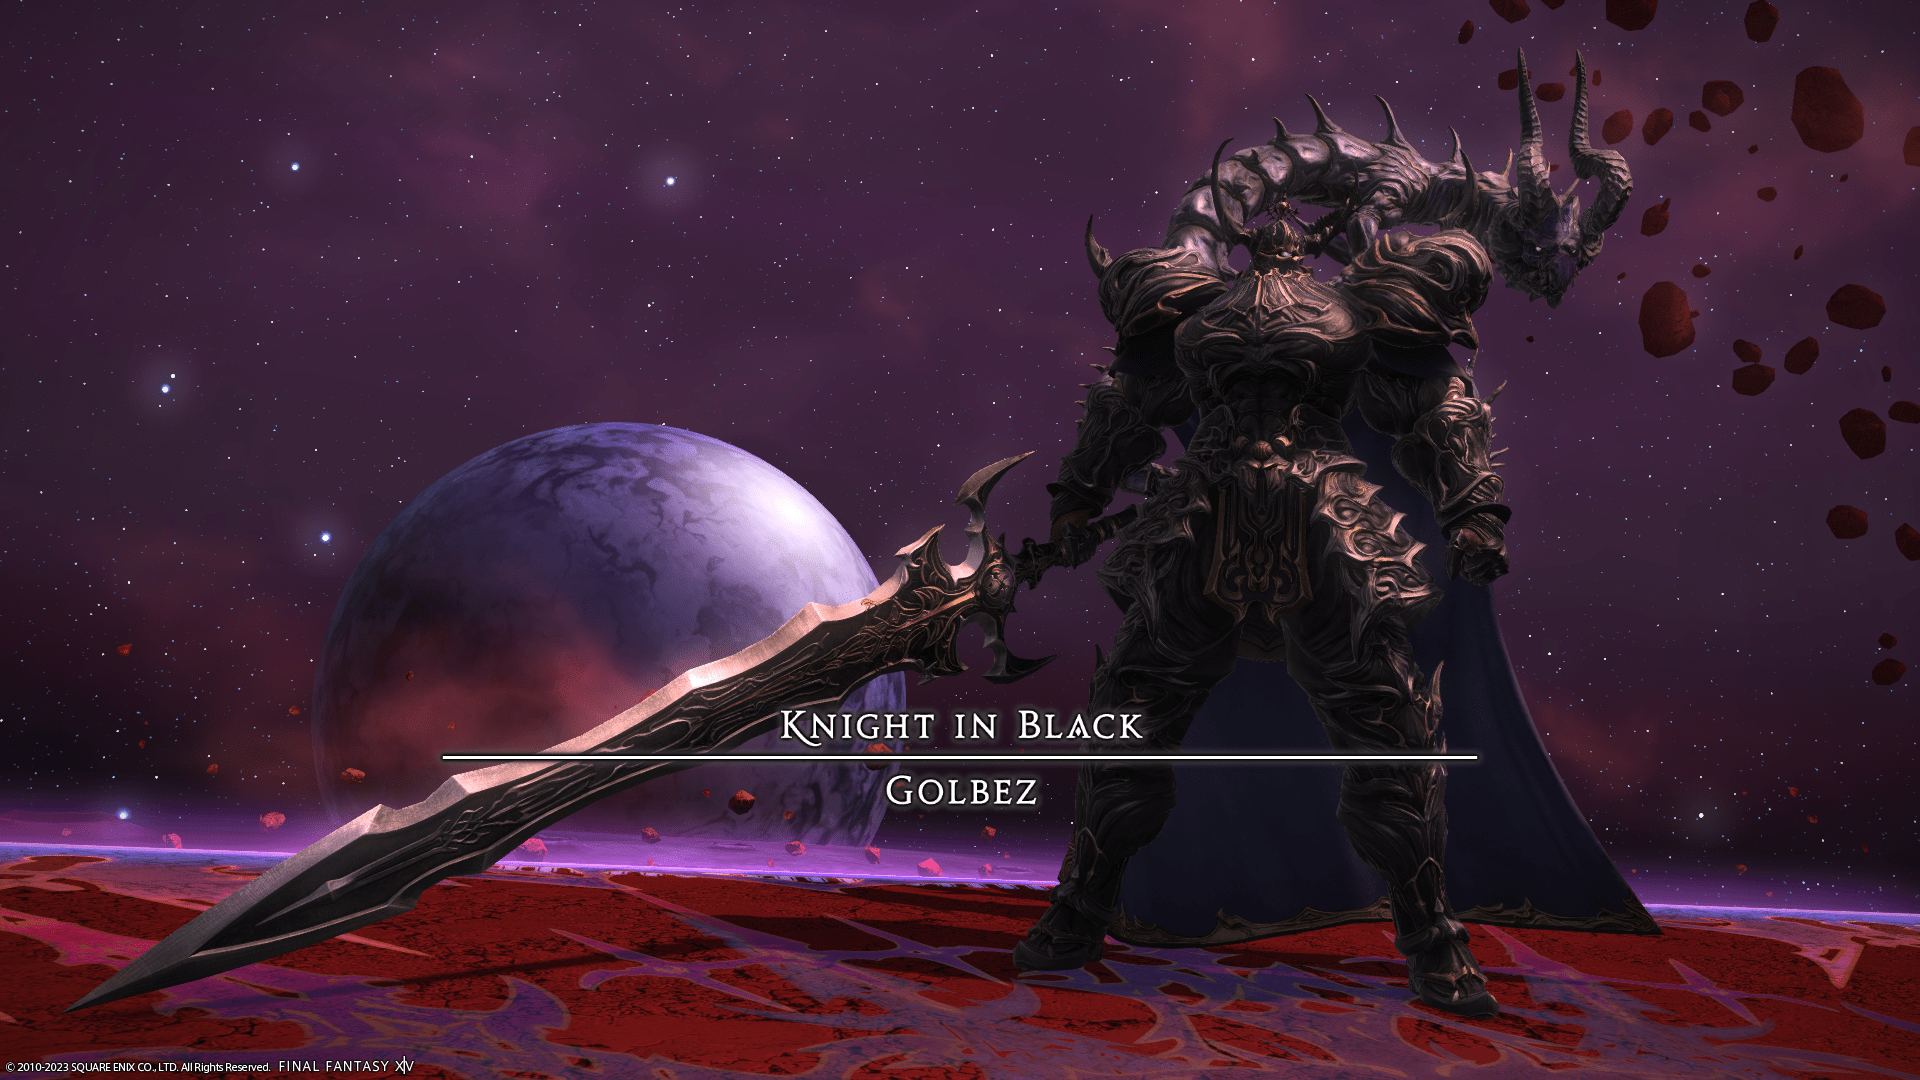
The Voidcast Dais Trial Guide: Golbez Mechanics and Strategy
Duty Information
Expansion: Endwalker
Encounter: The Voidcast Dais
Players: 8 (Tank / Tank / Healer / Healer / DPS / DPS / DPS / DPS)
Duty Finder Type: Trial
Level: 90
Unlock Requirement: Abyssal Dark


Encounter Overview
The Voidcast Dais is a level 90 Endwalker trial featuring Golbez, the Knight in Black. This encounter is a structured two-phase fight that blends clean telegraph recognition with increasingly tight positional execution. While the early mechanics are straightforward, the second phase introduces layered movement, knockback control, and sequencing that can quickly overwhelm unprepared groups.
The fight emphasizes directional awareness and controlled movement. Many mechanics force players to resolve front/back positioning, quadrant safety, or clone sequencing, often while managing spreads, stacks, or tethers. Mistakes are rarely random—most deaths come from committing too late or misreading the intended safe zone.
Want to see how this fight stacks up against other Endwalker trials? Visit the FFXIV Trial Rankings for full difficulty and progression context.
Arena Overview
The encounter takes place on a square platform divided into quadrants, with clear positional references at corners and edges. Players can fall off the arena, making edge positioning risky during knockbacks and movement-heavy mechanics.
Most mechanics resolve using quadrant logic—safe zones are typically defined by halves, quarters, or lanes. Players should stay oriented to the arena layout at all times, especially during clone patterns and meteor sequences.
Mechanic Archive
Terrastorm
Rocks form over a random corner and explode in a circular AoE. Identify the targeted corner quickly and shift to the opposite side. Avoid drifting too close, as the detonation radius is larger than it first appears.
Crescent Blade
A 180-degree frontal cleave aimed at a random player. The safe zone is directly behind the boss. Players should avoid standing in front unnecessarily, as delayed movement often results in getting clipped.
Arctic Assault
Targets opposite sides of the arena, leaving two safe quadrants. Stand behind the directional arrows to identify safe zones. Commit early—late movement risks getting caught between overlapping AoEs.
Void Meteor
Multi-hit tankbusters targeting both tanks regardless of enmity. Tanks should mitigate heavily and remain separated from the party. Healers should prepare for sustained damage across multiple hits.
Lingering Spark
Baited AoEs appear under players. Move away from your initial position and avoid overlapping with others. Keep movement controlled to avoid stepping into another player’s AoE.
Binding Cold
Raidwide damage with a Frostbite damage-over-time effect. This adds pressure leading into transitions or layered mechanics. Healers should top the party quickly and prepare for follow-up damage.
Azdaja’s Shadow (Transition)
Signals the transition into phase two. Players should regroup and prepare for increased mechanic density and tighter execution requirements.
Black Fang
A heavy raidwide attack at the start of phase two. This sets the tone for increased damage output. Mitigation and quick recovery are important.
Shadow Crescent
An upgraded version of Crescent Blade followed immediately by a point-blank AoE. Players must first move behind the boss, then quickly step out to avoid the follow-up. Hesitation here is a common cause of deaths.
Burning Shade
Spread markers on all players. Fan out quickly while maintaining awareness of arena edges. Avoid clustering or drifting into unsafe zones from other mechanics.
Meteor Phase
Towers spawn on the east and west sides that must be soaked. A healer receives a knockback marker and should position near the center or slightly south.
All other players are knocked into towers to soak them. Pre-positioning is critical—players can also use knockback immunity if needed. After the knockback, the healer becomes tethered and must aim the line attack away from the group.
Double Meteor
Two proximity AoEs appear in either the north or south corners. Move to the opposite side of the arena to minimize damage. Staying too close results in heavy damage and potential wipes.
Gale Sphere
Four clones spawn and attack in sequence, either clockwise or counterclockwise. Each clone fires a line AoE across the arena. Identify the rotation direction early and move through safe lanes between attacks.
A consistent strategy is to find the safe zone for the first two clones, then reposition into the safe lane for the final two. Overmoving often leads into the next attack path.
Void Stardust
Two circular AoEs appear in opposite corners. Move along the edges of the platform, then return through the center after they resolve. Avoid cutting through corners too early.
Eventide Fall
Line attacks target each healer. The party should split into light groups to share damage. Positioning should be clean to avoid overlapping lines or leaving players unprotected.
Immolating Shade
A stack marker on one player. Collapse quickly to share damage, then spread back out immediately if another mechanic follows. Delayed movement after stacking is a common mistake.
Encounter Flow
Phase One
The fight begins with straightforward mechanics designed to establish positioning fundamentals. Terrastorm and Crescent Blade introduce corner awareness and front/back positioning, while Arctic Assault reinforces quadrant-based movement.
Players must maintain clean spacing during Lingering Spark while tanks handle Void Meteor with proper mitigation. The phase ends with Binding Cold, adding damage-over-time pressure before transitioning into phase two.
Phase Two
Phase two begins with Black Fang and immediately raises execution requirements. Shadow Crescent becomes a key check, requiring fast repositioning from behind the boss to outside the follow-up AoE.
The Meteor Phase introduces coordinated movement with knockbacks and tower soaking. Proper positioning before the knockback determines success. The healer must aim the tethered line attack safely away from the group.
From here, the encounter cycles through high-pressure mechanics including Gale Sphere, Double Meteor, and Void Stardust. These sequences test pattern recognition and disciplined movement. Players should focus on reading the mechanic fully before moving, rather than reacting to each individual element.
The final sequences layer spreads, stacks, and line attacks such as Burning Shade, Eventide Fall, and Immolating Shade. Success comes from maintaining composure, resolving mechanics cleanly, and avoiding unnecessary movement that leads into overlapping damage zones.