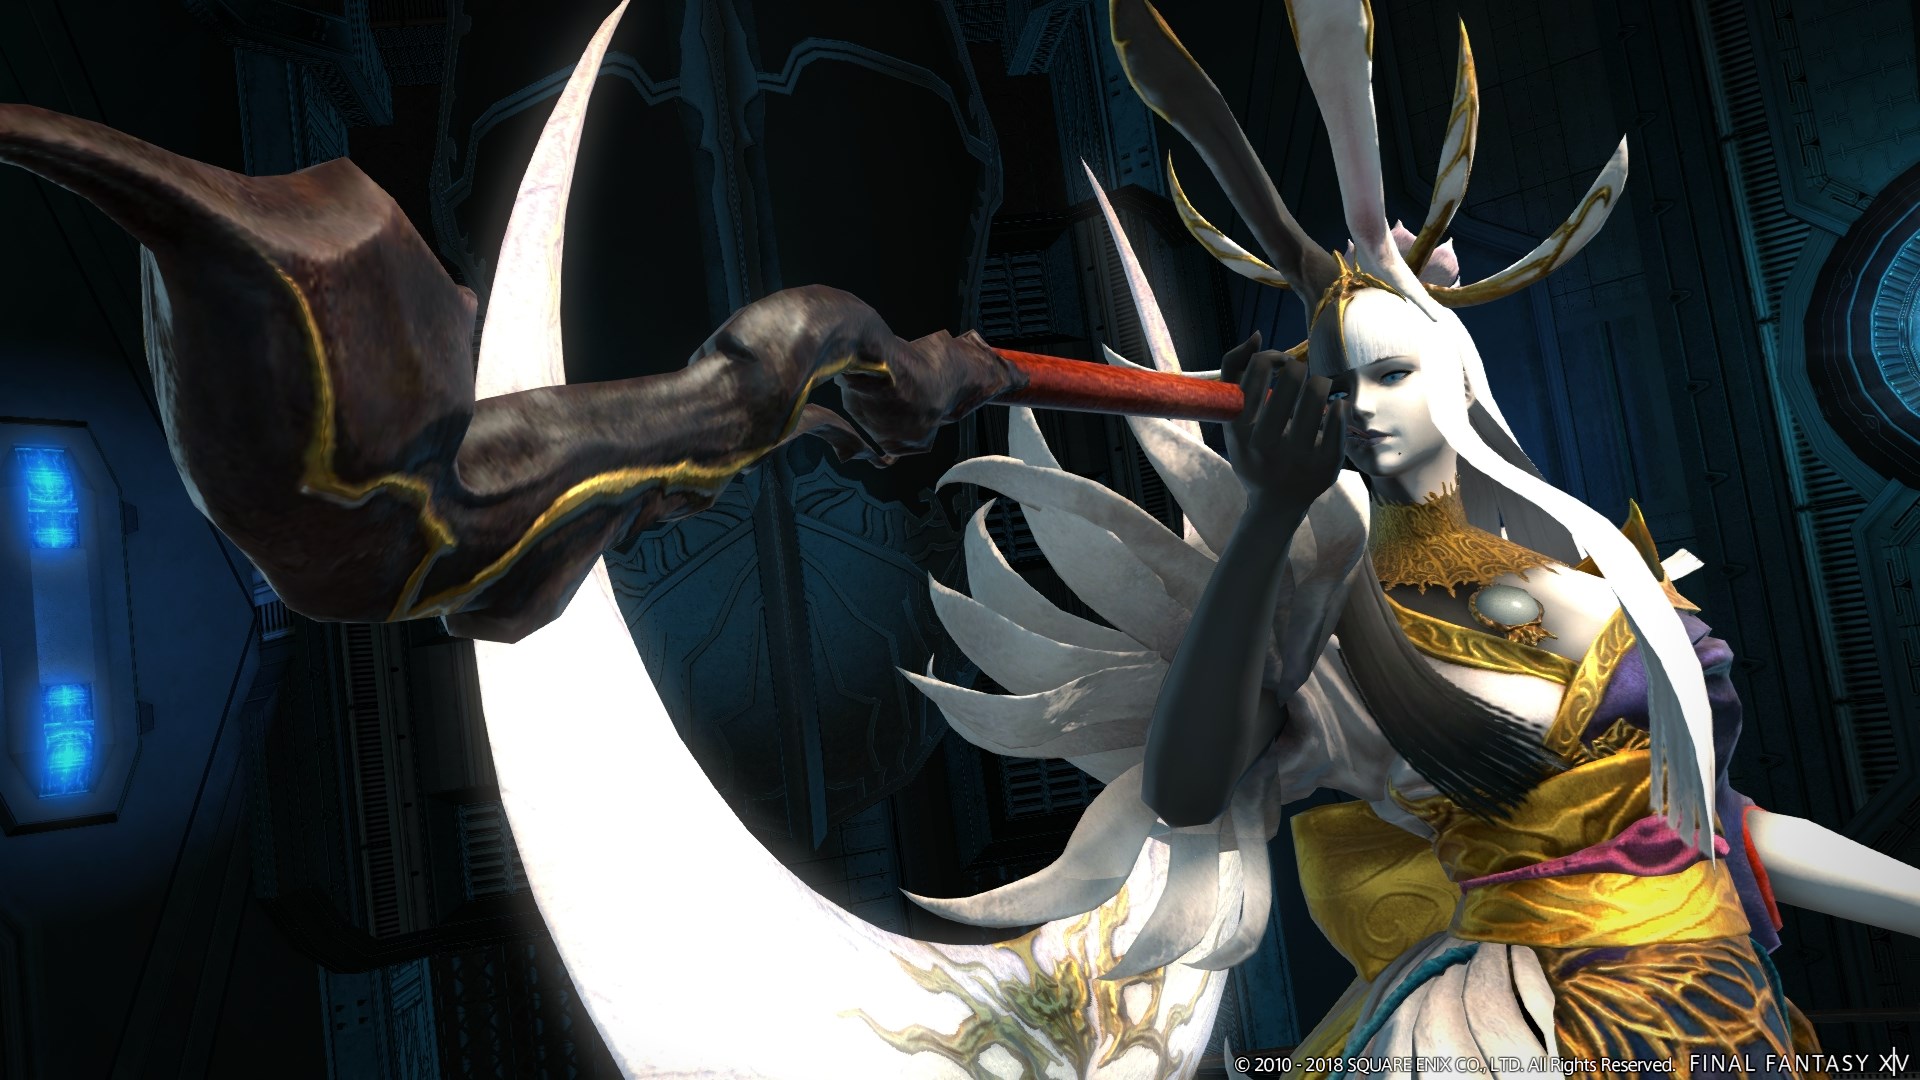
The Minstrel’s Ballad: Tsukuyomi’s Pain Guide – Tsukuyomi EX Mechanics
Duty Information
Expansion: Stormblood
Encounter: The Minstrel's Ballad: Tsukuyomi's Pain
Players: 8 (Tank / Tank / Healer / Healer / DPS / DPS / DPS / DPS)
Duty Finder Type: Trial
Level: 70
Item Level: 350
Unlock Requirement: Songs in the Key of Kugane
Encounter Overview
The Minstrel’s Ballad: Tsukuyomi’s Pain is the Extreme version of the Tsukuyomi encounter from Stormblood. This fight expands the normal trial into a much stricter execution check built around role-based splits, add control, moon debuff management, meteor placement, and a punishing final phase with stance-based safe spots.
The encounter is divided into three main combat phases with an add phase in between. While the opening phase is relatively controlled, the second phase becomes a debuff-management puzzle, and the final phase tests the raid’s ability to read moon stance plus blade direction combinations without hesitation.
Arena Overview
The battle takes place on a circular platform. During the moon phase, the floor becomes divided into white and black sections that apply opposing debuffs over time, forcing players to stand on the correct half of the arena to reset their stacks.
Several mechanics also create temporary safe zones with meteors, puddles, and fan explosions, so preserving movement space and pre-positioning correctly are both very important.
Mechanic Archive
Reprimand
A raidwide AoE used throughout the fight. Healers should be ready for repeated group damage between more technical mechanics.
Nightfall
Tsukuyomi signals which weapon mechanic is coming next by changing her weapon and voice line.
Lead of the Underworld (Gun)
A line stack marker that must be shared by the party. Tsukuyomi will announce this with her gun pattern.
Steel of the Underworld (Spear)
Three cleaves target one tank, one healer, and one DPS. The party must split by role so no player is struck by more than one cleave.
Nightbloom
A heavy raidwide attack that stuns the party and transitions the encounter into the add phase.
Suffering Gauge
During the add phase, damage dealt to Yotsuyu fills the Suffering gauge. If the gauge reaches 100, the party wipes. Faster add kills reduce the final damage taken when the phase ends.
Specters
Multiple waves of adds appear during the add phase. Tanks should gather the tankable enemies, while the raid prioritizes the tethered or otherwise more dangerous specters affecting Yotsuyu directly.
Supreme Selenomancy
Each player receives either Moonlit or Moonshadowed stacks. Standing on the matching side of the moon floor gives more of that same debuff, while standing on the opposite side replaces it. Reaching five stacks causes Doom and near-immediate death.
Because players begin this phase with four stacks already applied, they must immediately move to the opposite color.
Lunar Halo
Large donut AoEs cast by non-targetable Moonlights on one side of the arena. These overlap with Supreme Selenomancy and restrict which half of the floor can be used safely.
Meteor Phase
An off-tank, a healer, and a DPS are marked to place meteors. These meteors must be spread to three different cardinal positions, leaving one safe cardinal open for the raid to use while the meteors resolve.
Each meteor also leaves behind a puddle matching the color of the floor beneath it, which is later used to survive the next moon-aligned raidwide.
Midnight Rain
Converts the arena fully to white or black and gives Tsukuyomi either Full Moon or New Moon.
Antitwilight
Used during Full Moon. Players need Veil of Shadow to survive, which is gained by standing in the correct meteor puddle.
Perilune
Used during New Moon. Players need Veil of Light to survive, again requiring correct puddle usage.
Zashiki-asobi
Fan-shaped circular AoEs appear in two waves. The first wave, including the center fan, resolves before the second. Players begin in the second-wave safe area, then move into the first-wave space once it explodes.
Torment Unto Death
A tank cleave that applies vulnerability and forces a tank swap.
Dance of the Dead
A heavy raidwide attack that marks the start of the final phase.
Full Moon
Tsukuyomi turns white and pairs her blade attack with Waxing Grudge, a point-blank AoE around herself. Players must stay away from her hitbox while also resolving the correct blade safe side.
New Moon
Tsukuyomi turns black and pairs her blade attack with Waning Grudge, a donut AoE. Players must stay close to her while also resolving the correct blade safe side.
Bright Blade
A large cleave covering Tsukuyomi’s left side and rear. The safe area is on her right side.
Dark Blade
A large cleave covering Tsukuyomi’s right side and rear. The safe area is on her left side.
Lunacy
A repeated multi-hit stack marker that must be soaked by the whole party. In the enrage, Lunacy continues until the raid dies.
Hagetsu
Marks one tank, one healer, and one DPS with splash-damage markers. Those targeted players must spread away from each other and the party.
Tsuki-no-Kakera
Summons a ring of fans around the arena plus one in the center. Players begin in the final fan’s location and move inward after the center fan resolves.
Encounter Flow
Phase 1 – 100% to 80%
The fight begins with Reprimand and two Nightfall weapon patterns. The first Nightfall will always be either gun or spear, and the second will always be the other one, so the party must be ready to either line-stack for Lead of the Underworld or split by role for Steel of the Underworld.
Once Tsukuyomi reaches 80%, she uses Nightbloom and transitions into the add phase.
Add Phase
Multiple waves of specters appear while the Suffering Gauge fills. Tanks should gather the tankable adds, while the party focuses the enemies directly tethered to Yotsuyu or otherwise most dangerous to the raid.
The add phase ends with a heavy raidwide hit whose damage depends on how much the Suffering gauge was allowed to build.
Phase 2 – 80% to 35%
This is the encounter’s main puzzle phase. Supreme Selenomancy immediately forces every player to move to the opposite floor color because they begin with four stacks of their current debuff. While the raid is managing moon stacks, Tsukuyomi uses Lunar Halo, then transitions into the meteor sequence.
The off-tank, a healer, and a DPS place meteors at three cardinals, leaving one safe cardinal open. After the meteors resolve a second time, each leaves a colored puddle. The raid then uses the correct puddle to gain the matching veil and survive Antitwilight or Perilune after Midnight Rain.
Tsukuyomi repeats this structure with additional Zashiki-asobi, Nightfall variants, and Torment Unto Death tank swaps until she reaches the final phase.
Phase 3 – 35% to 0%
The final phase begins with Dance of the Dead and then shifts into repeated combinations of Full Moon or New Moon together with either Bright Blade or Dark Blade. Players must identify both conditions at once: whether to be close or far from Tsukuyomi, and whether the safe side is her left or right.
This phase also adds Lunacy stack markers, Hagetsu spreads, and Tsuki-no-Kakera fan sequences. The fight continues by layering these mechanics together until Tsukuyomi is defeated.
Enrage
If Tsukuyomi is not defeated in time, Lunacy continues repeatedly until the raid is overwhelmed.