The Minstrel’s Ballad: Endsinger’s Aria Trial Guide
Duty Information
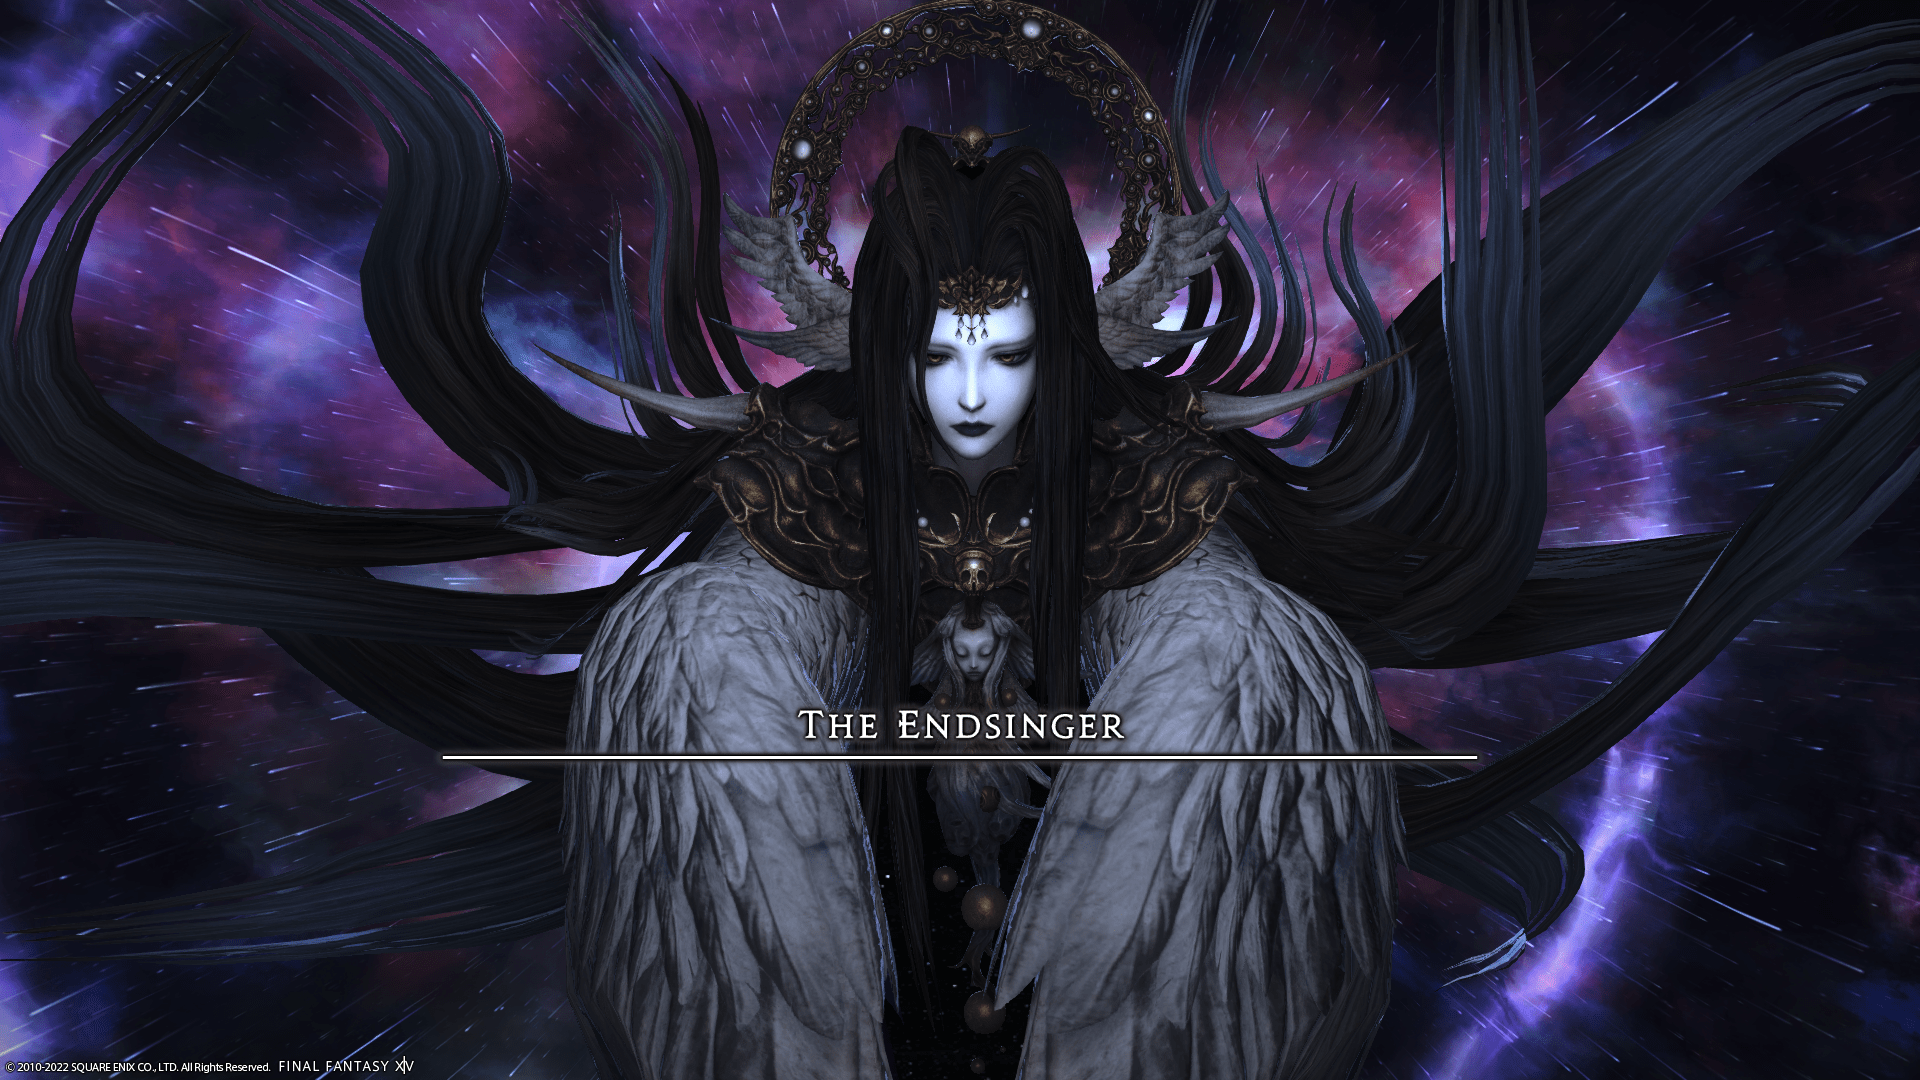
Expansion: Endwalker
Encounter: The Minstrel's Ballad: Endsinger's Aria
Players: 8 (Tank / Tank / Healer / Healer / DPS / DPS / DPS / DPS)
Duty Finder Type: Trial
Level: 90
Item Level: 580
Unlock Requirement: I Wandered Sharlayan as a Minstrel


Encounter Overview
The Minstrel’s Ballad: Endsinger’s Aria is the Extreme version of the Endwalker trial against The Endsinger. This encounter is a fast-paced execution fight built around overlapping mechanics, heavy raidwide pressure, and precise positioning. While individual mechanics are readable, the difficulty comes from resolving them simultaneously under tight timing windows.
Compared to encounters like Hydaelyn Extreme, this fight is less about strict sequencing and more about composure under pressure. Many wipes occur not from misunderstanding mechanics, but from late movement or overadjusting during overlaps.
For a full difficulty comparison across Endwalker trials, see the FFXIV Trial Rankings.
Arena Overview
The encounter takes place on a circular arena with no borders. Players can fall off and be instantly killed, making knockbacks and positioning near the edge extremely dangerous.
The arena is best understood using intercardinal markers and central positioning. Most mechanics resolve relative to quadrants or center alignment, so staying oriented is critical.
Mechanic Archive
Elegeia Unforgotten
Raidwide damage followed by planet mechanics and a central head cleave. Red planets explode for lethal damage, while blue planets knock players back.
Micro-strategy: Always prioritize avoiding red planets first, then position for knockback control. Getting hit by the head is survivable—getting knocked off or clipped by red is not.
Grip of Despair
Tethers form between tanks/healers and DPS. These must be broken quickly.
Micro-strategy: Step away immediately after tethers appear—delaying even slightly can cause stacking vulnerability and wipe cascades.
Katasterismoi
Eight towers spawn in two columns. Each must be soaked.
Micro-strategy: Pre-assign lanes (tank/healer vs DPS sides). Do not drift between towers—commit early and stay in your column.
Elenchos
Either a center AoE or side AoEs based on visual tells.
Micro-strategy: Watch the boss’s face, not the arena. Reacting to the visual tell is faster than reading the AoE after it appears.
Telomania
Multiple raidwide hits followed by a bleed.
Micro-strategy: Mitigation should be layered, not stacked. Healers should prepare to stabilize after the final hit, not during.
Hubris
Heavy tankbusters on top enmity players.
Micro-strategy: Tanks should separate slightly before the hit to avoid accidental overlap while still staying healable.
Eironeia
Two stack markers on healers.
Micro-strategy: Light parties must already be positioned—late grouping often overlaps with other mechanics and causes wipes.
Fatalism
Replays planet mechanics in sequence.
Micro-strategy: Start center, then adjust. Moving early or guessing often leads into the second mechanic incorrectly.
Theological Fatalism
Repeats previous mechanics based on ring count.
Micro-strategy: Track what you just resolved. Most wipes happen because players forget which mechanic is being repeated.
Twinsong’s Aporrhoia (5-head)
Five heads create rotating safe quadrants.
Micro-strategy: Move clockwise with the pattern. Do not panic-adjust—follow the rotation rhythm and reposition once per cycle.
Endsong’s Aporrhoia (6-head)
Six heads with delayed AoEs based on moving rings.
Micro-strategy: Identify the safe head early and commit. Hesitation causes players to get caught between overlapping explosions.
Despair Unforgotten
Random combinations of spreads, stacks, and proximity markers.
Micro-strategy: Resolve role responsibilities first (tank/healer vs DPS), then adjust positioning. Trying to solve everything at once leads to overlap errors.
Encounter Flow
Opening Phase
The fight begins with Elegeia Unforgotten, immediately forcing players to resolve knockbacks and positioning. This sets the tone for the encounter—prioritize lethal mechanics first, then optimize positioning.
Katasterismoi and Elenchos establish lane discipline and fast visual recognition. Players should minimize movement and avoid overcorrecting.
Mid Phase
The fight escalates with Fatalism and Theological Fatalism, requiring players to remember and repeat mechanics accurately. This is where most groups begin to struggle.
Simultaneously, healing pressure increases through Telomania and overlapping mechanics, making mitigation planning essential.
Final Phase
The encounter culminates with Aporrhoia patterns and Despair Unforgotten, combining multiple mechanics into rapid sequences.
Success here comes from composure—players must execute cleanly, trust positioning, and avoid unnecessary movement. Most wipes in this phase come from panic rather than complexity.