The Interphos Trial Guide: Queen Eternal Mechanics and Strategy
Duty Information
Expansion: Dawntrail
Encounter: The Interphos
Players: 8 (Tank / Tank / Healer / Healer / DPS / DPS / DPS / DPS)
Duty Finder Type: Trial
Level: 100
Unlock Requirement: Dawntrail


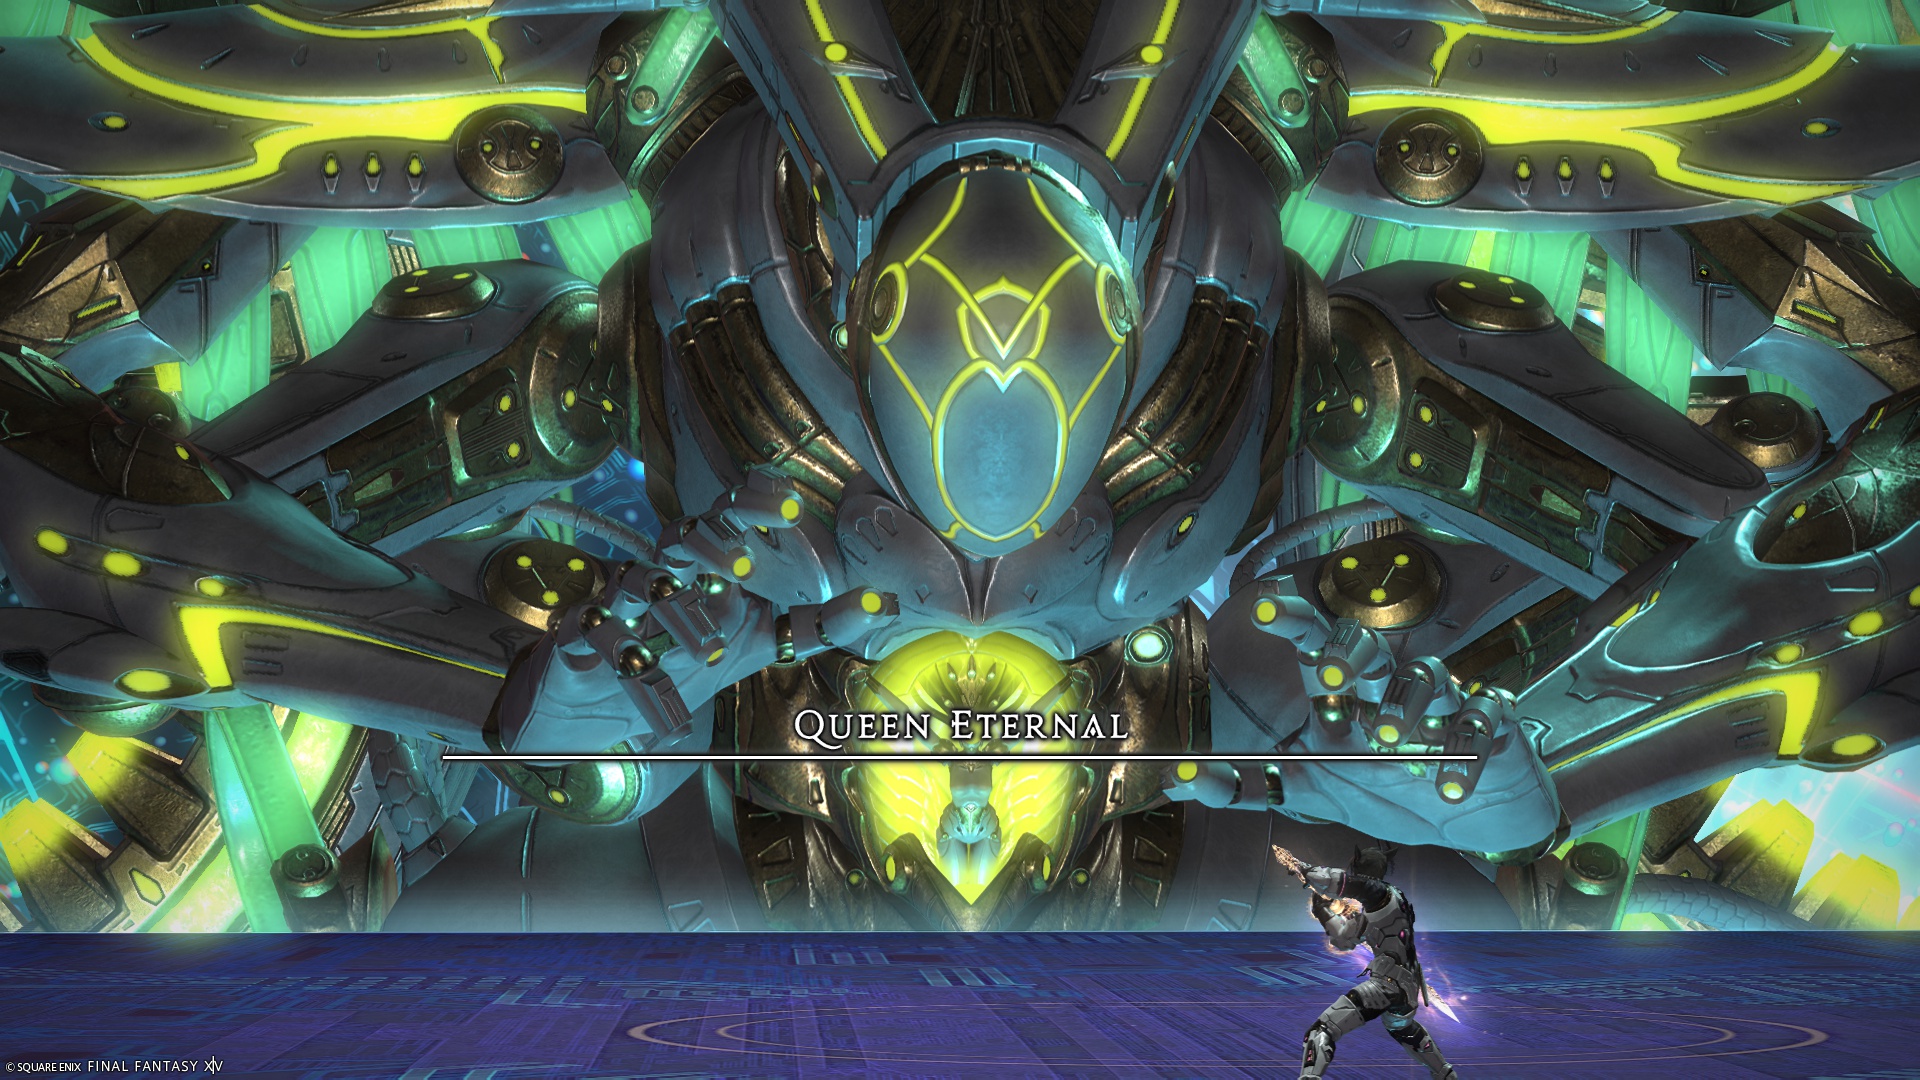
Encounter Overview
The Interphos is a level 100 Dawntrail trial featuring Queen Eternal, a mechanically dense encounter built around spatial control, knockbacks, and layered sequencing. The fight escalates steadily, culminating in the highly demanding Absolute Authority sequence.
Compared to encounters like Everkeep, this fight is less about mapping external mechanics and more about rapid execution under pressure. Most wipes occur during Absolute Authority or Castellation, where positioning mistakes quickly cascade into full-party deaths.
For a full comparison across all trials, see the FFXIV Trial Rankings.
Arena Overview
The encounter takes place on a shifting arena that changes shape multiple times, including hourglass layouts and split platforms. Players can fall off at any time, making positioning and knockback control critical.
Later phases introduce floating movement, allowing players to reposition freely—but also increasing the risk of drifting into lethal areas. Controlled movement is essential.
Mechanic Archive
Legitimate Force
Sequential half-room cleaves from glowing hands.
Identify the first safe side and stay near center—this allows minimal movement for the second cleave.
Aethertithe
Continuous raidwide damage over time.
Healers should treat this as sustained pressure—plan cooldowns across the entire sequence, not just the start.
Distorted Grid AoEs
Moving grid sections that resolve into lethal cone AoEs.
Watch the fast-moving distortion, not the grid. Pre-position early—getting clipped is unrecoverable.
Coronation (Circle Version)
Tracking AoEs that resolve into line attacks.
Spread first, then stabilize. Late adjustments will cause overlapping line AoEs.
Virtual Shift (Hourglass Arena)
Transforms the arena into a narrow layout.
Pre-position toward safe lanes before the shift completes—movement options become limited immediately after.
Coronation (Tether Version)
Two players tethered by a line AoE.
Move together to control the line position. Fighting the tether causes unpredictable placement.
Downburst
Diagonal knockback from a corner.
Aim to be knocked across the arena, not along edges. Poor angles result in falling off.
Powerful Gust
Horizontal knockback.
Stand near edges and aim for safe landing zones—pre-positioning is everything here.
Brutal Crown
Donut AoE with delayed resolution.
Move out early and hold position—late movement overlaps with other mechanics.
Castellation
Moving wall with safe holes.
Identify hole position immediately (top or bottom) and align early. Late adjustments are almost always fatal.
Floating variation: Use vertical movement to align precisely—do not drift sideways unnecessarily.
Absolute Authority
Major mechanic combining flares, stacks, AoEs, gaze, and acceleration bomb.
Micro-strategy (step-by-step):
- Flares: DPS move out immediately
- Stacks: Pair up quickly—do not hesitate
- AoEs: Move to safe zones early and hold
- Acceleration Bomb: Stop moving completely when it resolves
- Gaze: Look away from healers immediately after stopping
Critical tip: Treat this as a scripted sequence—reacting step-by-step instead of all at once prevents panic wipes.
Divide and Conquer
Sequential line AoEs followed by full spread.
Spread early and maintain spacing—late adjustments overlap lines.
Dynastic Diadem
Donut AoE in front of the boss.
Move behind the boss immediately—this is a positioning reset mechanic.
Royal Banishment
Repeated raidwide damage with conal AoEs.
Dodge cones first, then stabilize—healers should expect sustained pressure.
Encounter Flow
Phase One
The fight opens with Legitimate Force and Aethertithe, establishing movement and healing pressure.
Coronation and grid mechanics introduce positioning discipline. Players must react early and avoid overadjusting.
Mid Phase (Arena Shifts)
Virtual Shift and knockback mechanics test spatial awareness. Players must pre-position for safe landings while resolving tether and AoE mechanics.
Castellation introduces precise alignment requirements, especially during floating phases.
Absolute Authority Phase
This is the primary execution check. Players must resolve multiple mechanics in sequence without panic.
Most wipes occur here due to movement errors or incorrect ordering of mechanics.
Final Phase
The fight concludes with Dynastic Diadem and Royal Banishment, applying sustained pressure while repeating earlier mechanics.
Success comes from composure—clean execution and minimal movement errors.