The Gilded Araya Trial Guide
Duty Information
Expansion: Endwalker
Encounter: The Gilded Araya
Players: 8 (Tank / Tank / Healer / Healer / DPS / DPS / DPS / DPS)
Duty Finder Type: Trial
Level: 90
Unlock Requirement: Gentlemen at Heart


Encounter Overview
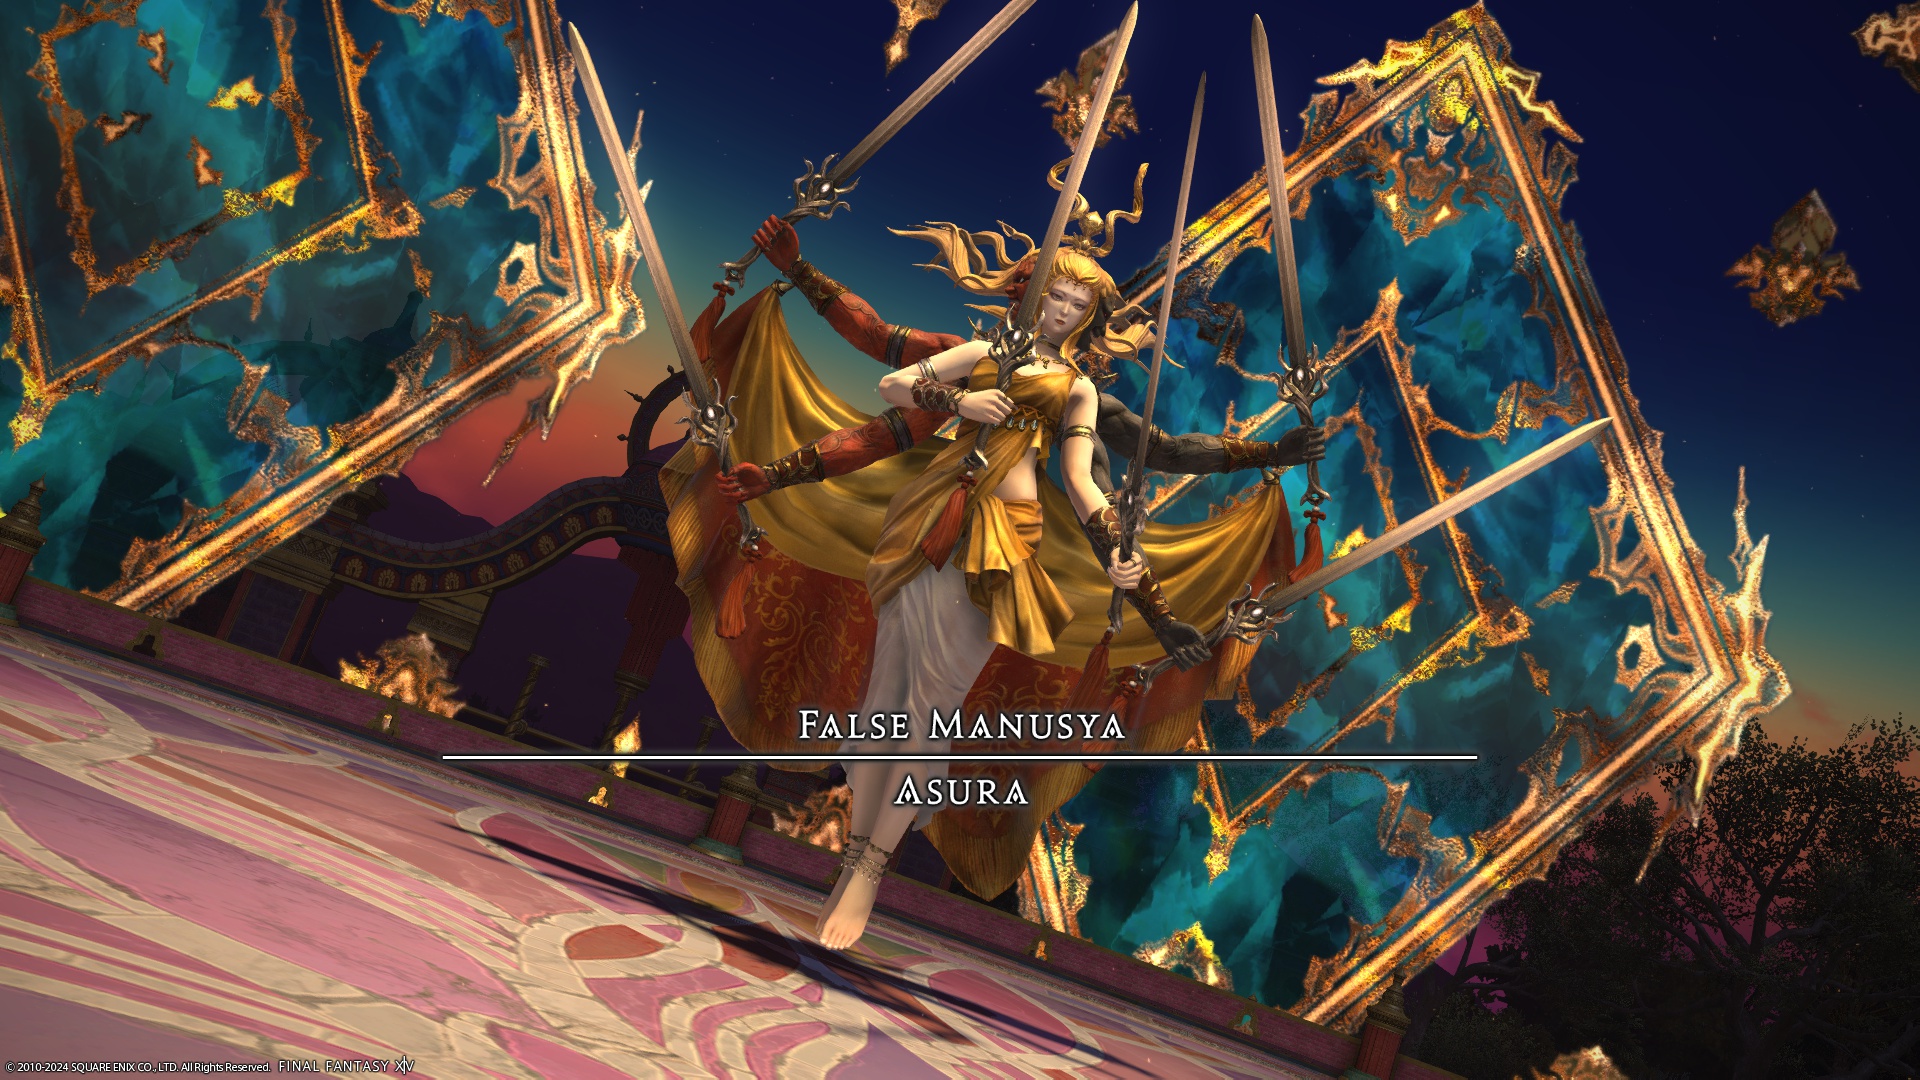
The Gilded Araya is a level 90 Endwalker trial featuring Asura, the False Manusya. This encounter is a fast-paced pattern recognition fight centered around layered AoEs, clone mirroring mechanics, and repeated sequencing checks. While individual mechanics are readable, the difficulty comes from resolving overlapping boss and clone attacks simultaneously.
The fight rewards strong spatial awareness and quick decision-making. Players must constantly evaluate whether danger is coming from the boss, the clone, or both, and adjust positioning accordingly. Later sequences increase pressure by introducing relocation mechanics and tighter safe zones.
Want to see where this encounter ranks among Endwalker trials? Visit the FFXIV Trial Rankings for full difficulty and progression context.
Arena Overview
The encounter takes place on a circular arena with fall risk at the edges. Several mechanics force players toward or away from the arena border, making edge awareness critical throughout the fight.
During later phases, the arena is effectively split into halves or controlled by directional cleaves and clone positioning. Players should maintain awareness of both the boss and clone locations at all times, as safe zones are often determined relative to both.
Mechanic Archive
Lower Realm
A raidwide attack followed by a lethal AoE at the edge of the arena. Players should stay slightly off-center to avoid being forced into unsafe edge positions during follow-up mechanics.
Asuri Chakra
Combines a point-blank AoE with multiple expanding ring AoEs, leaving narrow safe gaps between them. Players must identify safe spacing quickly and avoid drifting into adjacent rings.
Later versions add point-blank AoEs on random players and spread markers. Maintain awareness of both personal positioning and group spacing to avoid overlapping damage zones.
Cutting Jewel
A tankbuster with clear telegraphing. Tanks should mitigate and move away from the party. Early positioning prevents accidental cleave overlap.
Ephemerality
A raidwide followed by multiple phantom clones performing point-blank AoEs. Players should spread slightly and avoid stacking unnecessarily, as overlapping explosions can quickly wipe the group.
Iconography + Iconic Execution (Core Mechanic)
Asura summons a large clone and tethers to it. The boss performs an Iconography attack, followed immediately by a larger mirrored version from the clone. Players must resolve both relative to each source.
Pedestal Purge (Point-Blank)
Boss uses a point-blank AoE. Move away from the boss. The clone then performs a larger version—players must also avoid its expanded range.
Wheel of Deincarnation (Donut)
Boss uses a donut AoE. Move close to the boss. The clone mirrors this with a larger donut, requiring players to stay within safe inner zones relative to its position.
Bladewise (Line AoE)
Boss uses a line AoE. Move to the sides. The clone follows with a wider version, requiring players to maintain safe lateral positioning.
The order of these mechanics is random, requiring players to identify and react quickly rather than memorizing sequences.
Six-bladed Khadga
Six sequential half-room cleaves that rotate clockwise or counterclockwise. The last three cleaves repeat the first three. Players should identify the rotation direction early and move through safe halves in sequence rather than reacting to each cleave individually.
Face of Wrath / Face of Delight
The arena splits into red and blue halves while a mask of one color appears. The matching color side will explode. Players must move to the opposite color quickly. This is a fast recognition check with minimal forgiveness.
Myriad Aspects
Two sets of conal AoEs covering large portions of the arena. Identify safe wedges early and move minimally to avoid clipping adjacent cones.
Bladescatter
Sequential line AoEs that rotate clockwise or counterclockwise. Similar to Khadga, this rewards recognizing the rotation pattern early and moving predictively rather than reactively.
Iconic Transcendence
The clone relocates before executing its mirrored attacks. Players must quickly identify the new clone position and resolve Iconic Execution relative to it. This significantly increases difficulty, as safe zones shift dynamically.
Encounter Flow
Phase One
The fight opens with Lower Realm and quickly establishes spatial pressure through Asuri Chakra. Players must learn to identify safe gaps while maintaining awareness of edge danger.
Ephemerality introduces clone pressure through overlapping point-blank AoEs, followed by the core Iconography + Iconic Execution sequences. These define the encounter, requiring players to resolve mechanics from both the boss and clone simultaneously.
Positioning discipline is key here—players should focus on resolving both sources of damage cleanly rather than overmoving between them.
Phase Two
The fight escalates with Six-bladed Khadga, Face of Wrath/Delight, and rotational mechanics like Bladescatter. These sequences test pattern recognition and movement efficiency.
The reintroduction of Iconography with Iconic Transcendence significantly increases difficulty. The clone’s relocation forces players to quickly reassess safe zones, making early recognition critical.
Later uses of Asuri Chakra combine spreads and layered AoEs, creating tight positioning checks. Success comes from staying calm, minimizing unnecessary movement, and resolving mechanics in sequence rather than reacting impulsively.