The Dark Inside Guide (FFXIV) – Zodiark Mechanics
Duty Information
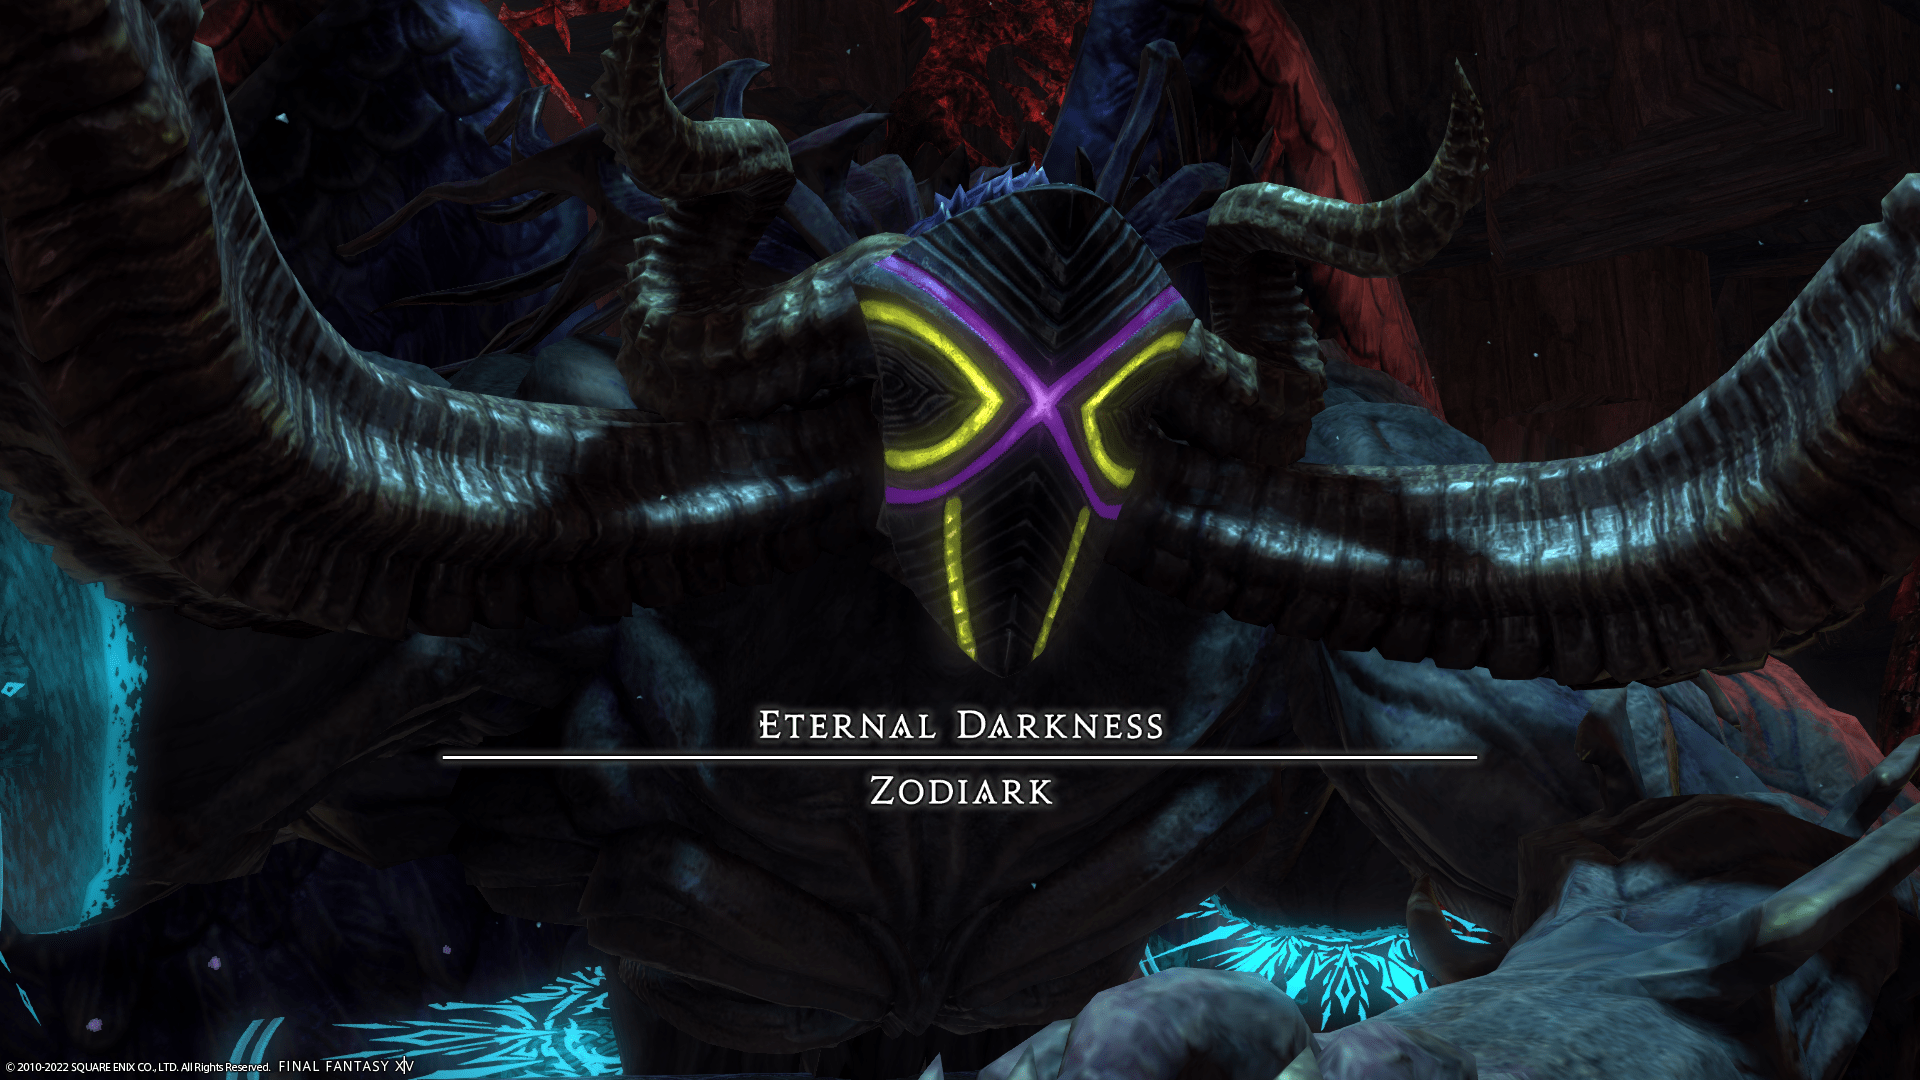
Expansion: Endwalker
Encounter: The Dark Inside
Players: 8 (Tank / Tank / Healer / Healer / DPS / DPS / DPS / DPS)
Duty Finder Type: Trial
Level: 83
Unlock Requirement: The Martyr


Encounter Overview
The Dark Inside is a level 83 trial featuring Zodiark, the Eternal Darkness. The encounter is built around arena-reading, rotation awareness, and fast positional correction, with most of the difficulty coming from identifying how a mechanic will resolve after the platform or enemy patterns shift.
Phase 1 introduces Zodiark’s core language through rune patterns, quadrant-safe mechanics, and repeated movement checks. Phase 2 expands that foundation by rotating mechanics before they resolve, adding sequential laser patterns, diagonal kill zones, and a meteor puzzle that tests visual reading more than raw speed. :contentReference[oaicite:0]{index=0}
For broader encounter context, see the FFXIV Trial Rankings.
Arena Overview
The battle takes place on a square platform with fall risk on all sides. Zodiark himself remains fixed to one side of the arena, which means many mechanics are easier to solve if players stay conscious of where the boss is anchored before making movement decisions.
Most of the arena danger comes from wide quadrant coverage, diagonal sweeps, and mechanics that rotate before resolving. This is a fight where standing in a technically safe place too early can still get you killed if you do not account for the follow-up rotation.
Mechanic Archive
Kokytos
Zodiark opens the fight by reducing the party to 1 HP. This is mostly a setup mechanic, but healers should restore the group quickly because the first real sequence starts immediately and low-health players can easily be lost to early mistakes.
Exoterikos
Zodiark fires a beam at one side of the arena and places either a triangle or square rune there. The triangle creates a broad cone that reaches across the platform, while the square blasts the half of the arena adjacent to it.
Read the rune first, then solve the arena from the far side back toward the marker. The triangle is the more deceptive pattern because it cuts a much larger wedge than many players expect, so move with intention instead of trying to hug its border.
Ania
A straightforward tankbuster. Tanks should mitigate normally and keep the boss stable, since the real danger in this fight usually comes from needing the party to recognize mechanics quickly around a fixed boss position.
Styx
A multi-hit stack marker that deals repeated heavy damage. The party must stack together and healers should treat it like sustained raid damage rather than a single impact. Mitigation is valuable here, especially if the group is still recovering from a previous mechanic.
Paradeigma – Behemoths
Summons two behemoths that each cover a quadrant with circular AoEs, leaving the other two quadrants safe.
Identify the unsafe quadrants immediately and move early into one of the two open spaces. Do not drift toward the center too long waiting for perfect information—this pattern is much easier if the raid commits quickly.
Paradeigma – Snakes
Summons two snakes that fire broad line AoEs across the platform, each occupying roughly a quarter of the arena’s width. Safe spots exist either between them or on the outer sides.
Use the snakes to define lanes, not just lines. The middle safe zone is often the easiest default unless another mechanic is already claiming that space.
Adikia
Two fists slam the left and right sides of the arena, creating large circles that meet in the middle. This leaves two safe zones at the north and south ends.
Move cleanly into north or south rather than trying to edge the centerline. If another mechanic overlaps, decide your safe north/south lane before the fists land so you are not forced into a late diagonal correction.
Phlegethon
Three waves of AoEs appear under players in sequence. The group must keep moving until all waves have resolved.
Favor short, controlled movement instead of running wide across the platform. Overmoving is the usual cause of getting clipped by later waves or drifting into the next mechanic’s danger zone.
Complete Control
Zodiark transforms, signaling the transition into Phase 2. This is your cue that the encounter is about to start modifying familiar mechanics rather than introducing completely new base patterns.
Astral Flow
Used after many Phase 2 Paradeigma casts. The party is held in place while the floor rotates 90 degrees, rotating the behemoth or snake pattern before it resolves.
Solve the mechanic as it will exist after rotation, not as it appears when spawned. The easiest habit is to mentally rotate the safe quadrants or lanes the moment Astral Flow begins rather than waiting until control returns.
Triple Esoteric Ray
Three lasers fire across the field in sequence. The attack does not linger, so once a laser resolves, that space becomes safe immediately.
Think of this as a lane-swapping mechanic. Start in the first safe lane, then move into the just-resolved lane as each beam fires. Players who try to outrun the entire pattern instead of stepping through it usually get caught.
Algedon
Zodiark moves to the front-left or front-right corner and strikes diagonally across the arena. Anyone hit is pushed to their death. The visual warning is brief.
The boss position is the tell. As soon as Zodiark shifts to a forward corner, identify the diagonal and move off that line immediately. This is not a mechanic to greed casts on.
Astral Eclipse
Zodiark leaves the arena and moves counter-clockwise while stars appear off the three other sides of the platform. These stars indicate where meteors will strike relative to that side, effectively creating a 3×3 grid puzzle.
Read one side at a time, then find the square that remains safe across all incoming meteor patterns. Do not try to solve it as pure visual chaos—translate each star set into occupied grid spaces and then identify the surviving lane or tile.
Trimorphos Exoterikos
Zodiark places three Exoterikos attacks in sequence, one on each of the three available sides, in random order.
This is a sequencing check. Track the order of the rune placements and move into the space left behind by the first resolved pattern while preparing for the second and third. Treat it like a multi-step dance, not three unrelated dodges.
Encounter Flow
Phase 1
The fight opens with Kokytos, immediately putting the raid at low health and forcing quick recovery before the first real pattern begins. From there, Zodiark introduces the core mechanics that define the encounter: Exoterikos for side-based pattern reading, Paradeigma for quadrant and lane control, Adikia for north-south safe zones, and Phlegethon for repeated movement.
The phase is mostly about learning how Zodiark presents space. Nothing here is especially punishing once recognized, but players who move late or solve from the wrong visual reference point often create avoidable deaths. Styx and Ania keep tank and healer pressure steady while the raid learns the platform logic.
Phase 2
After Complete Control, Zodiark keeps most of Phase 1’s mechanics but begins altering how and when they resolve. The key new idea is Astral Flow, which rotates Paradeigma setups before they fire. That means the safe space players initially see is often not the final safe space they actually need.
The phase then adds Triple Esoteric Ray, which is a clean sequence mechanic once players remember that resolved beams become safe immediately. Algedon punishes inattention to boss positioning with an instant-death diagonal sweep, while Astral Eclipse introduces the fight’s biggest visual puzzle by asking players to read meteor patterns around a rotating 3×3 mental grid.
Finally, Trimorphos Exoterikos layers sequencing into the existing rune system, forcing the raid to read multiple side attacks in order instead of solving one static pattern. From there, Zodiark repeats these mechanics without Astral Eclipse until defeated. The fight rewards calm movement and fast reads far more than aggressive uptime greed.