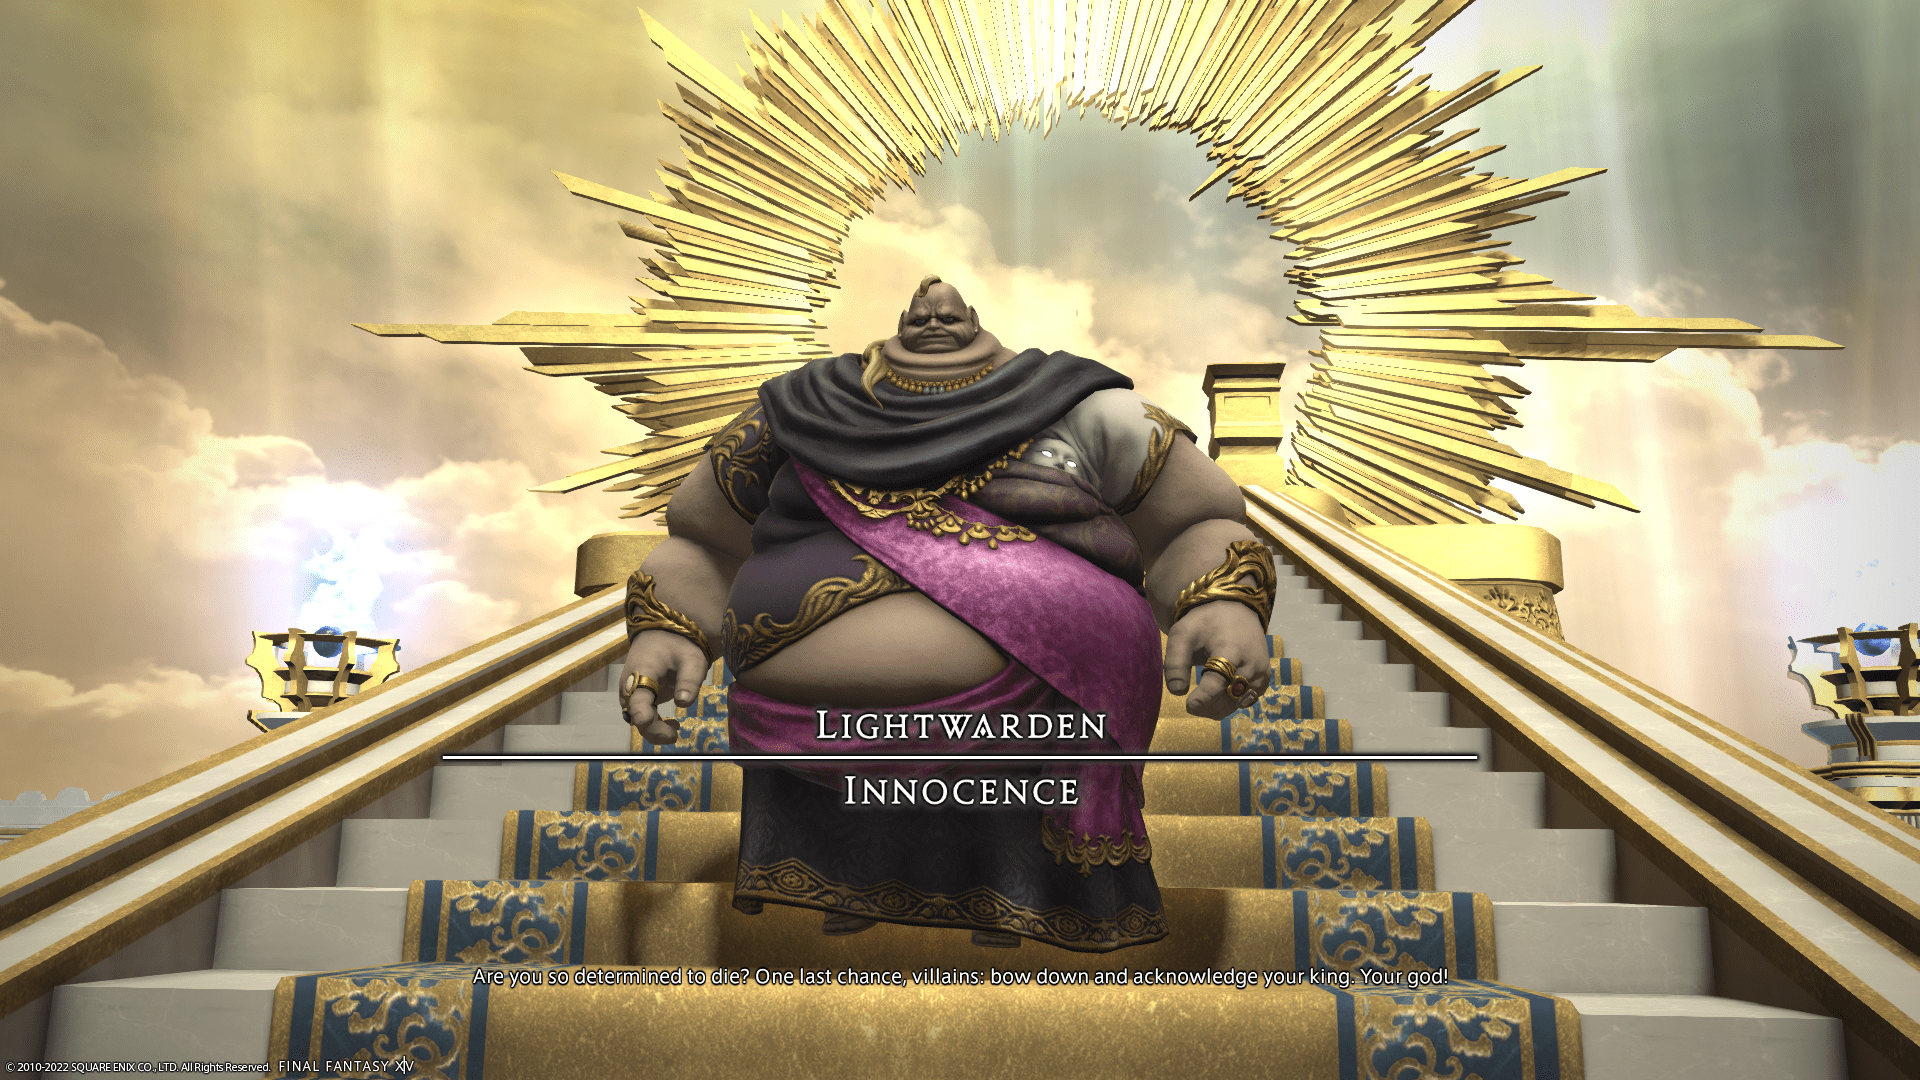
The Crown of the Immaculate (Extreme) Guide – Innocence Mechanics
Duty Information
Expansion: Shadowbringers
Encounter: The Crown of the Immaculate (Extreme)
Players: 8 (Tank / Tank / Healer / Healer / DPS / DPS / DPS / DPS)
Duty Finder Type: Trial
Level: 80
Item Level: 430
Unlock Requirement: Minstrel from Another Mother


Encounter Overview
The Crown of the Immaculate (Extreme) is a mechanically dense encounter against Innocence that emphasizes positioning precision, pattern recognition, and controlled movement through layered AoE overlaps. The fight alternates between high-pressure execution phases and a central add-based DPS check.
Most wipes occur during overlapping mechanics where players misposition or react too late to delayed follow-up attacks. Success depends on reading patterns early and pre-positioning before mechanics resolve.
For broader encounter context, see the FFXIV Trial Rankings.
Arena Overview
The arena is a circular platform with no environmental hazards, but is heavily influenced by directional AoEs and returning projectiles. Safe zones are temporary and constantly shifting based on sword patterns, line AoEs, and orb placement.
Later phases introduce spatial denial through Starbirth orbs, forcing the group to actively reposition the boss and control safe zones rather than react passively.
Mechanic Archive
Shadowreaver
Unavoidable raidwide damage often used after heavy mechanic overlap. Healers should stabilize quickly and prepare for follow-up pressure rather than treating it as a standalone event.
Righteous Bolt
Primary tankbuster that applies vulnerability. Tanks should swap cleanly and avoid overlapping hits. Poor swaps will quickly spiral into deaths during later overlaps.
Winged Reprobation
Tethers players to swords that later fire beams and split into multiple line AoEs. Marked players should move to the edges—preferably diagonals—to direct beams away from the group and preserve central safe space.
Rightful Reprobation
Two-part line AoE pattern. Initial lines fire outward, then return across the arena with minimal warning. Always pre-position for the return—this is a common wipe mechanic.
Rotating Swords
Spinning AoE patterns that force continuous movement between safe zones. Players should move early and avoid over-correcting, especially when combined with other mechanics.
Drop of Light
Large AoE markers on players. Spread to edges and avoid overlapping with others or key safe zones. Later phases require careful placement to avoid triggering orb explosions.
Light Pillar
Line stack marker on a healer. The group must align properly to share damage while ensuring the line does not intersect dangerous zones or Starbirth orbs.
Starbirth
Spawns explosive orbs that detonate if hit by mechanics. The group must reposition the boss away from orbs and avoid clipping them with AoEs. Proper orb management is critical in Phase 3.
Beatific Vision
Innocence charges across the arena in a straight line. Players should move to the edge and maximize distance from the charge path to reduce damage.
God Ray
Expanding “pizza-slice” AoE with narrow safe zones. Often overlaps with other mechanics, requiring delayed movement timing rather than immediate dodging.
Encounter Flow
Phase 1 – Pattern Introduction
The fight opens with layered sword mechanics, beginning with Winged Reprobation and Rightful Reprobation. Players learn to control beam direction while respecting delayed line AoEs returning across the arena.
Rotating Swords and Drop of Light introduce movement pressure, forcing players to reposition while maintaining spacing. The key here is staying calm and reading safe zones early rather than reacting late.
As mechanics begin overlapping, Light Pillar adds group coordination requirements, reinforcing positioning discipline before the add phase.
Phase 2 – Add Phase (DPS Check)
Innocence becomes untargetable and summons adds. Tanks must split the Forgiven Venery adds, while the group prioritizes the central Forgiven Shame.
This is a straightforward DPS check—failure to kill all adds before the gauge fills results in a wipe. Clean tank control and focused damage output are key.
After the adds are defeated, the raid takes heavy damage before transitioning into the final phase.
Phase 3 – Full Overlap Phase
The final phase combines all previous mechanics with the addition of Starbirth, significantly increasing positioning complexity.
Players must now:
- Manage sword patterns (Winged + Rightful Reprobation)
- Avoid overlapping AoEs (Drop of Light)
- Control stack positioning (Light Pillar)
- Prevent orb detonation (Starbirth)
One of the most important strategies is repositioning the boss away from Starbirth orbs to preserve safe space. Poor positioning will cause unavoidable overlaps and wipe the group.
Beatific Vision and God Ray further compress safe zones, requiring delayed movement and precise positioning.
The final sequences are consistency checks—mechanics repeat in increasingly tight combinations until the boss is defeated or enrage is reached.