The Crown of the Immaculate Guide – Innocence Trial Mechanics
Duty Information
Expansion: Shadowbringers
Encounter: The Crown of the Immaculate
Players: 8 (Tank / Tank / Healer / Healer / DPS / DPS / DPS / DPS)
Duty Finder Type: Trial
Level: 79
Unlock Requirement: Extinguishing the Last Light


Encounter Overview
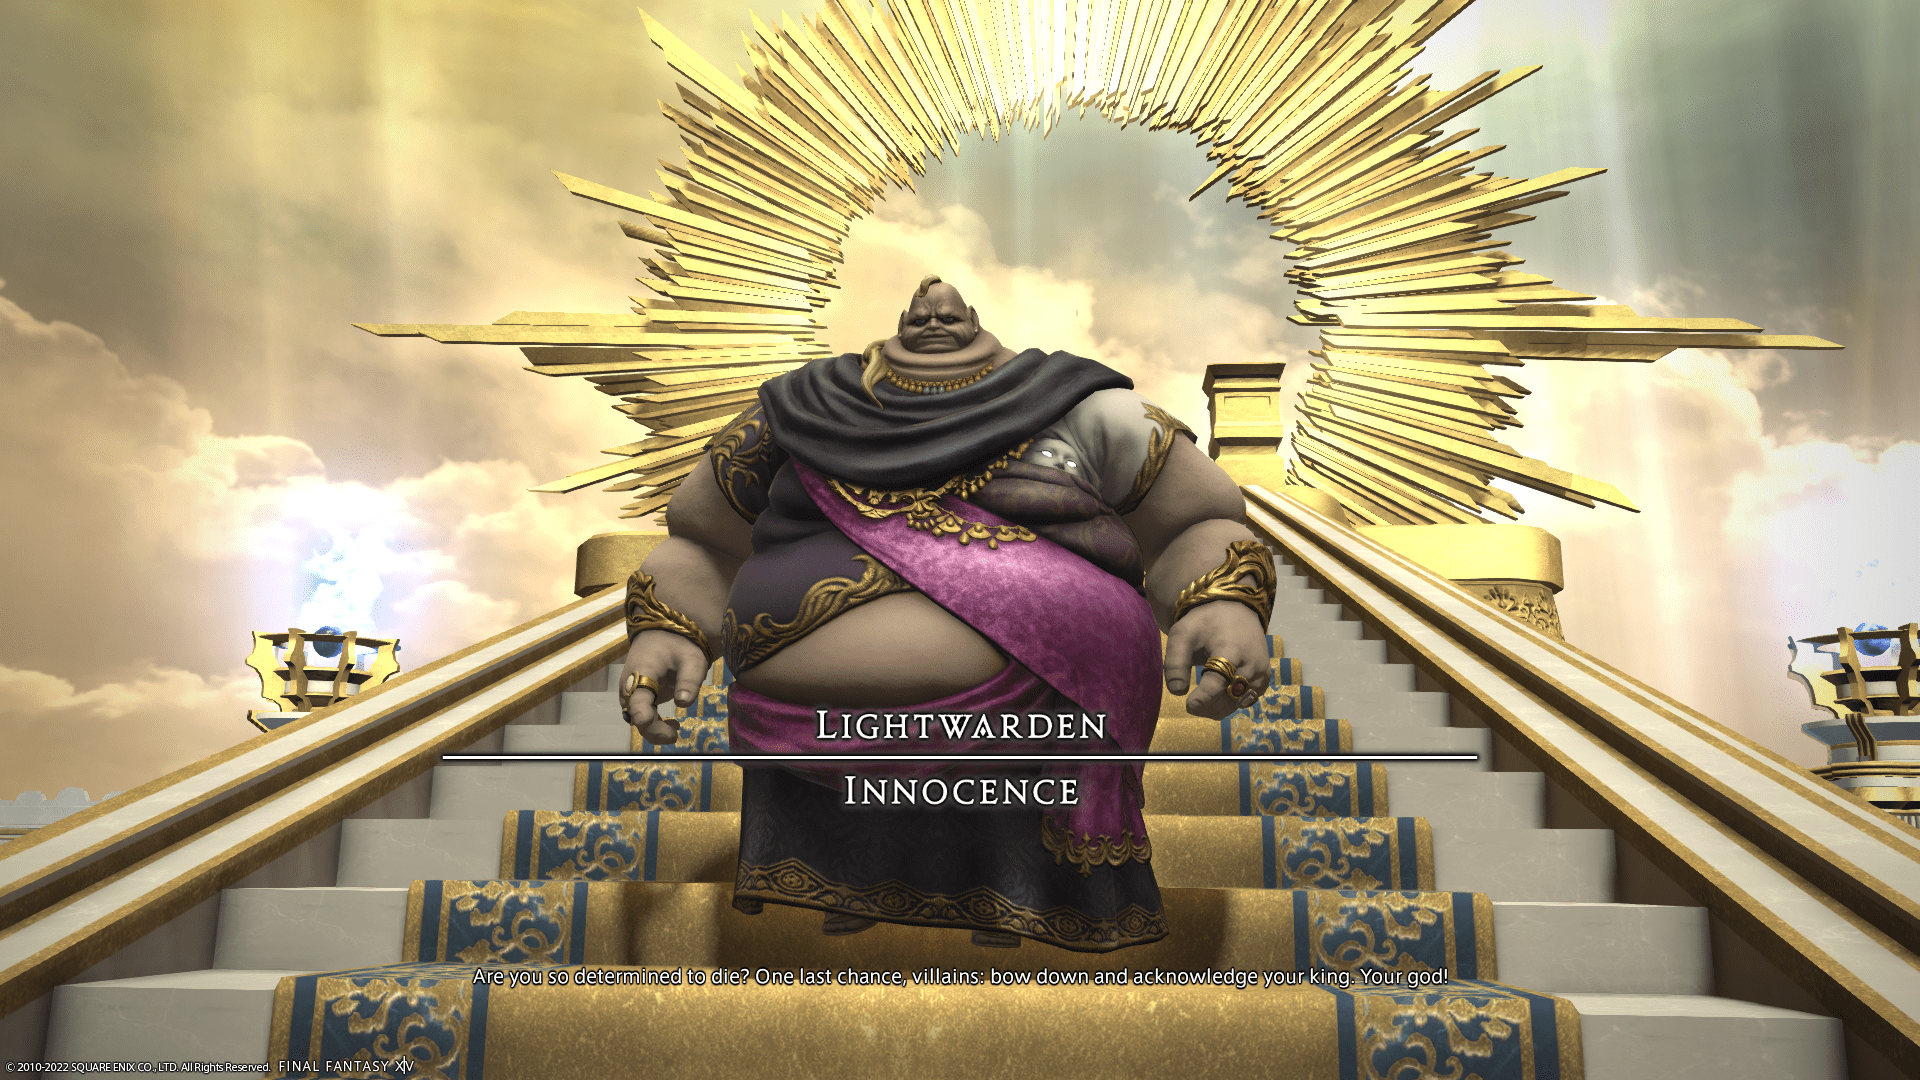
The Crown of the Immaculate is a level 79 trial featuring Innocence, the Lightwarden of Eulmore. This encounter is split into two major phases, with the second phase acting as the true fight and including a checkpoint.
The fight emphasizes add control, directional AoEs, and layered mechanics that punish poor positioning. Phase 1 serves as a controlled introduction, while Phase 2 ramps into high-pressure execution with repeated overlapping patterns.
Arena Overview
The encounter takes place in a circular arena with no immediate environmental hazards. However, positioning is critical due to line AoEs, rotating patterns, and proximity-based attacks.
Many mechanics originate from the center or edges of the arena, requiring players to constantly adjust positioning relative to Innocence’s movement.
Mechanic Archive
Realmrazer
Moderate raidwide AoE damage. Healers should be ready to stabilize the party after each cast.
Heavenly Host
Summons one Forgiven Venery and four Forgiven Shame adds. These must be handled quickly to prevent overwhelming damage.
Scold’s Bridle
Raidwide AoE cast by Forgiven Shame. Damage stacks if multiple casts go off, so adds should be prioritized and interrupted through damage.
Holy Sword
A tankbuster cast by Forgiven Venery. Tanks should mitigate and face it away from the group.
Daybreak
Places circular AoEs under DPS players. Spread out to avoid overlapping damage.
Sinsphere
Four meteor markers appear. Each must be soaked by at least one player. If any are left unsoaked, the damage is distributed across the entire raid.
Enthrall
A gaze attack that occurs alongside Sinsphere. Players must turn away from the boss to avoid confusion.
Guiding Light
Empowers adds with increased damage. This makes proper add priority and fast cleanup essential.
Exalted Wing / Exalted Plumes
Heavy raidwide damage that transitions the fight into Phase 2. Applies Down for the Count, briefly disabling players.
Righteous Bolt
A heavy single-target tankbuster in Phase 2. Requires mitigation and awareness from both tanks.
Winged Reprobation
Swords are embedded into the arena, creating multiple sets of line AoEs. Players must identify safe lanes and reposition quickly.
Rightful Reprobation
Innocence launches swords outward from the center, then recalls them. Players must avoid both the outgoing and returning line AoEs.
Soul and Body
An S-shaped rotating AoE. Players must move with the pattern or position in safe pockets to avoid being clipped.
Shadowreaver
Heavy raidwide AoE damage. Healing and mitigation are required to stabilize before the next mechanic.
Flaming Sword (Add Phase)
Innocence becomes untargetable and summons adds again while building the Immaculate Authority gauge. Failure to resolve this phase properly will result in a wipe.
Holy Sword (Tether Mechanic)
Forgiven Venery tethers to Forgiven Shame adds. Each tethered add must be killed before the cast completes, or it will be sacrificed to empower the boss and inflict stacking debuffs.
Manacle
Ground AoEs placed by adds during the add phase. Players must move carefully while maintaining DPS uptime.
God Ray
Three sequential cone attacks that expand outward (near → mid → far). Each cast shifts safe zones, requiring players to adjust positioning between hits.
Light Pillar
A stack marker on a random player. The group must stack to share damage.
Beatific Vision
A proximity-based charge attack across the arena. Players should move away from the charge path to reduce damage taken.
Encounter Flow
Phase 1
The encounter begins with Realmrazer and transitions quickly into add management through Heavenly Host. Players must prioritize eliminating Forgiven Shame adds to reduce raidwide damage while tanks manage Forgiven Venery.
During this phase, players will handle overlapping mechanics such as Daybreak (spread), Sinsphere (meteor soaks), and Enthrall (gaze). Proper awareness and positioning are key to avoiding unnecessary damage.
After repeated add waves and increasing pressure from Guiding Light, the phase ends with Exalted Wing and Exalted Plumes, transitioning into Phase 2.
Phase 2
Innocence fully restores its health and begins the main portion of the fight. Damage output increases significantly, and mechanics become more complex and frequent.
Players must handle repeated tankbusters (Righteous Bolt), rotating AoEs (Soul and Body), and layered line attacks (Winged Reprobation and Rightful Reprobation). Positioning discipline becomes critical as safe zones shift rapidly.
Add Phase (Flaming Sword)
Innocence becomes untargetable and summons adds again while charging the Immaculate Authority gauge. The group must quickly kill tethered adds to prevent stacking debuffs and reduce incoming damage.
Failure to manage this phase efficiently will either cause a wipe via the gauge filling or leave the party too weakened to survive the following damage.
Final Loop
After the add phase, Innocence resumes its full rotation. Players must now handle combinations of:
- Directional line AoEs
- Rotating patterns
- Stack markers
- Proximity attacks
The encounter continues in this loop with increasing pressure until Innocence is defeated. Clean execution and consistent positioning are key to closing out the fight.