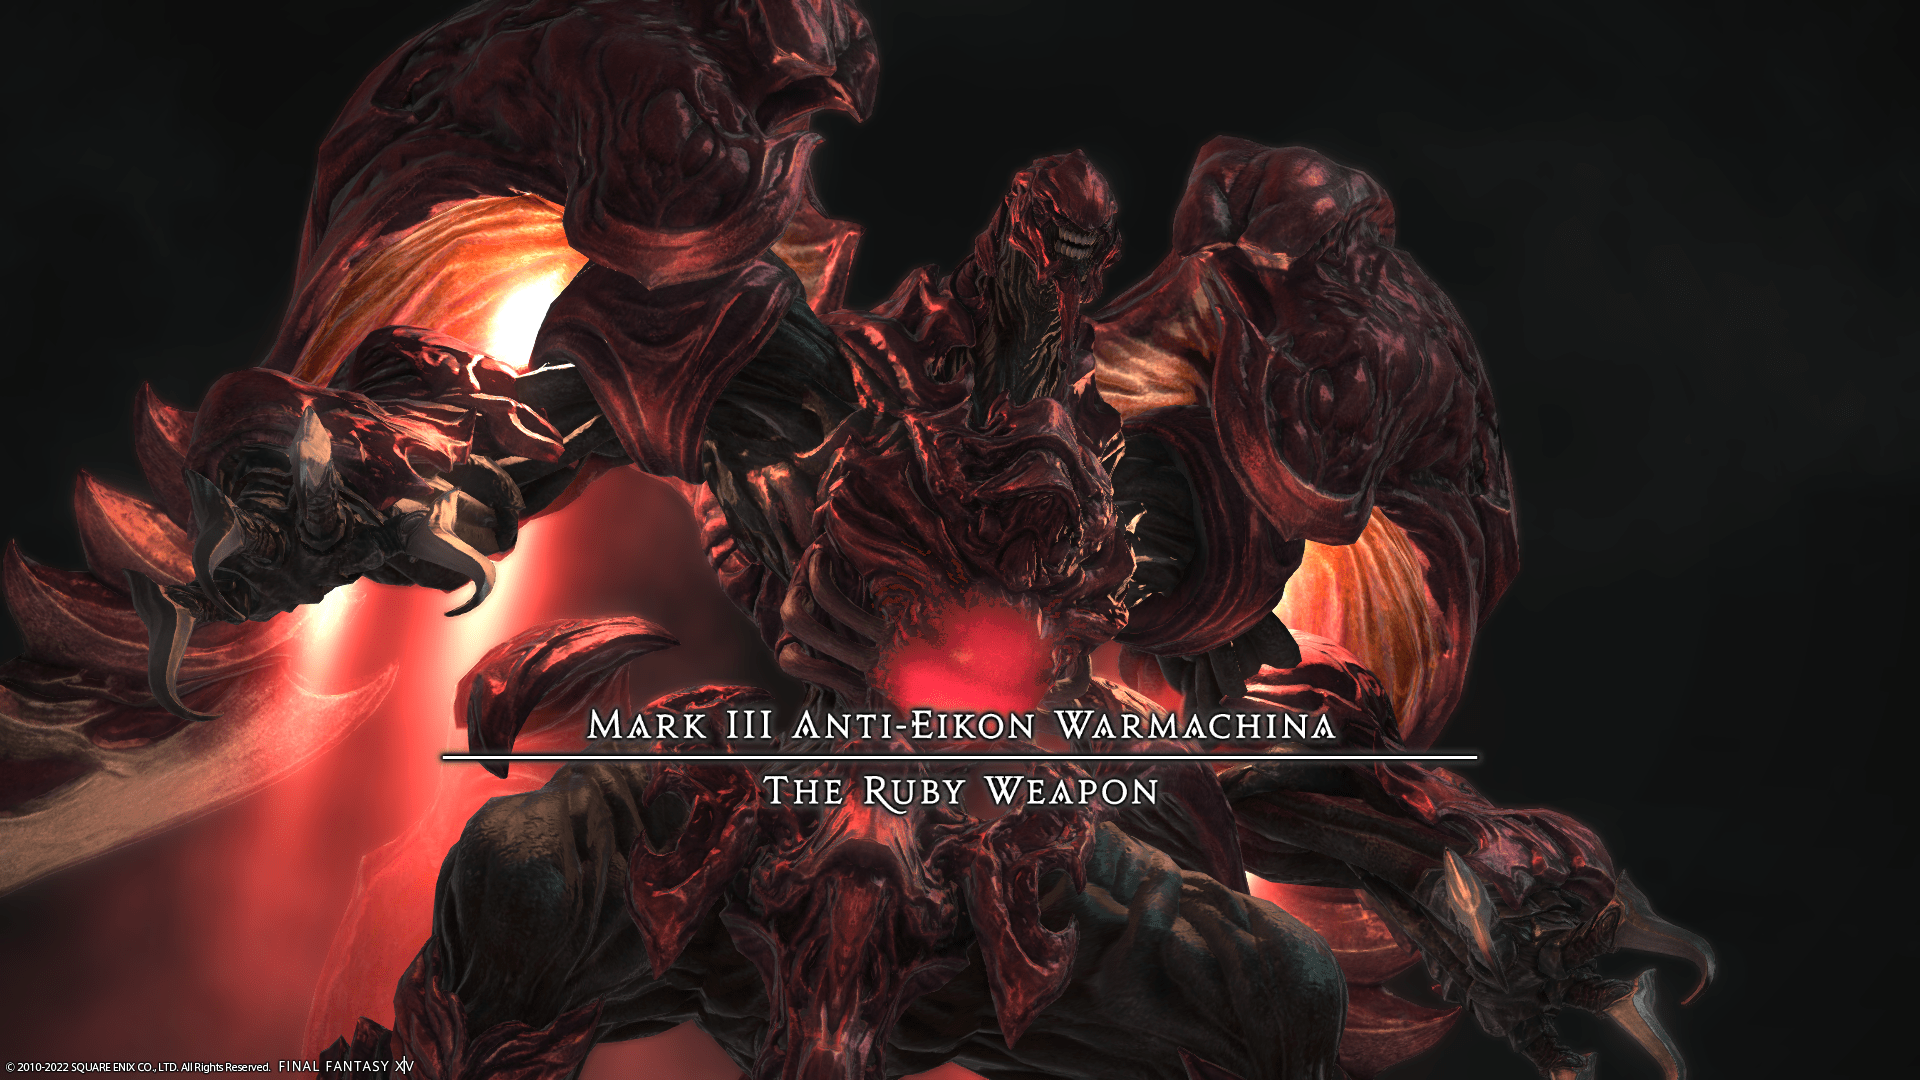
Cinder Drift (Extreme) Guide – Ruby Weapon Mechanics & Strategy
Duty Information
Expansion: Shadowbringers
Encounter: Cinder Drift (Extreme)
Players: 8 (Tank / Tank / Healer / Healer / DPS / DPS / DPS / DPS)
Duty Finder Type: Trial
Level: 80
Item Level: 470
Unlock Requirement: Weapon of Choice


Encounter Overview
Cinder Drift (Extreme) is a high-tempo execution fight centered around spatial control, baiting, and coordinated positioning. The encounter is split into two major phases: Ruby Weapon’s mechanical arena control phase, followed by a Nael Deus Darnus add phase that tests coordination and role awareness.
Unlike many trials, this fight heavily punishes poor positioning through overlapping mechanics, mine placement, and forced movement patterns. Clean execution and pre-assigned positions are critical to avoid cascading failures.
For difficulty comparisons, see the FFXIV Trial Rankings.
Arena Overview
Phase 1 takes place in a circular arena with no fall risk, allowing aggressive movement and positioning. However, space becomes constrained through mechanics like mines, cracks, and quicksand zones.
Phase 2 introduces a lethal outer edge, turning positioning mistakes into instant deaths. Movement discipline becomes significantly more important during this phase.
Mechanic Archive
Optimized Ultima
Frequent raidwide damage. Healers should expect consistent pressure and plan mitigation cycles.
Magitek Bits
Line AoE pressure that must be baited away from safe zones. Always reposition before committing to mechanics.
Stamp
Tankbuster with vulnerability. Tanks must swap immediately after each hit to avoid lethal follow-ups.
Helioclaw (Flexiclaw)
Moving AoE patterns with limited safe zones.
Micro-strategy: Identify safe spot first, then bait Magitek Bit shots away before committing. Greedy movement gets punished here.
Ravensclaw
Crack-based explosion pattern.
Micro-strategy: Stand on long cracks near boss hitbox edge—this consistently creates safe positioning.
Liquefaction
Quicksand arena except cracks.
Execution: Each player takes a designated crack and drops mines cleanly along it.
Undermine
Cracks explode instead of being safe.
Execution: Move between cracks or to edges and spread mines evenly—do not stack space.
Ruby Sphere
Mine placement mechanic.
Micro-strategy: Pre-assign positions (cardinals/intercards). Drop mines consistently along your lane to preserve safe zones.
Ruby Ray
Massive line AoE.
Execution: Immediately move behind boss on cast start—late movement gets clipped.
Ravensflight
Dash sequence with shifting safe zones.
Micro-strategy: Read dash order early, stay central during quicksand phases, then adjust to edge when arena flips.
Ruby Dynamics + Homing Laser
Untelegraphed cleave + split stack markers.
Execution: Stack groups inside boss hitbox—split left/right cleanly.
Cut and Run
Charge through center + spread markers.
Execution: Pre-split into two groups at edges to maintain space and avoid overlap.
Magitek Charge
Proximity AoEs.
Execution: Collapse into boss hitbox immediately after previous mechanic resolves.
Negative Personae (Add Phase)
Split-color mechanic.
Execution: Attack opposite color only. Tanks must separate adds at all times.
Meteor Stream
Spread markers on DPS.
Execution: Move away from group—avoid overlap during add phase chaos.
Iron Chariot / Lunar Dynamo
Point-blank vs donut AoE.
Execution: Identify quickly—out for Chariot, in for Dynamo.
Negative Affect
Tethered orbs chase players.
Micro-strategy: Kite orbs into adds to remove buffs—do NOT drag through group.
Meteor Mine + Magitek Meteor
Sequential comet drops + line-of-sight mechanic.
Execution:
- Players 1–7 drop outer
- Player 8 drops near boss
- Group stacks boss → knockback → hide behind final comet
Screech
Knockback toward death wall.
Execution: Aim knockback behind safe comet or use knockback immunity.
Mark II Magitek Meteor
Catch-and-destroy mechanic.
Execution: Tanks catch meteors → DPS destroy → healers stabilize.
Encounter Flow
Phase 1 – Ruby Weapon
The fight opens with consistent raidwide pressure and introduces spatial control mechanics through Helioclaw and Ravensclaw.
The first major execution check is Ruby Sphere + Liquefaction/Undermine, where improper mine placement quickly collapses safe zones.
Core rhythm:
- Identify safe zones early
- Bait external threats (Magitek Bits)
- Commit to movement cleanly
Ravensflight introduces dynamic movement patterns, forcing players to read telegraphs and reposition quickly while managing limited safe space.
The phase escalates with overlapping mechanics like Ruby Dynamics, Homing Laser, and Cut and Run, requiring clean group splits and spatial awareness.
Failure here typically comes from panic movement—not mechanical difficulty.
Phase 2 – Nael Deus Darnus
This phase shifts from movement execution to coordination and awareness.
Negative Personae splits the raid into two functional groups based on debuff color, requiring clean target priority and tank positioning.
Key priorities:
- Keep adds separated
- Attack correct target color
- Maintain spread discipline during Meteor Stream
Negative Affect adds movement pressure by forcing players to kite orbs into adds, while avoiding the group.
The phase peaks with Meteor Mine + Magitek Meteor, combining positioning, knockback control, and line-of-sight execution.
Final sequence:
- Drop comets in correct order
- Stack boss
- Get knocked into safe position
- Avoid sequential explosions
The final mechanics introduce meteor catching and sustained raid damage, requiring strong healing and coordination to stabilize.
The fight ends in a damage race before Dalamud’s final impact.