Cinder Drift Guide – Ruby Weapon Trial Mechanics
Duty Information
Expansion: Shadowbringers
Encounter: Cinder Drift
Players: 8 (Tank / Tank / Healer / Healer / DPS / DPS / DPS / DPS)
Duty Finder Type: Trial
Level: 80
Item Level: 255
Unlock Requirement: Ruby Doomsday


Encounter Overview
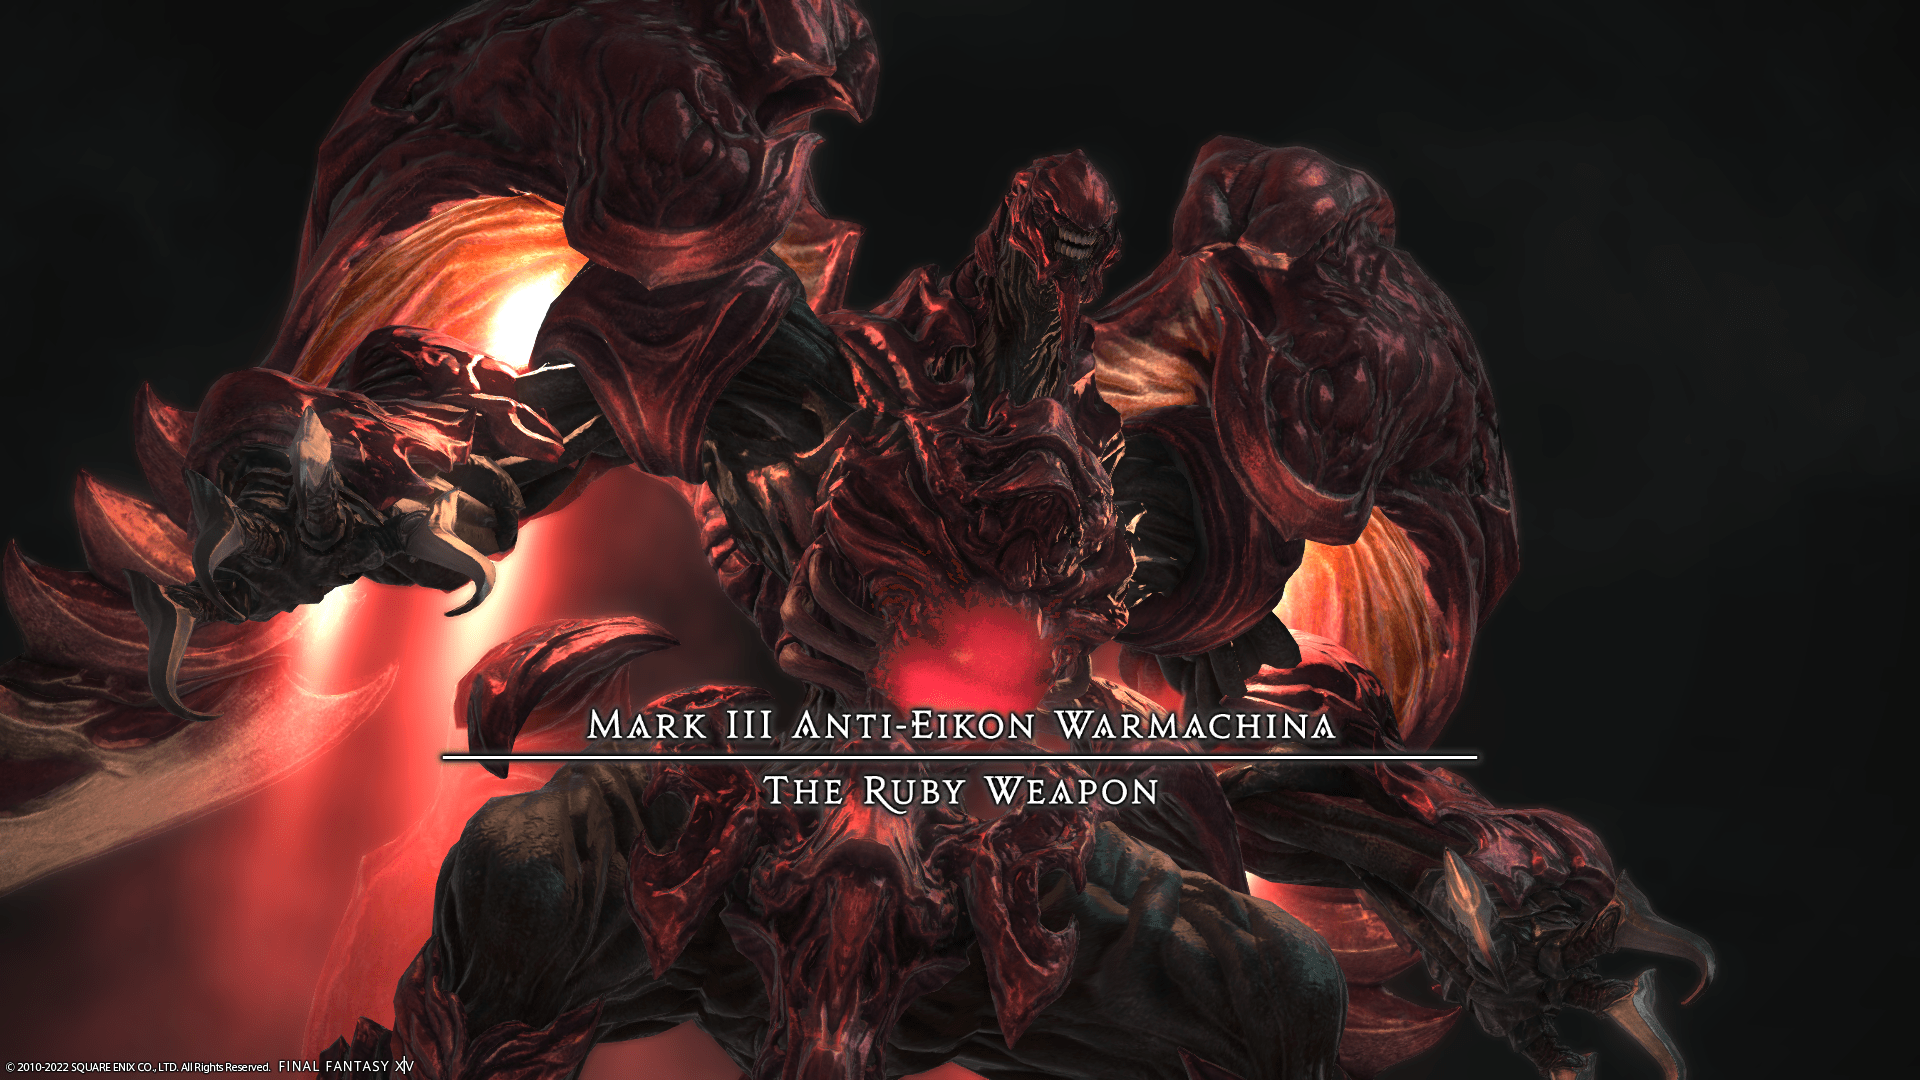
Cinder Drift is a level 80 trial featuring the Mark III Anti-Eikon Warmachina, the Ruby Weapon. The encounter is split into two distinct phases with a checkpoint in between, opening with a movement-heavy weapon phase before shifting into a meteor and add-control sequence against Nael deus Darnus.
The first phase is mostly about pattern recognition and clean movement through crack lines, dashes, and shifting AoE zones. The second phase is more structured and punishing, demanding cleaner tank control, meteor assignment discipline, and quick recovery after repeated bursts of raid damage.
For difficulty context across the category, see our FFXIV Trial Rankings.
Arena Overview
The encounter takes place in a circular arena with no fall risk, walls, or edge punishments. That makes the fight less about arena danger and more about identifying which parts of the platform are about to become unsafe.
Phase 1 uses the full arena and asks the party to rotate around crack patterns and dash paths. Phase 2 keeps the same basic space, but meteor placement and line-of-sight mechanics turn the center and impact zones into temporary danger points that need to be managed cleanly.
Mechanic Archive
Stamp
Ruby Weapon stomps its primary target with a heavy tankbuster. Tanks should mitigate every cast cleanly rather than greed cooldowns, since raid damage often follows shortly after and healers do not want to spend extra recovery on preventable spike damage.
Optimized Ultima
A raidwide blast that sets the healing pace for the phase. This is not mechanically difficult, but it often brackets movement mechanics, so healers should top the group quickly and players should avoid lingering low before the next pattern begins.
Flexiclaw
Ruby Weapon plants its claws into the arena, creating eight crack lines that travel outward in alternating short and long distances. The important read here is not just where the cracks go, but where their endpoints will leave safe space once Ravensclaw resolves.
Ravensclaw
AoEs appear under Ruby Weapon and at the ends of all Flexiclaw crack lines. The safest response is to move early into a clean lane between crack endpoints rather than trying to react late to the circles themselves. Greedy positioning near the boss often causes unnecessary clips here.
Undermine
All crack lines explode after briefly glowing. If Ruby Weapon chooses Undermine, players should leave the cracks entirely and stand between them. This is the “off the cracks” variation, so overcorrecting onto crack lines from the previous mechanic will get you hit.
Liquefaction
The arena turns into quicksand and pulls everyone inward. This is the opposite read from Undermine: players must stand directly on the cracks to avoid being dragged under. The easiest habit is to identify the crack pattern first, then wait for the cast name before committing.
Ruby Ray
Ruby Weapon faces a random player and charges a massive line AoE. The safest adjustment is usually to move to the flank or directly behind the boss. Players should avoid dragging the aim through the group by panicking and running wide around the arena.
Helioclaw
Ruby Weapon creates a three-lane fan pattern and sends repeated AoE circles outward from the center. Start between the fan lines, then move away from center as the first explosions travel outward, and finally tighten back in once the outer path becomes unsafe. The mechanic is easier if you think of it as “lane first, then wave timing.”
High-Powered Homing Laser
Two stack markers target random players. The party must split into two balanced groups and commit quickly. Late hesitation causes drifting and overlap, so light parties inside the full group should already know which side they belong to before the markers appear.
Ravensflight
Ruby Weapon jumps to the edge and dashes across the arena multiple times in a fixed telegraphed order. This is one of the main wipe points in Phase 1. Players should solve the full dash sequence before the first line fires instead of chasing safe spots one dash at a time.
Ruby Dynamics
A large donut AoE after Ravensflight. Move directly into Ruby Weapon’s hitbox. Because this comes after heavy movement, players often stop too early near the boss instead of fully collapsing inward. Commit all the way in.
Homing Laser
The entire party receives large spread markers. Everyone should spread evenly and avoid drifting toward shared stack groups or healer positions. This usually punishes players who finish Ruby Dynamics too tightly clustered.
Meteor Stream
All DPS are marked with blue AoE circles during Phase 2. DPS should fan out cleanly while tanks maintain add separation. This is mostly a discipline check: do not force healers or tanks to move for your marker.
Negative Personae
Nael summons two Raven’s Image adds and becomes untargetable. Each tank should take one add and keep them separated. Letting them drift together makes the phase messier and increases incidental overlap during Meteor Stream.
Raven’s Claw
Each add uses a five-hit tankbuster on its target. Tanks should treat this as sustained damage, not a single hit, and commit real mitigation. Healers should expect the damage to keep rolling after the first impact instead of assuming the danger is over.
Meteor Project
A background timer that culminates in Dalamud falling and dealing enormous raid damage. This defines the tempo of Phase 2. The group cannot afford sloppy meteor handling because every delay pushes more pressure into the next timer window.
Magitek Comet
Four comets crash in a ring around Nael as proximity hits. The party should collapse into her hitbox to reduce the damage, then prepare immediately for the larger meteor that follows. Players who stay out trying to preserve uptime usually take unnecessary damage for no gain.
Magitek Meteor
A massive meteor descends into the center and must be line-of-sighted behind the fallen comets. Once the small comet impacts resolve, players should already be identifying which comet they will use for cover instead of waiting for the last second.
Mark II Magitek Meteor
Four moving circle markers indicate where comets will land. Players must intercept these markers once they stop moving so the comets do not hit the platform directly and wipe the raid. Tanks are ideal catches because they can survive the damage more comfortably, and free players should prioritize breaking non-tank comets first.
Bradamante
Two straight line AoEs cut across the arena. These are simple on their own, but they often arrive while the raid is already repositioning after meteor mechanics, so players should sidestep efficiently rather than running long arcs.
Outrage
Nael repeatedly bombards the raid with unavoidable damage at the end of the fight. This is the final burn check. Once Outrage begins, healing becomes survival-focused and every available damage cooldown should already be committed toward the kill.
Encounter Flow
Phase 1 – Ruby Weapon
The fight opens with straightforward pressure through Stamp and Optimized Ultima, then quickly establishes the main Phase 1 loop: Flexiclaw into Ravensclaw, followed by either Undermine or Liquefaction. The key skill here is learning to read the crack pattern first and then react to the selected follow-up correctly.
From there, Ruby Weapon mixes in Ruby Ray, Helioclaw, split stacks through High-Powered Homing Laser, and full-party spreads with Homing Laser. The main wall of the phase is Ravensflight, since players who misread the dash order can take multiple hits and collapse the run before the checkpoint.
After the second Ravensflight loop, Ruby Weapon will eventually begin casting a lethal version of Optimized Ultima. That serves as the Phase 1 enrage, so the party must clear before then.
Phase Transition
Defeating Ruby Weapon triggers the transition into Nael deus Darnus. Reaching this point creates a checkpoint, so all later wipes restart from Phase 2 rather than the beginning of the encounter.
Phase 2 – Nael deus Darnus
The second phase opens with Negative Personae, summoning two Raven’s Images. Tanks should split them immediately while the raid spreads for Meteor Stream. The goal is to clear the adds quickly and cleanly before the first Meteor Project timer cashes out into unavoidable raid damage.
Once Nael is targetable, the fight shifts into its real identity: a sequence of meteor mechanics that punish indecision. Magitek Comet pulls the group into Nael’s hitbox to reduce proximity damage, then Magitek Meteor forces everyone behind the fallen comets for cover. After that, Mark II Magitek Meteor assigns comet catches, which must be intercepted and broken before trapped players die and the raid loses control of the phase.
Between those meteor sequences, Nael uses Bradamante and refreshes Meteor Project, steadily increasing time pressure. The repeated Dalamud crashes act like soft enrages, since each one demands healing and leaves less room for mistakes.
Final Burn
The phase ends with Outrage, a sequence of repeated raidwide hits. At that point the fight becomes a direct burn. Healers should stabilize just enough to keep damage dealers alive, while the party commits everything remaining before the final Dalamud descent wipes the raid.