Castrum Marinum Guide (FFXIV) – Emerald Weapon Mechanics
Duty Information
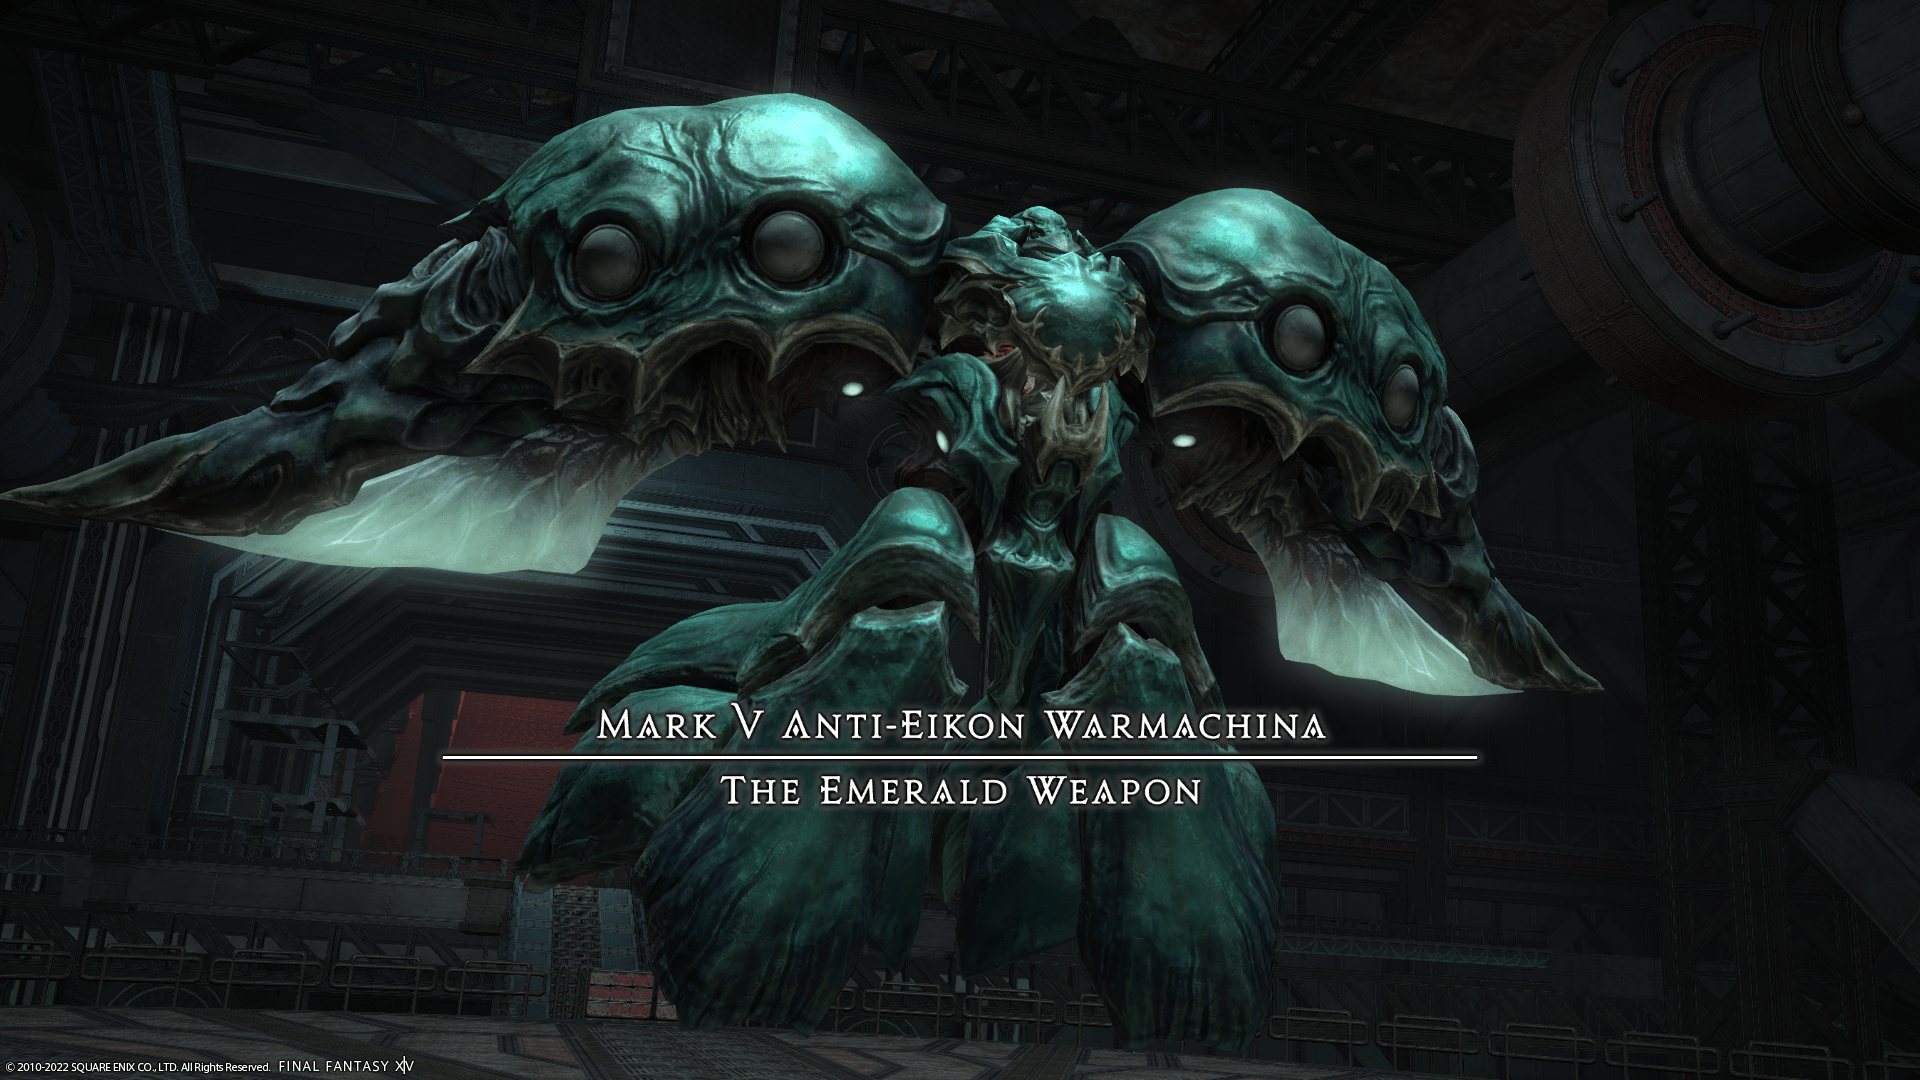
Expansion: Shadowbringers
Encounter: Castrum Marinum
Players: 8 (Tank / Tank / Healer / Healer / DPS / DPS / DPS / DPS)
Duty Finder Type: Trial
Level: 80
Item Level: 485
Unlock Requirement: Blood of Emeralk


Encounter Overview
Castrum Marinum is a level 80 trial featuring the Mark V Anti-Eikon Warmachina: Emerald Weapon. The encounter is split into two phases, starting with a circular arena focused on rotating AoEs, knockbacks, and spatial awareness before transitioning into a tighter square arena that emphasizes coordinated positioning and pattern recognition.
The fight rewards strong movement discipline and pre-positioning. Phase 1 teaches players to navigate overlapping movement mechanics while the arena shrinks, while Phase 2 becomes a structured execution test built around directional AoEs, push mechanics, and memorization patterns.
For difficulty comparisons, see the FFXIV Trial Rankings.
Arena Overview
Phase 1 takes place in a circular arena with a fatal drop, which gradually shrinks as mechanics resolve. Phase 2 shifts to a square arena surrounded by an instant-death energy wall, making positioning and pushback control significantly more punishing.
Across both phases, the encounter heavily emphasizes spatial awareness, safe zone prediction, and controlled movement rather than reactive dodging.
Mechanic Archive
Emerald Shot
A light tankbuster on the primary target. Tanks should maintain basic mitigation and positioning, but this is mainly a pacing mechanic rather than a major threat.
Emerald Beam
Rotating front-and-back cone AoEs combined with a point-blank AoE and expanding ring AoEs. Players must rotate around the boss while stepping between expanding rings.
Strategy: Commit to a consistent circular movement path early. Avoid stopping or reversing direction, as most deaths here come from hesitation or overcorrection.
Magitek Magnetism
Explosive mines spawn, with some tethered by plus/minus polarity. Matching symbols repel, opposite symbols attract.
Strategy: First identify safe mines that are unaffected. Then predict where tethered mines will move before committing to a safe spot. Late reactions often result in getting clipped after movement resolves.
Optimized Ultima
Raidwide damage.
Strategy: Heal and stabilize quickly, especially before movement-heavy mechanics that follow.
Split
Emerald Weapon separates into two halves, setting up directional attacks.
Sidescathe
Half-arena cleave from one side.
Strategy: Move early to the safe half. Stay slightly inward to maintain flexibility for follow-up mechanics.
Drop-Down
Knockback from a central marker after the lower half slams down.
Strategy: Stand close to the knockback origin and angle yourself safely. As the arena shrinks, positioning becomes tighter, so avoid drifting too close to edges.
Emerald Hands
Donut AoE from mechanical hands.
Strategy: Move into the boss hitbox immediately. This is a consistent pattern—hands always mean “go in.”
Divide Et Impera
Heavy tankbuster with a red marker.
Strategy: Tanks should mitigate heavily and keep positioning stable. Avoid dragging the boss unpredictably during overlapping mechanics.
Pulse Laser
Repeated line AoEs targeting random players.
Strategy: Maintain loose spread and keep movement controlled. Avoid dragging lines through the group.
Sidescathe + Emerald Hands (Combined)
Half-arena cleave combined with incoming orb waves and donut AoE pressure.
Strategy: Prioritize safe side first, then weave through orbs while staying near the boss for donut safety. Movement should be smooth and planned, not reactive.
Drop-Down (Later Iterations)
Knockback becomes more dangerous due to reduced arena size.
Strategy: Pre-position earlier than before. Knockback immunity can stabilize positioning if the group struggles.
Divide Et Impera #2
Tankbuster that also fires cones toward all players.
Strategy: Party should spread loosely around the boss. Tanks should face the boss away from the group while mitigating.
Primus Terminus Est
Three players drop directional knockback columns.
Strategy: Marked players must spread and aim their knockbacks safely. Avoid stacking columns or pushing players into walls or AoEs.
Secundus Terminus Est
Each player emits AoEs in either a “+” or “X” shape.
Strategy: Group loosely in a corner or structured formation to preserve safe space. Random positioning leads to unavoidable overlaps.
Tertius Terminus Est
Sequential sword drops that later fire in order.
Strategy: Track the order of sword placement. Stand in the last set’s area, then rotate into safe zones as earlier sets resolve.
Legio Phantasmatis
Summons the Black Wolf and firing lines from soldiers.
Strategy: Identify missing soldiers in each line to determine safe lanes. Move lane-to-lane in sequence rather than reacting late.
Encounter Flow
Phase 1
The encounter opens with rotational movement mechanics through Emerald Beam, forcing players to maintain consistent movement while avoiding layered AoEs. This is followed by Magitek Magnetism, which tests spatial prediction rather than reaction.
As the phase progresses, Sidescathe and Drop-Down introduce directional awareness and knockback control. The arena begins to shrink after each major sequence, increasing pressure and reducing recovery space.
Later combinations like Sidescathe + Emerald Hands require players to resolve multiple mechanics simultaneously, emphasizing pathing and positioning discipline. The phase loops until the boss reaches 1% HP, at which point Phase 2 begins with a checkpoint.
Phase 2
The fight transitions into a square arena where positioning becomes significantly stricter due to the instant-death wall. The phase opens with enhanced tank pressure via Divide Et Impera, followed by structured positional mechanics.
Primus Terminus Est introduces directional knockbacks that must be placed carefully, while Secundus Terminus Est forces coordinated AoE placement to preserve safe space. Poor positioning here quickly leads to unavoidable damage.
Tertius Terminus Est shifts the fight into a memory check, requiring players to track sequential AoE order rather than react visually. This is followed by Legio Phantasmatis, where players must read firing lines and move through safe lanes in sequence.
From here, the encounter loops these mechanics with increasing overlap pressure. Clean execution, controlled movement, and early positioning decisions are the key to consistency. Most wipes occur from hesitation, poor spacing, or incorrect pattern recognition rather than raw damage output.