Eden’s Verse: Iconoclasm (Savage)
Duty Information
Expansion: Shadowbringers Raid Archive
Series: Eden Raid
Tier: Eden’s Verse
Encounter: E7S - Iconoclasm (Savage)
Players: 8 (Tank / Tank / Healer / Healer / DPS / DPS / DPS / DPS)
Duty Finder Type: Raid (Savage)
Level: 80
Item Level: 480
Unlock Requirement: Talk to Lewrey after completing Life Finds a Way
Encounter Overview
Eden’s Verse: Iconoclasm (Savage) is the fourth Savage encounter of Eden’s Verse and the Savage version of E7. The fight revolves around lane-based dodging, portal order recognition, forced movement, aspect management, and repeated positional checks that punish hesitation.
The Idol of Darkness turns the arena into a sequence-reading encounter. Players are repeatedly asked to identify safe lanes, remember portal interactions, and resolve teleports cleanly while preserving raid structure. Most failures come from misreading lane order or overmoving during overlaps rather than from pure damage requirements.
The outer edge remains lethal throughout the fight, though fallen players can be revived after a delay. Even so, edge deaths create instability quickly, so the encounter is best handled with controlled movement and disciplined spacing.
Arena Overview
The fight takes place on The Halo, a square arena visually divided into a 4×4 grid. That grid is central to the encounter, as many mechanics travel through fixed rows and columns rather than targeting freely. Reading the platform as a set of lanes makes portal and twister mechanics far easier to interpret.
The edge of the arena is lethal. Several mechanics also restrict or shape movement further, especially when the platform is segmented or when the raid is forced into northern tiles to reduce possible beam patterns.
Because so much of the encounter is based on line attacks, the arena is safest when players keep movements short and deliberate. Drifting between lanes is far more dangerous here than standing still too long.
Mechanic Archive
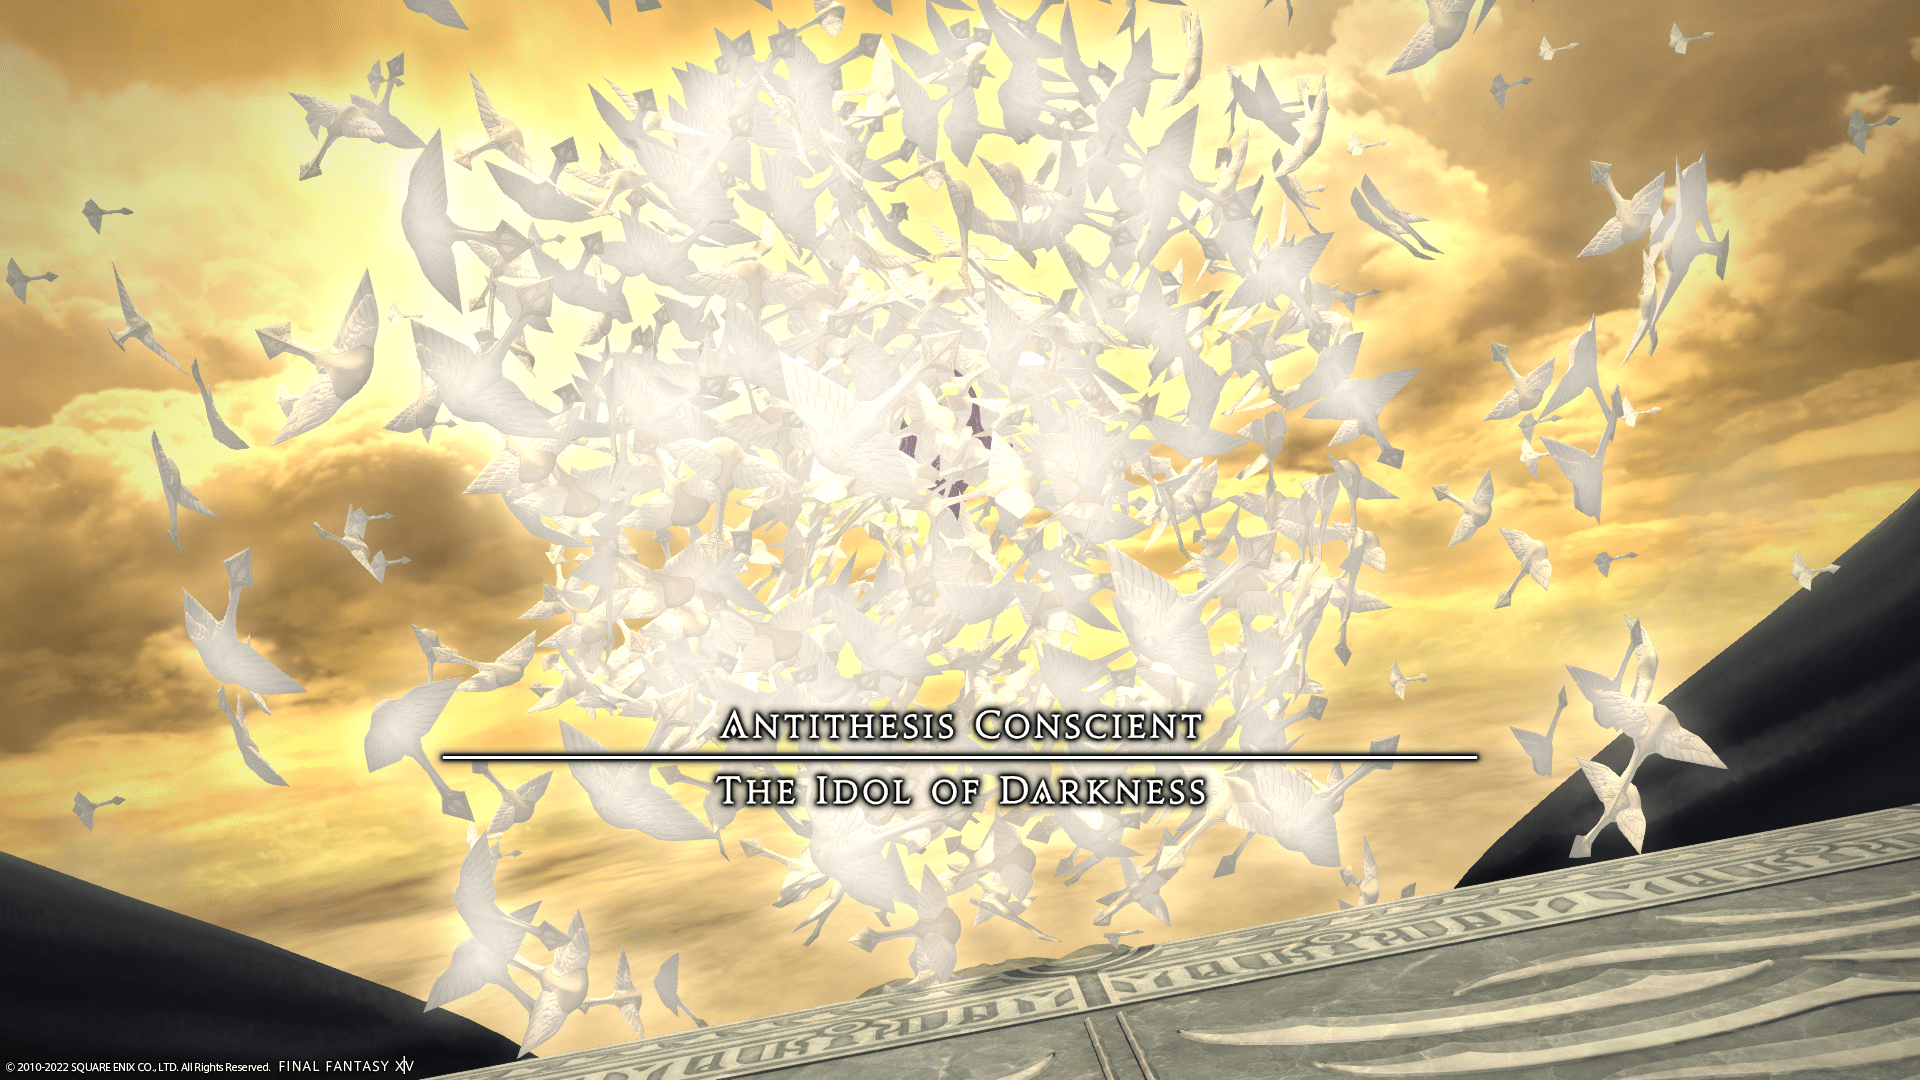
Antithesis Conscient: The Idol of Darkness
The encounter is fought against the Idol of Darkness on a lane-based arena with a lethal edge. Players should treat every visible row and column as a possible firing line, as later mechanics rely heavily on that structure.
Empty Wave
An unavoidable raid-wide attack that deals steady damage to the full party. This is the encounter’s recurring healing check and often appears before or after more technical movement mechanics.
Unshadowed Stake
A random tank is tethered for a two-part beam sequence. The first dark hit is a heavy tank buster that should be aimed away from the group. The second bright hit is shared damage, with the closest player taking the heaviest portion.
The clean resolution is to isolate the first hit and then realign the second through the party. The untethered tank is usually the safest player to stand nearest the front of the shared beam.
Words of Motion
Red and blue portals appear, followed by bird-like twisters that fire across specific lanes in summon order. Players must dodge the first set correctly while also noting which portal color was struck first, as that information determines the larger portal sequence that follows.
The mechanic is mainly a memory and lane-discipline check. The movement itself is not large, but the order matters.
Portal Sequence
After the initial Words of Motion pattern, portals appear around the arena and begin firing through each other in chained order. The raid usually resolves this from the north-east and north-west tiles so north and south interference can be minimized.
The challenge is tracking which portal fires first and what that shot activates next. The safest approach is to keep movement small and remain committed to the assigned side.
Betwixt Worlds
The arena is divided by vertical void lines, leaving only a narrow central safe region and thin outer lines. Once the division resolves, players cannot freely cross the new boundaries.
This acts as a setup mechanic for the overlap that follows. Entering it from a centered formation keeps the next sequence much cleaner.
Words of Spite
Four twisters tether to random damage dealers and later fire beams directly at them. Each tethered player must position so their beam does not cut through the rest of the raid.
The main concern is beam direction. Center tethers usually stay central, while outer tethers are best sent outward so their lines do not interfere with healer stacks.
Away With Thee
All players receive linked teleport markers and are forcibly moved from one circle to the other after a short delay. The danger is not just the landing point itself, but how that landing point interacts with the mechanics resolving at the same time.
This mechanic rewards pre-aimed positioning. Players should think about where they need to end up, not just where they are standing when the marker appears.
Silver Sledge
Both healers receive stack markers that must be shared. The attack also applies a Magic Vulnerability debuff, which means players already assigned to other mechanic duties cannot casually help without creating extra deaths.
The usual resolution is one tank per healer, creating two clean stack groups on opposite sides.
Words of Motion + False Moonlight
A fixed twister pattern overlaps with personal AoEs and delayed puddle drops. Players first place the initial AoEs cleanly, then spread into position for the first shots, and finally shift once more before the delayed puddles lock in place.
This is mostly a placement check. The fight rewards tidy puddle placement more than aggressive movement.
Away With Thee + DPS Stack + Support AoEs
All players receive teleport markers. One random DPS gets a stack marker, while tanks and healers receive personal AoEs that prevent them from helping soak. The DPS group must land together for the stack while supports spread away cleanly.
The resolution depends on committing to planned landing spots early rather than trying to improvise after the teleport is already locked.
Phase 2 Adds
The arena shifts into a darker state and three adds appear: one Blasphemy in the north and two Idolatry adds to the east and west. The two Idolatry adds must be killed first and ideally at nearly the same time, while Blasphemy is finished afterward.
Add spacing matters throughout this phase. If the enemies get too close together, they tether and gain a dangerous buff, so the tanks need to keep the side adds moving with care.
Advent of Light
A long cast from both Idolatry adds that must be interrupted. If both casts are allowed through, the raid wipes.
Strength in Numbers
Each Idolatry add performs one of two shapes based on its animation. A vertical spin leads to a donut AoE, while a horizontal spin leads to a point-blank AoE. During the harder version of the mechanic, this overlaps with teleport markers and double stacks.
The check here is recognizing the add animation quickly and placing the group so the post-teleport landing is already safe.
Explosion
An enrage cast that occurs if the add phase is mishandled. This can happen if the side adds die too unevenly or if Blasphemy survives too long after the others fall.
Empty Flood
A heavy raid-wide attack that ends the add phase successfully and transitions the encounter back to the main arena.
Unjoined Aspect
Players receive light or dark aspect markers. Future attacks must be taken with the opposite aspect. Being hit by the correct opposite-aspect mechanic flips the player’s aspect, while taking the same aspect is usually lethal.
This becomes the central rule of the second half of the encounter. From this point on, players are not only dodging attacks but also choosing which attacks they need to take.
Words of Unity
Light- and dark-aspected twisters appear and fire through lanes. Players must stand in the lane that will hit them with the opposite of their current aspect.
Boundless Light / Boundless Dark
A light twister and a dark twister tether to the nearest players and fire stack beams that must be shared. The front player takes the heaviest damage.
Tanks are the safest players to anchor these beams when possible, since the hit is strongest at the front.
Words of Entrapment
Four aspected twisters appear on the cardinal edges while four towers spawn on the intercardinals. Towers must be soaked by players of the opposite aspect. At the same time, nearby players can tether and drag twisters to safer positions.
The mechanic is mainly about organized assignments. The towers and dragged twisters are manageable when every player knows whether they are covering a soak or repositioning a line.
Red and Blue Portals + Words of Night
Red and blue portals return, now linked to light and dark aspect shots. The first interactions establish which portal color corresponds to which aspect for that sequence, and later full-arena shots must be resolved using both portal order and aspect matching.
The sequence is easier when handled the same way as the earlier portal phase: split the raid, reduce the amount of information each side needs to read, and avoid unnecessary movement.
False Dawn
Players drop AoE circles and receive delayed aspect-based AoEs while the portal pattern continues. The raid must place the first set cleanly, then re-form in the northern tiles for the next lane shots without overlapping each other.
Final Phase Knockback
The Idol of Darkness disappears and a central knockback marker appears before the boss reforms as a tornado. Knockback immunity does not prevent this effect.
Players must aim themselves carefully, as poor facing can send them into the wall or out of the next safe lane.
Rotating Blades
In the final phase, the tornado form continuously rotates line AoEs around the arena, leaving moving safe spots. This rotation persists through the rest of the fight.
The safest movement is usually steady and measured. Overcorrecting tends to be more dangerous than staying close to the safe lane and moving with it.
Aspected Orbs
Light and dark orbs appear around the arena and must be collected by players of the opposite aspect. Missing these orbs leads to a wipe condition, while collecting them deals moderate AoE damage.
Each orb is best handled by a single player so the raid does not take unnecessary extra damage.
Threefold Grace
After a full blade rotation, the arena fills with changing light and dark floor patterns. Players must stand in the opposite color to their current aspect, and the pattern shifts three times in succession.
The check is quick recognition and short repositioning. Players who move only as far as needed generally handle the sequence more reliably.
Encounter Flow
The fight opens by establishing its core rules through Empty Wave, Unshadowed Stake, and the first Words of Motion portal sequence. Early on, the encounter teaches the raid to read lane order carefully and to value stable side assignments over reactive movement.
The first major overlap arrives with Betwixt Worlds, Words of Spite, Away With Thee, and Silver Sledge. This sequence checks whether the group can preserve structure while teleports, tethered beams, and split stacks all resolve at the same time.
The encounter then revisits similar ideas in a denser form through Words of Motion with False Moonlight, followed by another teleport sequence that separates DPS stack duties from support spread responsibilities. These mechanics continue to reward precise placement rather than large recovery movement.
Phase 2 shifts into an add phase built around control and pacing. The raid divides into two groups for the side adds, interrupts key casts, reads add animations, and keeps all enemies properly spaced. The phase ends only after the side adds are brought down together and Blasphemy is finished before enrage.
Phase 3 introduces the full aspect system through Unjoined Aspect. From there, the raid must start deliberately taking opposite-aspect hits while still handling stacks, towers, twisters, and portal chains. The earlier lane-reading mechanics return in a more demanding form once portal colors and aspects become linked.
The final phase begins with a forced knockback and transitions into a rotating survival sequence. Moving safe lanes, opposite-aspect orb pickups, repeated Threefold Grace checks, and recurring raid-wide damage pressure the party until the boss reaches Empty Flood enrage.
In practice, Iconoclasm Savage is a consistency encounter. Once portal groups, pairings, add assignments, and aspect responsibilities are stabilized, the fight becomes much more manageable than its visual complexity first suggests.
Related Encounters
| Order | Boss | Normal Guide | Savage Guide |
|---|---|---|---|
| 1 | Ramuh | E5N Guide | E5S Guide |
| 2 | Ifrit & Garuda | E6N Guide | E6S Guide |
| 3 | Iconoclasm | E7N Guide | E7S Guide |
| 4 | Shiva | E8N Guide | E8S Guide |